 If your dress is not lined or does not come with a built-in slip, it is a good idea to wear a separate slip or chemise under your tops, blouses, or dresses.
There are many obvious reasons why you should wear a slip, at the very least, under flimsy clothes or clingy knit dresses. But some never realize what the world can see, and no one bothers to tell them.
I felt that a slip would add bulk to my figure, but since then, I have realized that it need not be so. I invariably make them in thin voile or muslin cloth, so there is no excuse for the slip adding to the bulk.
Slips can be made at any length keeping in mind your height and the length of the clothes under which you will be wearing them.
I have read the following dimensions in a lingerie shop for the ideal lengths for slips – 16 inches (mid-thigh), 20 inches (top of kneecap), 22 inches (mid-knee), 24 inches (bottom of the kneecap), 28 inches (mid-calf) 30 inches (lower calf) 37 inches (ankle) 40 inches (tall ankle length).
If you are making it in size more than the knee, you may have to make a deep slit at the hem.
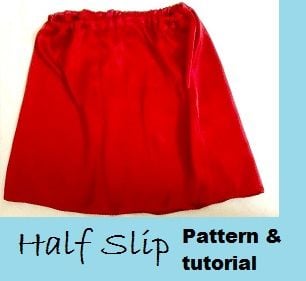
Estimated yardage – some 1-meter cloth for this half slip /chemise.
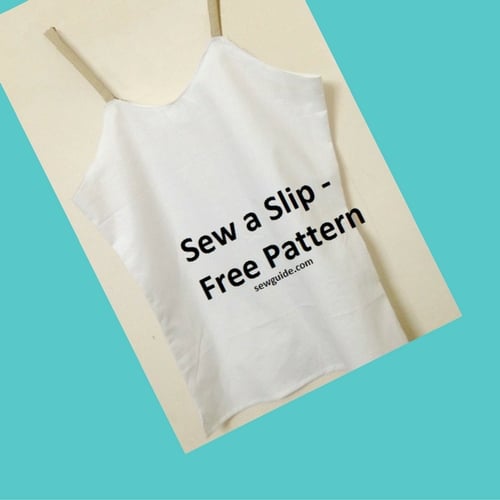
Make a Slip pattern
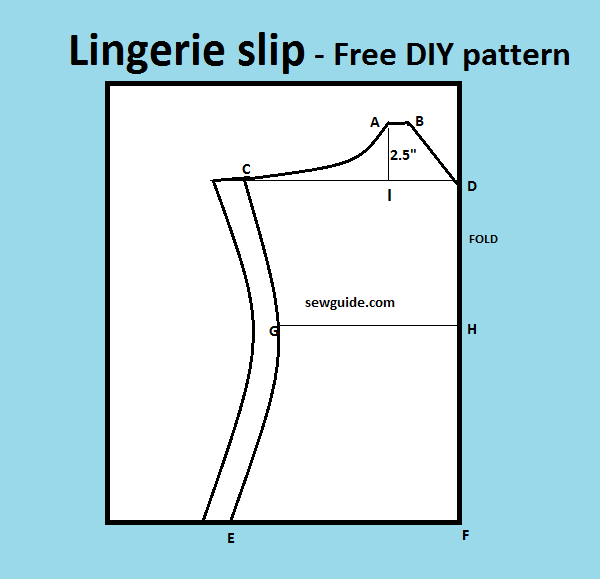
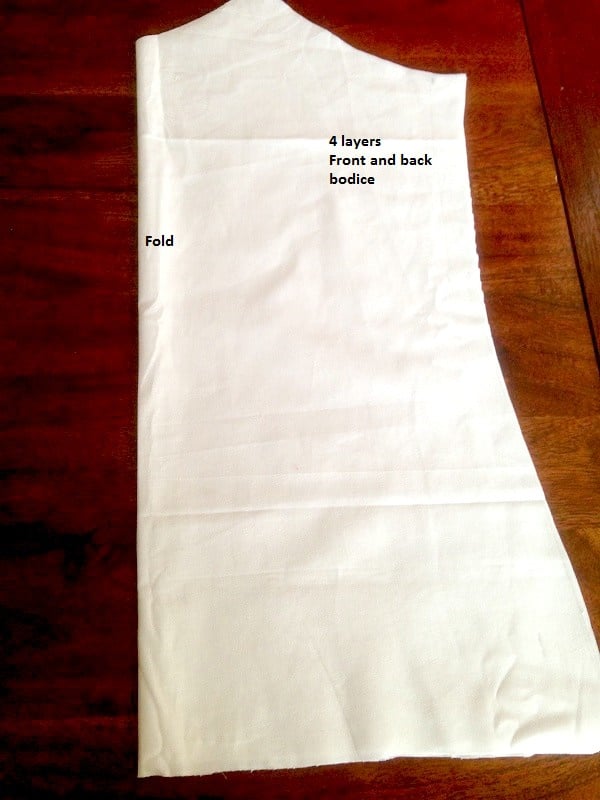
Take a fabric piece that is twice the length of the slip you want + 4″.
Fold it by half lengthwise ; then by half again widthwise. Checkout the post on how to cut fabric for more details
Mark D on the fold 3″ from the top fabric edge.
C-D = 1/4 of bust round+ 1″
G-H = 1/4 of waist round + 1″
E-F = 1/4 of hip round + 1″
I -D = Measure from one shoulder to the other shoulder, between the shoulder blades ( Where the strap will rest).
Divide this by 2. Mine was 3.5.”
Mark up 2.5 inch from I . Mark it as A.
Mark B from A = 1″
Join C – A
Give 1″ seam allowance along C -G-E.
Cut out the fabric pieces along C-A-B-D-F-E-G-C.
You now have the front and back bodice.
Make Straps for ths slip
Cut out two pieces of bias strip. Measure armhole depth from shoulder to under the armhole. The length of the bias strip should be (armhole depth – 2.5 ) * 2. Add 1-inch seam allowance.
For me, the armhole depth is 7 inches, so when 2.5 is subtracted, I get 4.5 – Multiply this by two, and I get 9. Add a 1-inch seam allowance. So the length of the fabric strips should be 10 inches for me. If you want a loose slip, add 1 inch more.
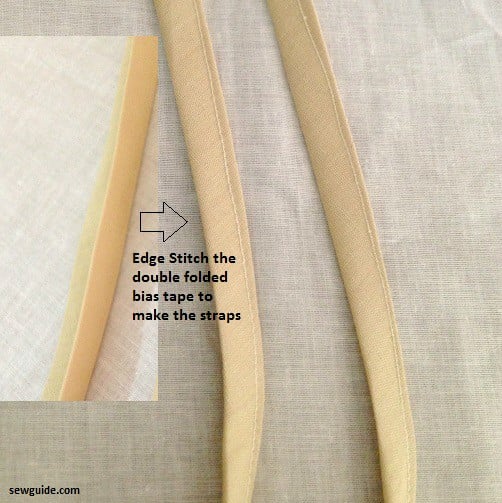
I made two bias strips. Checkout the tutorial to make bias strips. The bias cut of these strips will add some stretch to the straps.
Fold the bias tape into a double-fold bias tape. Stitch along the edge. Your straps are ready.
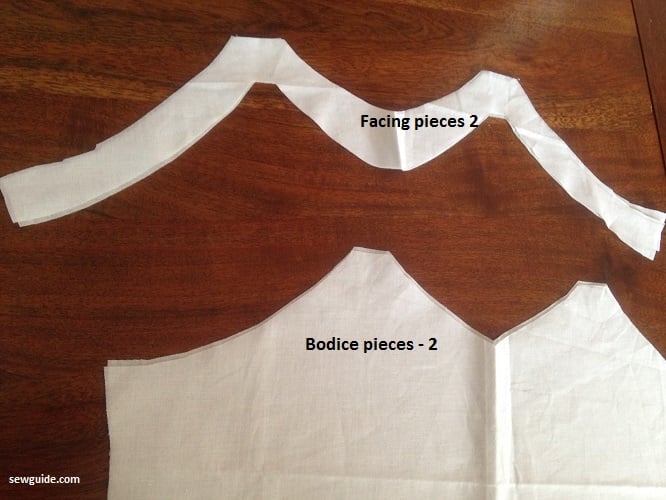
Make facings for the bodices.
Keep the folded bodice on a folded fabric piece and trace around the top edge outline. Take the bodice off.
Make a facing pattern by adding 1-2 inch to the outline. You are now making an all-in-one facing for the neckline and the armhole.
Finish the fabric edges of the facing piece bottom edges. I just zig zagged the bottom edges.
How to sew the slip
Step 1
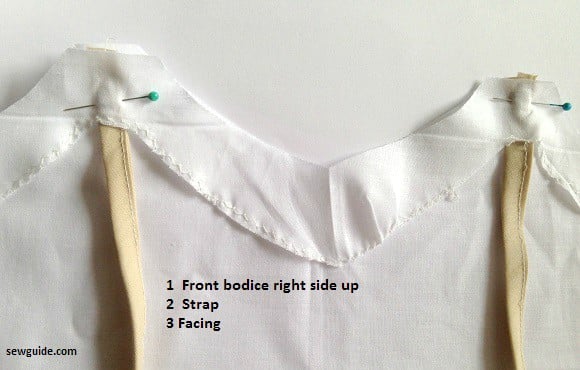
- Keep the front bodice (any one of the two bodice pieces) right side up.
- Keep the strap piece down from the fabric edge of the top.
- Then keep the facing piece on top.
Pin in place. Stitch around the edge. Make sure that you stitch two or three times where the strap is joining.
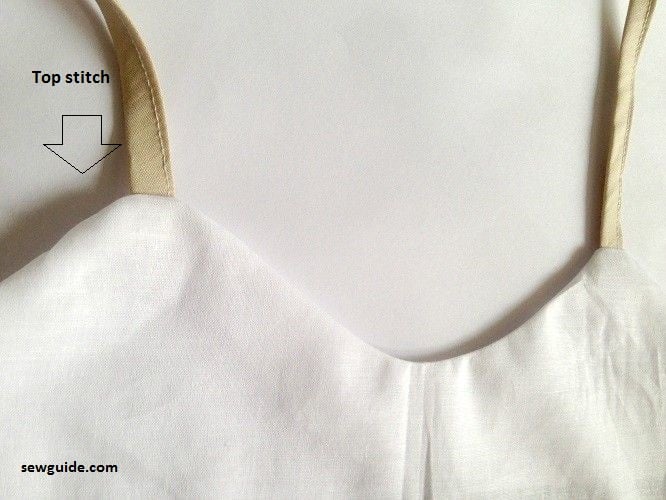
Turn the facing to the other side. You have the front bodice ready. Top stitch over the edge to keep everything in place.
Step 2
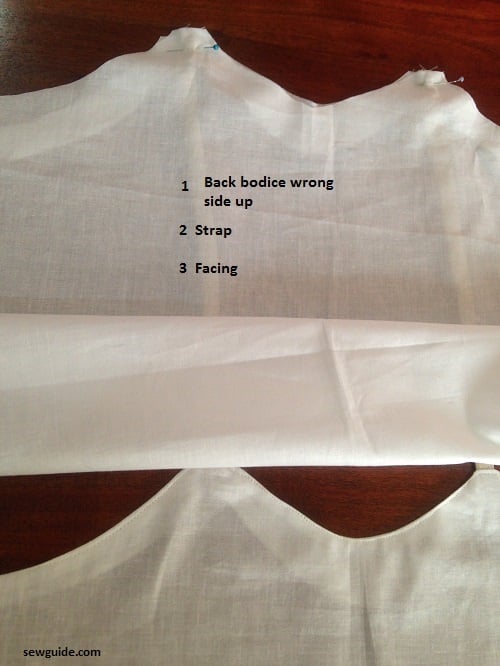
Now to attach the strap to the back bodice – keep the facing pattern, keep the strap on top, and then the back bodice the wrong side up, on top of the strap.( Check the picture for details)
Pin in place and stitch the top edge ( Over armhole and neckline), as you did earlier with the front bodice.
Turn right side out. Top stitch in place.
Step 3
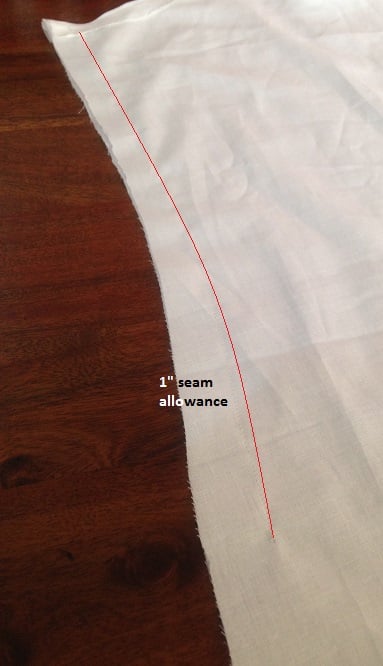
Stitch the side seams.
When stitching side seams stitch with a 1″ seam allowance. Stitch till 2.5 inch from the bottom edge. This is for a small side slit.
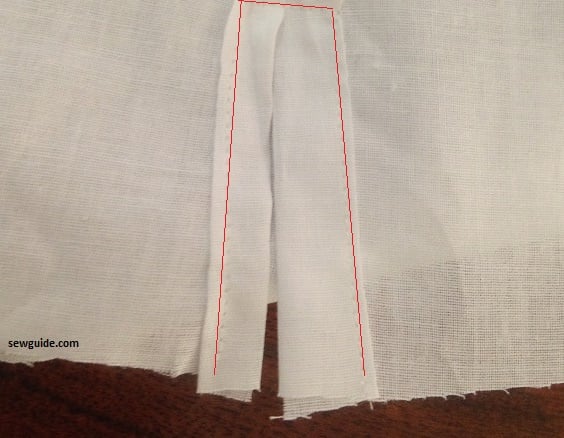
After both the side seams are stitched, sew the slit opening. Turn under the slit seam allowance twice and stitch.
Do this for both the sides.
Step 4
Hem the bottom edge by turning under 1/4 inch twice
Related posts: