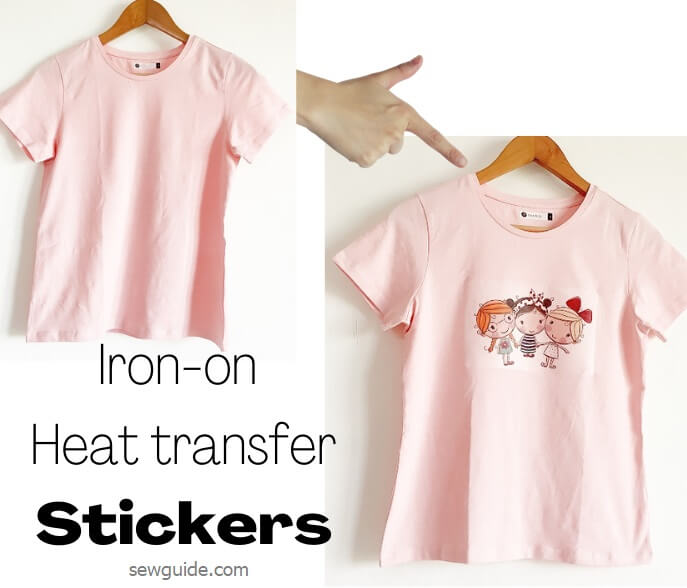
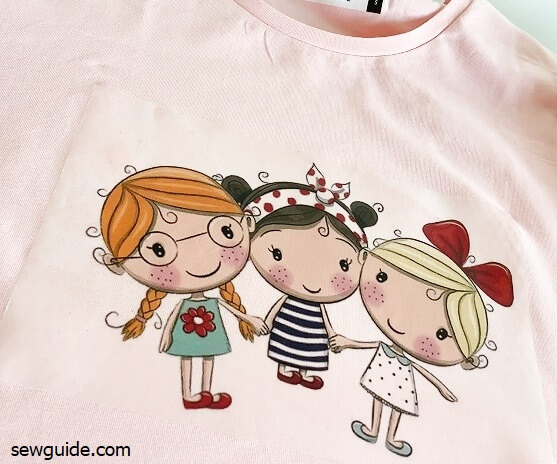
An easy way to transfer clothing into ‘something beautiful’ instantly is to apply the easily available iron-on heat transfer stickers/patches on them. Plain clothing and accessories like a t-shirt or skirt or mask and even umbrellas and bags can be perked up with these easy-to-apply stickers or patches with heat transfer backings. Drab to Fab, just like that!
Buy the stickers and apply with a heated iron – that is all you need to do. If you have a good heat press machine the job becomes easier and highly efficient.
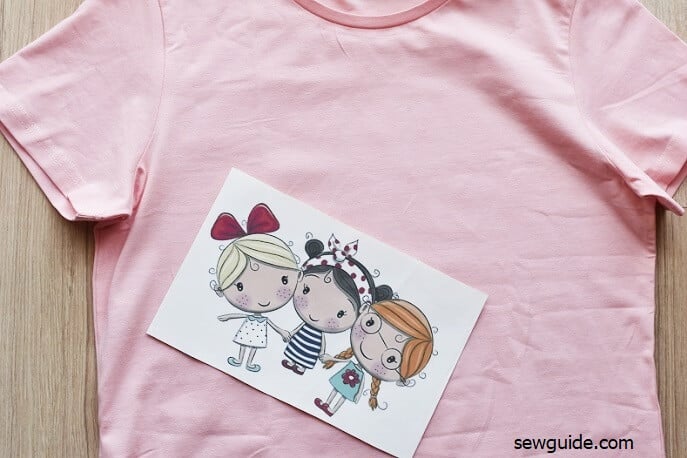
You can get the iron-on stickers in so many different designs – if not you can also print it out on your printer. You can read more about it in this post on printing using iron-on transfer paper
Warning: This decorative technique is best used on nowashable items. The sticker doesnot last long if you have ti wash it frequently.
There are 2 types of iron-on heat-transfer stickers –
- Sticker which is applied face down (this has the design on reverse (mirror image) on the front with a backing sheet on the other side) and
- Sticker which is applied the wrong side down. This will have a thin layer of heat activated glue on the back like regular stickers.
Which fabric is best for Iron-on Heat transfer stickers?
The only criterion is that the material should be one that can be ironed. If you have a material that you cannot iron, forget the idea of the decoration.
This includes leather, faux leather, vinyl, coated fabrics, thin nylon fabrics that you know will melt, fabrics with a lot of spandex fibers, Rayon /viscose fabric, delicate silk. Anything that your common sense says will be destroyed with high heat. Synthetic fibers can melt in high heat. Leather and plastic material will be disfigured with heat. For these materials, you can use iron-on patches that can be attached with glue or by sewing. Check out this post on different ways to attach patches
A cotton or cotton t-shirt is usually the first choice for anyone wanting to do this project. Linen and cotton fabrics can also take the heat. Whatever you use, clean it – if it is old, wash to remove dirt, and if it is new wash to remove the sizing.
Some stickers will look like a thin plastic sheet with the design printed on it – it is water proof. You can use them on umbrellas, outdoor clothes, bags etc.
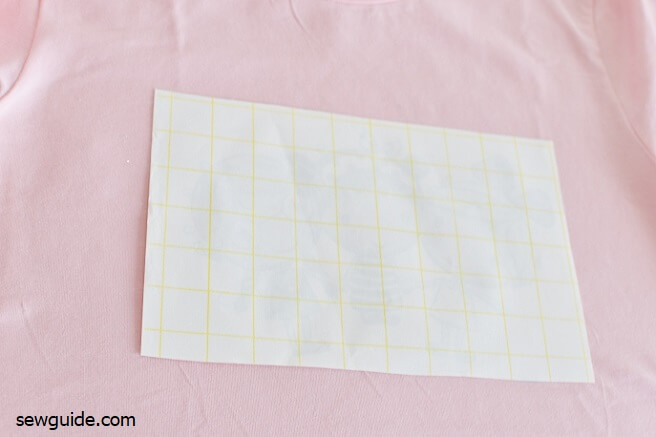
How to apply the iron-on sticker with a paper backing?
This iron-on sticker with a paper backing is applied face down on the garment.
If you have a steam iron, ensure that the setting is not on- remove water completely. You absolutely do not want the steam setting.
Iron the garment neatly, especially where the design will be placed.
Keep the sticker face down on the garment face.
Heat the iron to a desired high temperature – depending on the fabric.
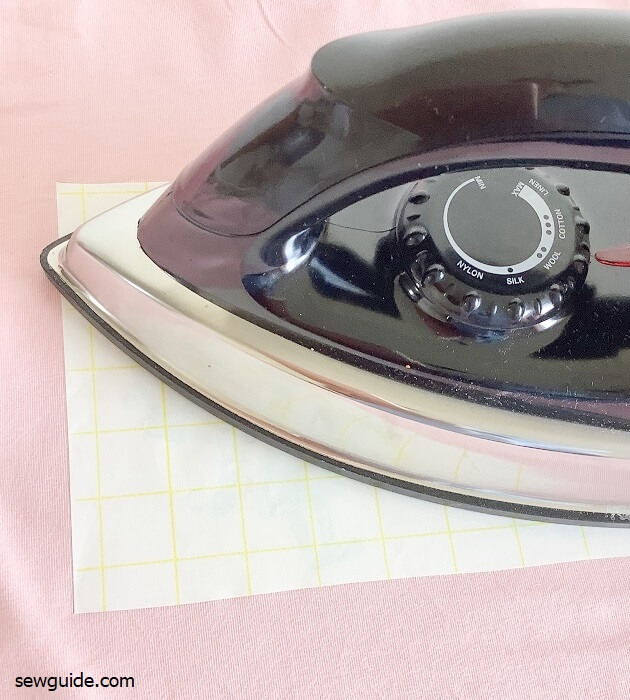
Press down the iron on top of the transfer sticker with pressure (do not iron ie dragging the iron up and down) and keep it there for 15-20 seconds (count the seconds). Take the iron up. Then do it on the rest of the sticker – all areas should be covered, especially the corners and edges.
You can turn the garment inside out and press from the other side too for added adhesion.
After the heat has cooled down, remove the paper backing on your sticker.
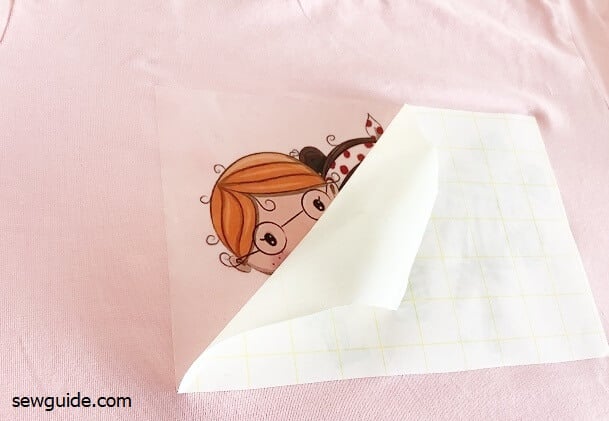
You have to do this carefully after ensuring that the design is not coming out with the paper as you pull it.
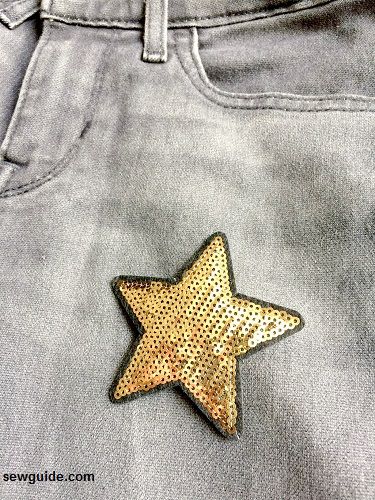
How to adhere a vinyl iron-on heat transfer sticker/patch
This type of sticker may have a plastic backing – this has to be removed before placing it in position on the garment with the design face up. Some may have glue on the back which gets activated when heat is applied from the top.
If there is a backing, you can keep the sticker on the garment after taking off the backing and then using a pressing cloth on top of the sticker press it down with a heated iron.
After you have completed the sticking the job is not completely done – you have to keep it as it is. Wash the garment inside out and in a gentle cycle with only cold water. This way it will last forever. Never ever use very hot water to wash the garment with these stickers – the glue may come undone, especially that of the thicker patches. And always use a pressing cloth to iron from the front.
Related posts : How to make clothing patches; How to attach cloth patches- 9 ways; How to make beaded patches; How to make embroidered fabric patches.