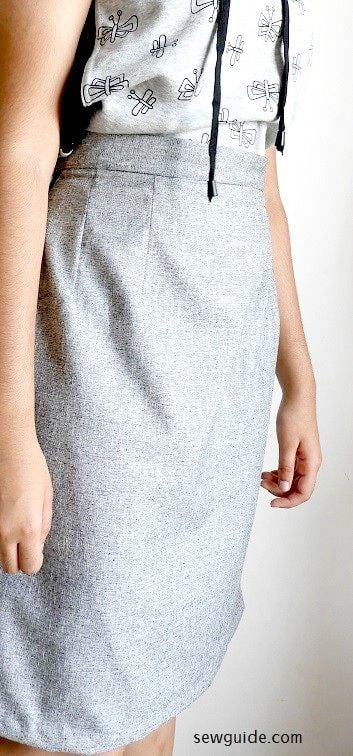
Pants are alright but we all need a skirt to feel feminine and beautiful. Here is a tutorial that explains how you can make a simple skirt by drafting a basic skirt pattern and then sew it easily with step by step instructions.
Steps to sew the basic skirt
Step 1 FRONT SKIRT BLOCK
Measure your waist around, hip round and the length of the skirt.
I used a super wide 1/2 meter pant fabric for making the knee length skirt for a hip size of 38 inches. You need to cut 2 skirt pieces, 2 fabric strips for waistband and one 7 inch long ordinary zipper.
Fold a fabric piece of width equalling 2 inches plus your hip round and length equalling the skirt length you want plus 1/2 inches. Mark the following for your front skirt block on the folded fabric

A-E = Length of the skirt you want minus 1/2″
A-D = 1/4 of hip round
A-C = 1/4 of waist round + 1 3/4″
A-B = 1/2″
A-H = 7″
I-J = 1 1/2″
C-N2 = 2″
N1-N2= 3/4″
M2-N2 = 1 1/2″
M1-M2 = 3/4″
N-P= 3″
M-O= 2.5″
Mark 1/2 inch seam allowance along C-G.
Step 2 BACK SKIRT BLOCK
Fold a fabric piece of width equalling 2 inches plus your hip round and length equalling the skirt length you want plus 1/2 inches. Mark the following for your back skirt block on the folded fabric
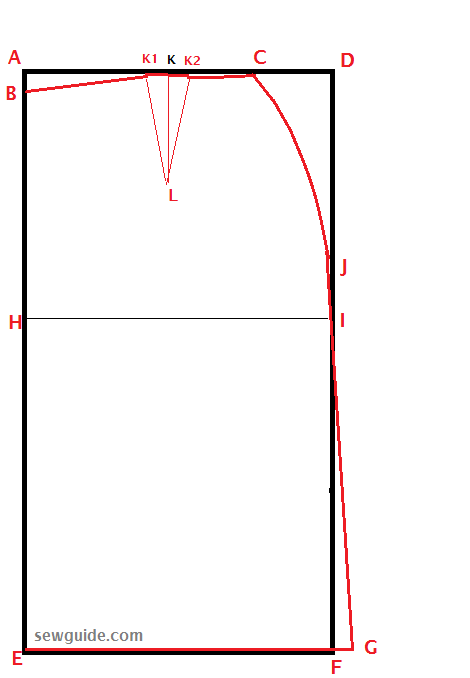
A-E = Length of the skirt you want minus 1/2″
A-D = 1/4 of hip round +1/2″
A-C = 1/4 of waist round + 1.5″ = E-F
A-B = 3/4″
A-H = 7″
I-J = 2″
K1-K2= 1.5″
Mark 1/2 inch seam allowance along C-G
Step 3 Sew the darts
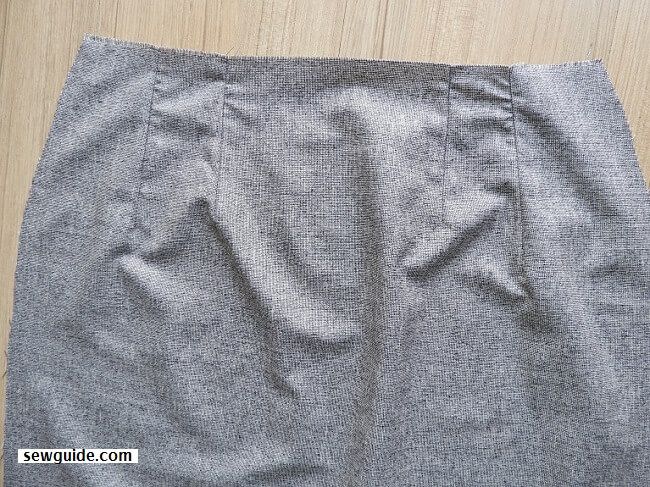
You have to sew the darts on the 2 skirt pieces. Just pinch the dart by the center line and sew from the widest top edge to a point. Leave a long tail of threads at the end. When you have finished sewing tie the threads to secure the darts ( this is better than backstitching at the point which will cause puckers)
It is when you press the darts that they blend into the fabric. Otherwise, they stand out. So do not forget to press the dart from the top.
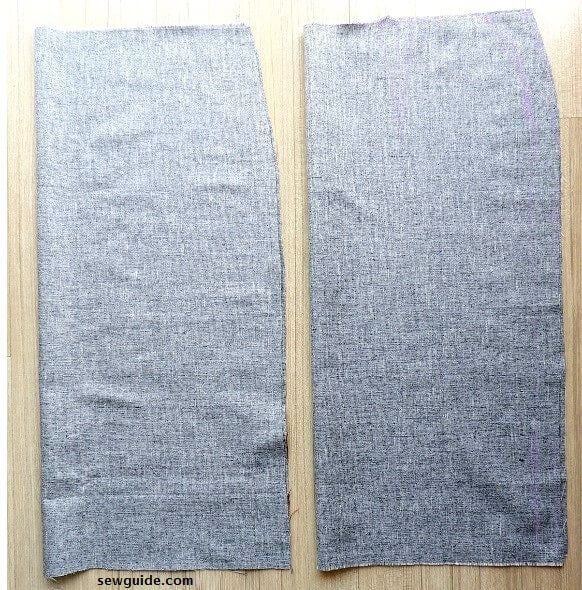
Step 4 Join the skirt pieces at the side seam

You have to sew the front and back skirt pieces together.
The skirt pieces are kept right sides together and sewn at the side seams. On one side you should leave a 7 inch unstitched at the top edge. This is for inserting the zipper.
Step 5 Attach the zipper (lapped zipper)
You need a 7 inch zipper opening at one of the side seams.
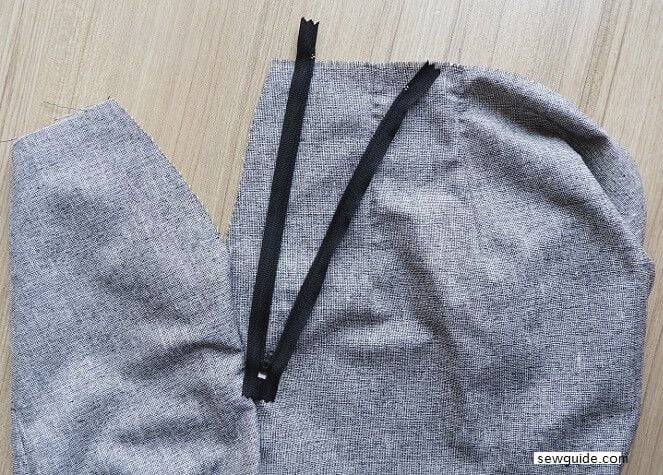
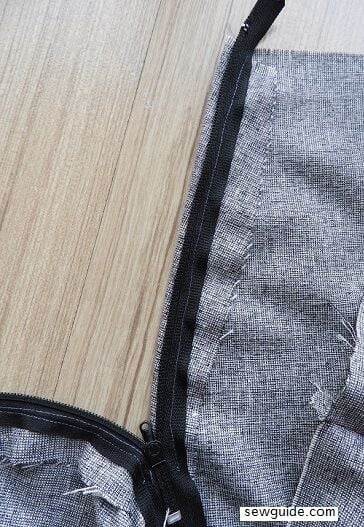
Keep the zipper face down on the skirt kept right side up as in the picture below.
Keep the zipper teeth outside of the seam line marked on the fabric.Attach the zipper foot on your sewing machine. Sew the zipper where you have kept it ( hopefully pinned down)
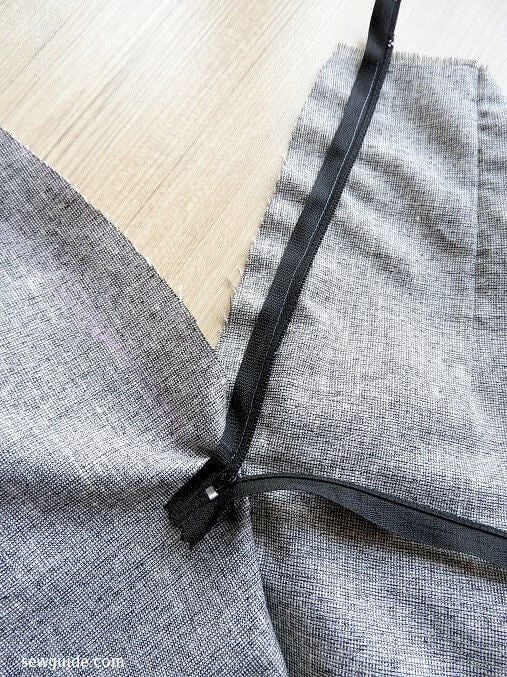
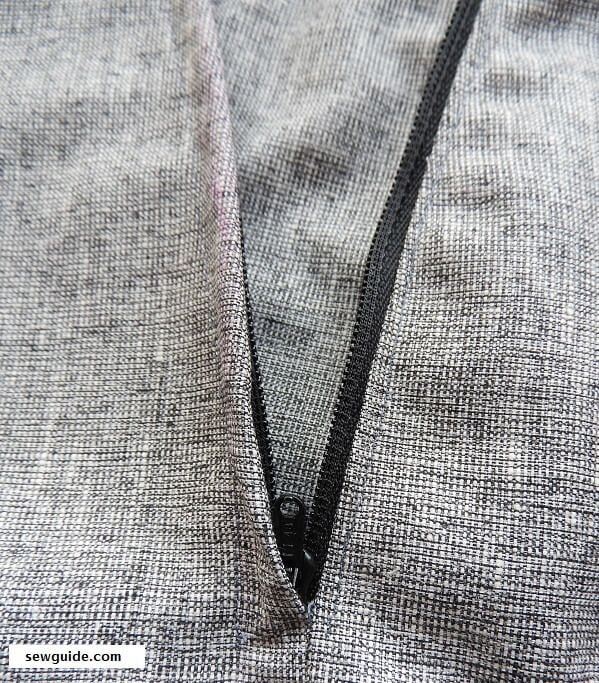
Turn the zipper to the back (Picture above) and top stitch along the zipper teeth to fix it in place.
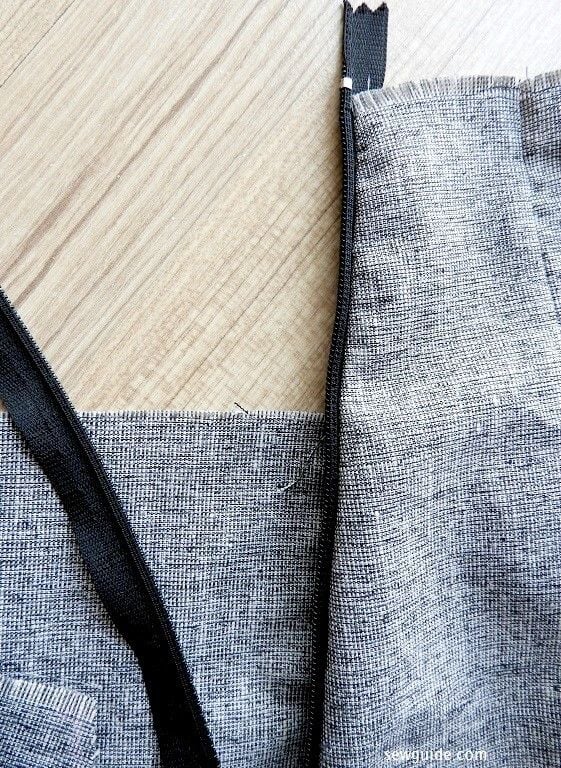
Now turn the skirt wrong side up ( ie turn it inside out)
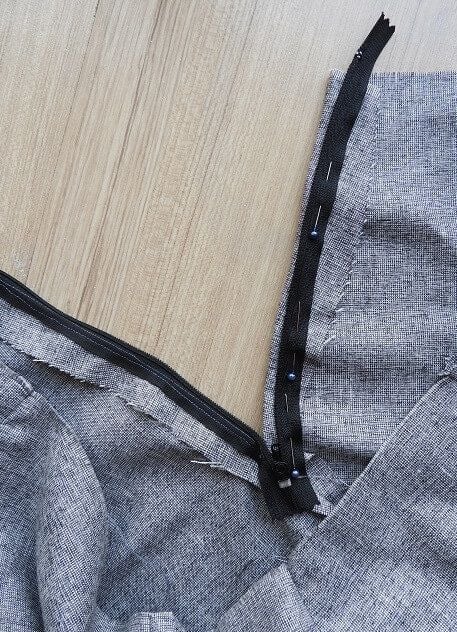
Keep the other side of the zipper on top of the folded seam allowance a little to the inside of the fold.
Pin in place and stitch.
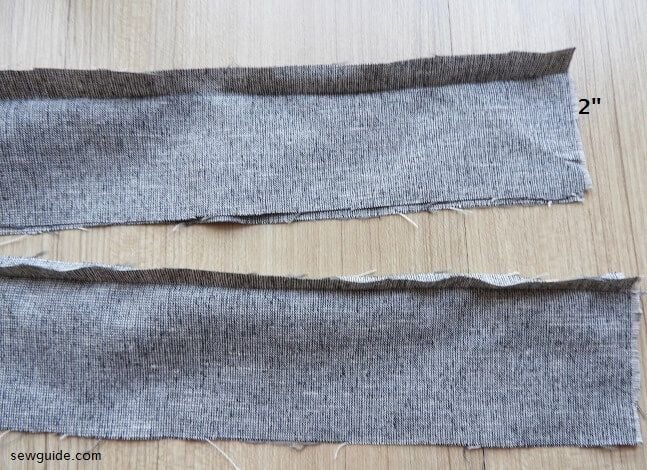
Step 6 Cut out the waistband pieces
Measure the top edge of the skirt you have prepared. Add 2 inch to this measure.
Cut 2 inch wide two fabric strips of length equalling the measure you have got.
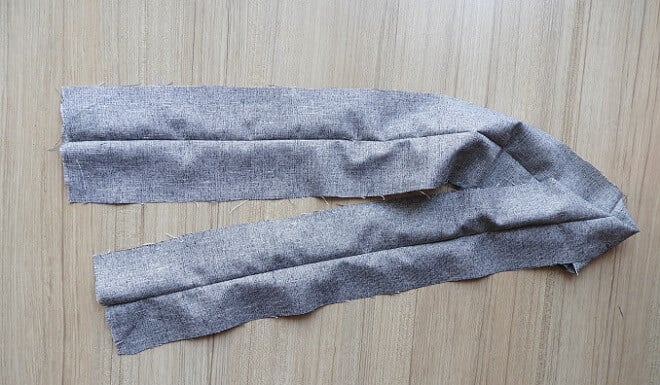
Step 7 Prepare the waistband
Fuse 1 1/2 inch wide interfacing to wrong side of one piece of the waistband fabric
With right sides together stitch the two fabric piece together along the long edge.
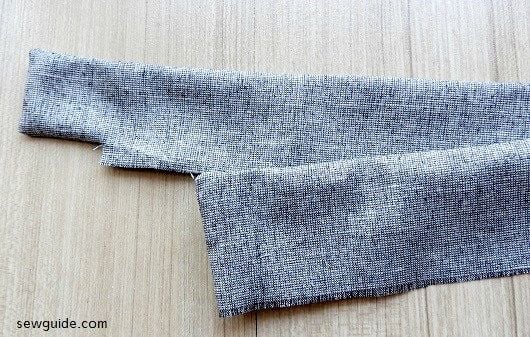
Keep the two waistband pieces rightsides together and stitch the edges as shown in the picture below. One long edge is fully joined
the short edges are joined as in the picture below

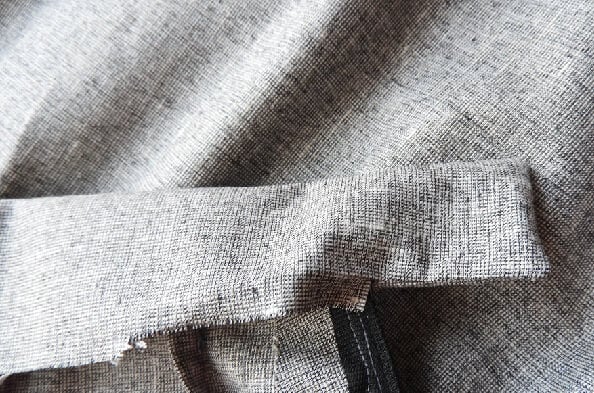
The extension of 1 inch is made to attach the closure like a button or buckle
Clip the edges and on the seam allowance just where you stopped stitching (1″ from the edge) on the extension ( ref picture)
Turn the waistband right side out. Poke with a sharp thingie for sharp corners
Step 8 Join the waistband
Keep the waistband long the skirt top edge right sides together, the extended portion projecting outside . Start from where you clipped the seam allowance earlier and stitch together the waistband and the skirt edge.
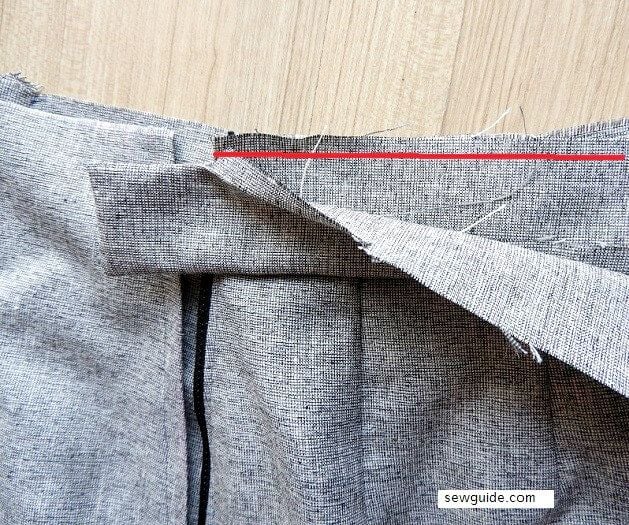
You will be joining the inside seam allowance of the waistband and the skirt top edge.
As you reach the other edge back stitch.
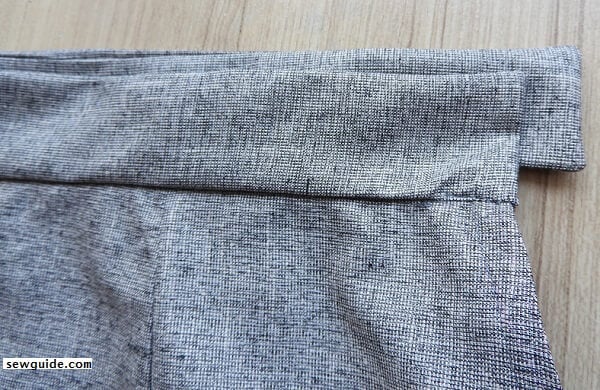
Now turn the waistband rightly and it will look like this.
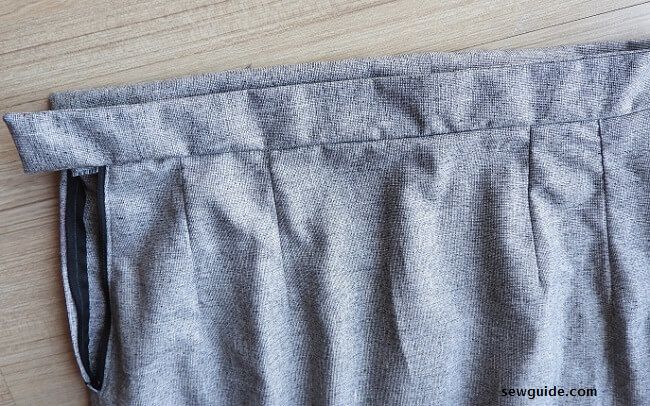
Fold the seam allowance of the other edge of the waistband and pin in place from the inside
From the top stitch in the ditch so that you will catch the fold you have made.
Sew a buttonhole on the extension you have and a button on the other edge.
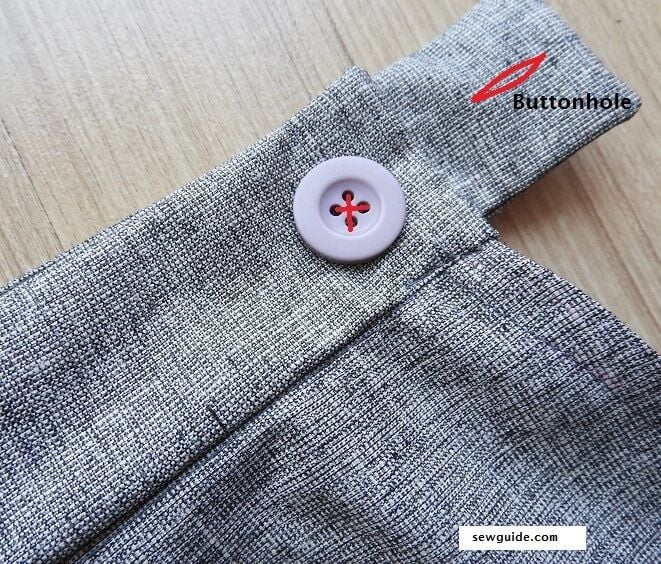
If you have a metal buckle you should sew it to the back of the extension and the bar on the other edge. Check out the tutorials for hand sewn buttonhole and machine sewn buttonhole and for sewing the button
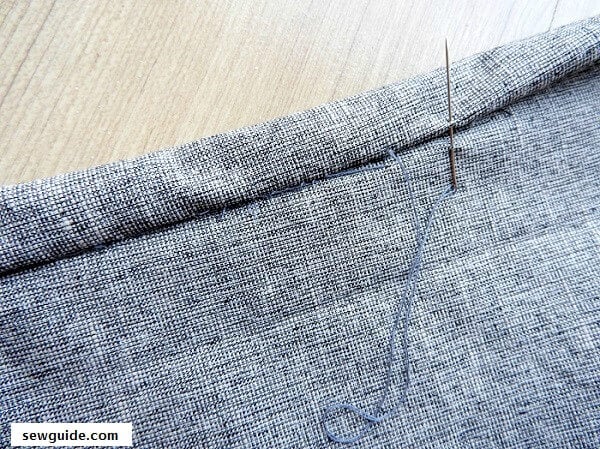
Step 10 Hem the skirt.
Hand stitch the hem after turning the hem twice. Simple over cast stitch or better a herringbone stitch would do. Check out hand hemming stitches here.
Related post: Learn a different way to sew a basic skirt in this post – Sew a flounced hem skirt – with an invisible zipper opening.
Thank you. Very helpful
A very good app
Thank you. Very helpful
Great pattern, easy to follow. You might want to add what the measurements for F & G in your diagram are for.. I just guestimated to add 1″ to the outside edge to get the curve you illustrated.
Thanks for sharing this!
Very helpful and simple to understand
I loved it.it was helpful.
It a beautiful lecture . I enjoy it
Thanks Deborah
Very helpful. I like your layout and step by step pictorial as well as explanation explaining ‘why’. Thank you for sharing.
its very help ful great experience
Good work. But how can I download d sewing tutorials. Tanks
Not good enough
It’s better than the one you didn’t put together.
Thankyou
tutorial pic is very helpful.
iam watching from papua new guinea
Hello. What is C-K2 length?
Hi Maude
c-k can be taken as the middle of the folded fabric c-a
Hello, can I make it using linen fabric?
Hi Anna
You can use Linen -but with an underlining; otherwise wouldn’t it be too thin?
Hi can this design be done using corduroy?
yes most definately.
Check that the grain and plush (not the right word, but if you rub it up and down, you will feel and see which way the corduroy goes) is on the downward direction
So Easy to understand. Thanks for the explanation. God bless you
Thank you so much