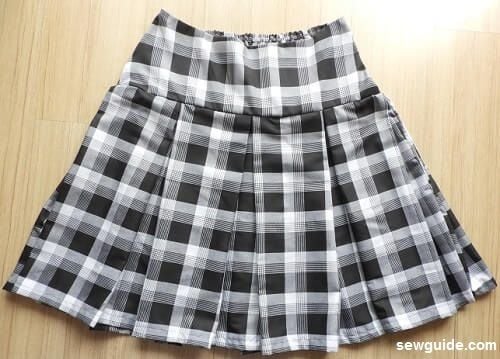
Step 1
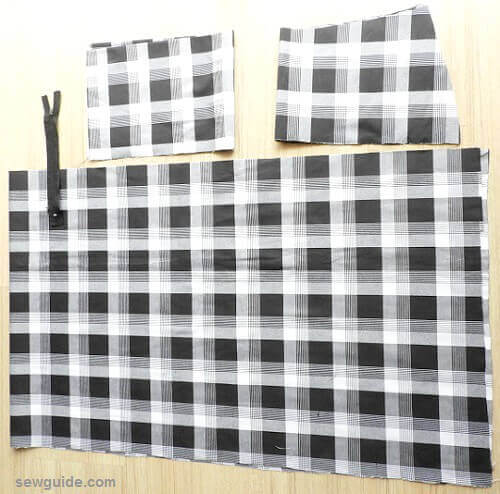
To make this skirt You need 2 pieces of fabric for the yoke: lining piece for the front yoke piece; 1 back yoke; 2 fabric pieces for the pleated skirt portion and zipper and a piece of 1″ or 3/4 inch elastic
Cut out the yoke pattern pieces according to the diagram given below.( The skirt patterns can be cut later)
Front yoke
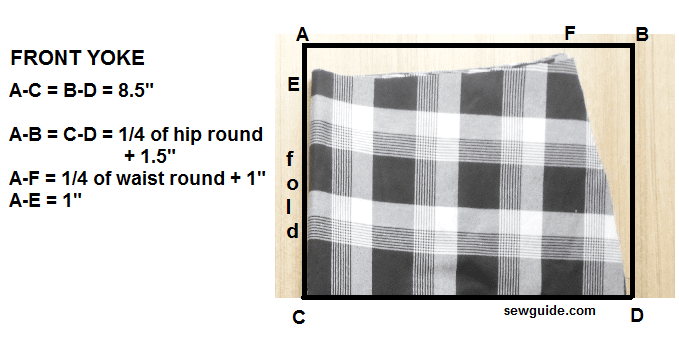
A-G =1″ This is marked down from A so that there is a slight curve in the waist.
A-F = 1/4 of waist round + 1″
C-D = 1/4 of hip round + 1.5″
Back yoke
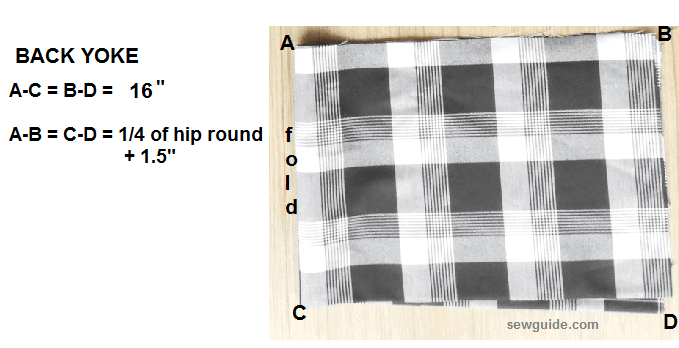
L-M = N-O = 1/4 of hip round + 1.5″
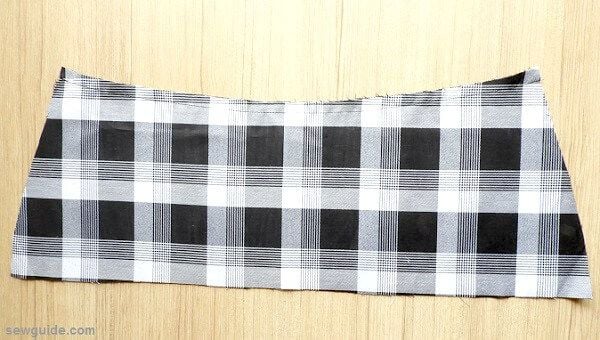
After you have made the pattern you will have 2 pieces of front yoke pattern (one front piece and one lining – I am using the same fabric as lining) and one big piece of back yoke which works as the front and lining.
Step 2 Join front yoke and lining at top edge
Keep the front yoke piece and the lining fabric right sides together and join the top edge with a 1/2 inch seam allowance.
Clip the seam allowance every 2 inch or so.
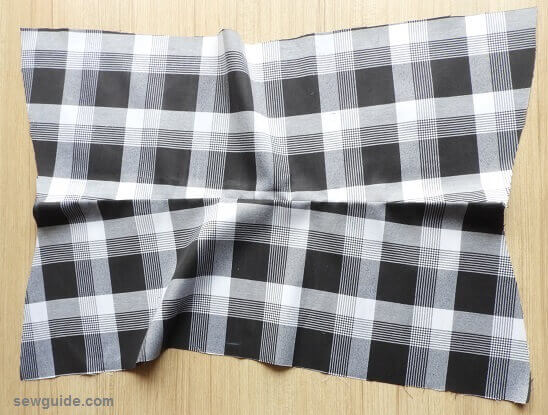
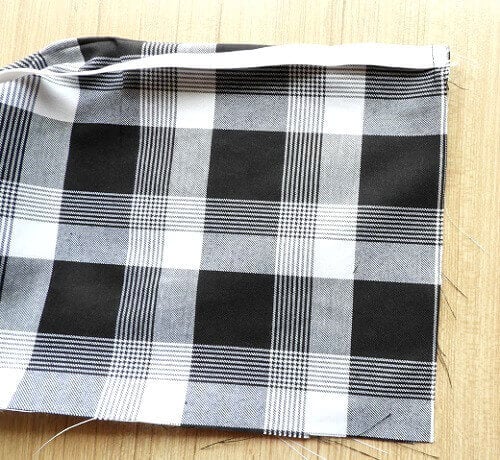
Turn to the right side and you have the front yoke ready
Step 3
The back yoke piece is cut so that the same serves as the lining and the casing for the elastic.
Fold the back yoke fabric piece by the center and press the mark. Open it up and Keep the elastic along one end. Baste stitch in place.
Close yoke piece so that the elastic is lying inside.
Open the front yoke piece and lay it out flat, right side facing you.
Keep the edge of the back yoke inside the front yoke piece and then bring down the other side down over it so that the back piece is Sandwiched inside the front yoke.

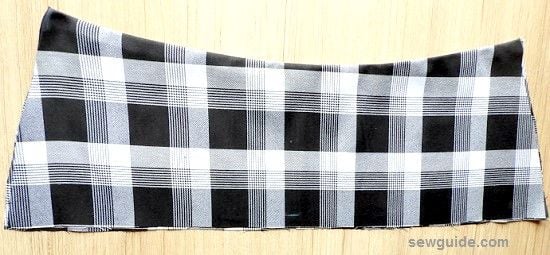
Turn the top seam allowance down and stitch together with a 1/2 inch seam allowance.
Turn the pieces right side out. Now both the front yoke and back yoke are joined neatly with the seam allowances all hidden inside.
Step 4 Join zipper and back yoke
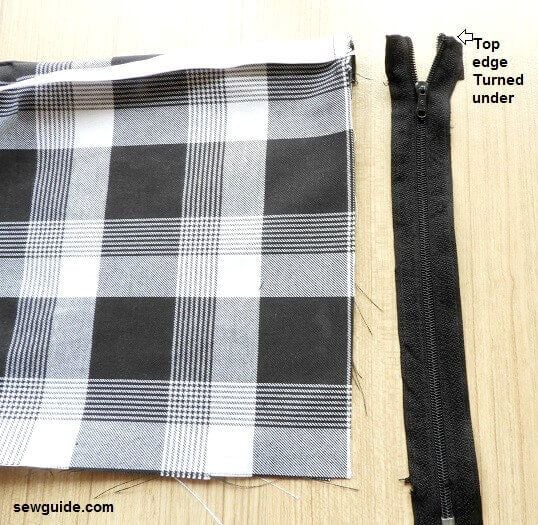
Now You have to join the zipper to the remaining edge of back yoke.
Take the other edge of the back yoke. Open the back yoke so that the wrong side is facing you. Keep the other side of the elastic and baste in place near the middle center fold line (ensure that the elastic is not twisted)
Fold it by the center. Take the zipper and hand stitch the top edge turned under – both the sides of the zipper teeth
Keep the zipper face down inside this back yoke.
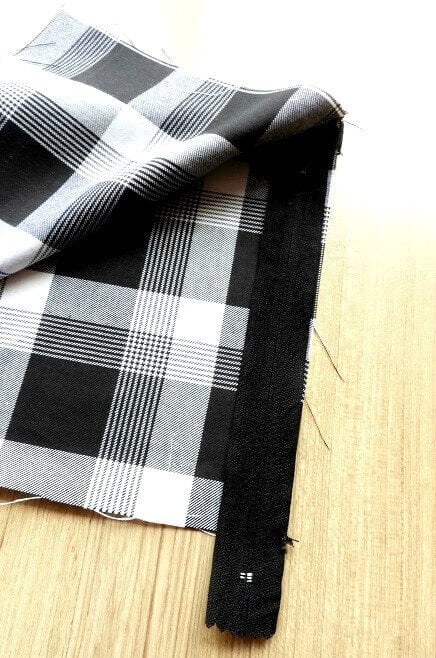
Stitch the edges together. Use a zipper foot on your machine so that you can stitch close to the zipper teeth
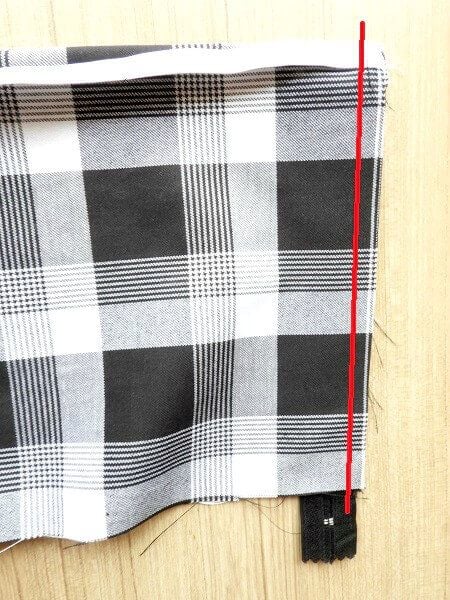
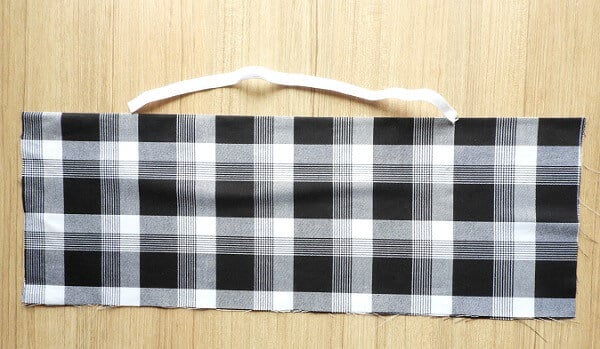
This will finish one edge with the zipper. It will look like this when turned right side out ; One side of the back yoke attached to one side of zipper.
Step 5 Make Casing for elastic
Stitch the casing for the elastic- you can top stitch elastic in place by making a stitching line just under the elastic (effectively making a casing) along the edge of the elastic.
You will have to stretch the elastic a little bit to get it nicely done without bunched fabric.
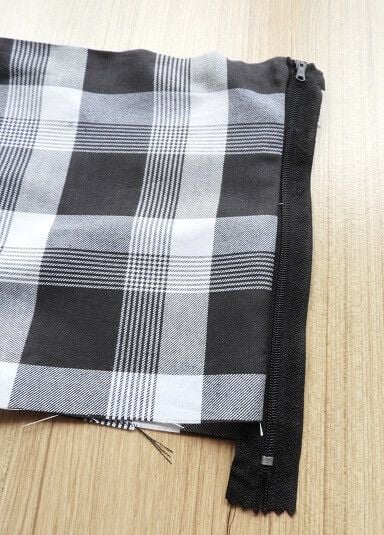
Step 6 Join the zipper and front yoke
To join the other edge of the zipper to the remaining edge of the front yoke –
Open the front yoke right side up and Keep the zipper edge ( the remaining unstitched zipper edge) face down along the edge of the yoke as in the picture below.
Turn the top piece of the yoke by the middle fold so that the zipper is sandwiched inside.
Stitch the edge together making sure that the stitching line is close to the zipper teeth( use your zipper foot please).


Trim the bottom edge of the yoke evenly
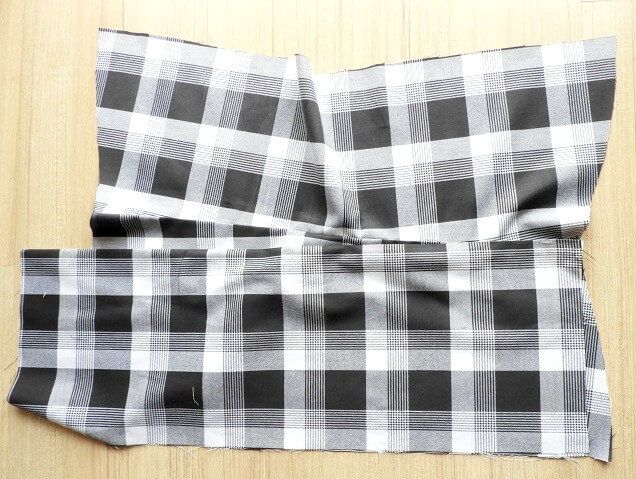
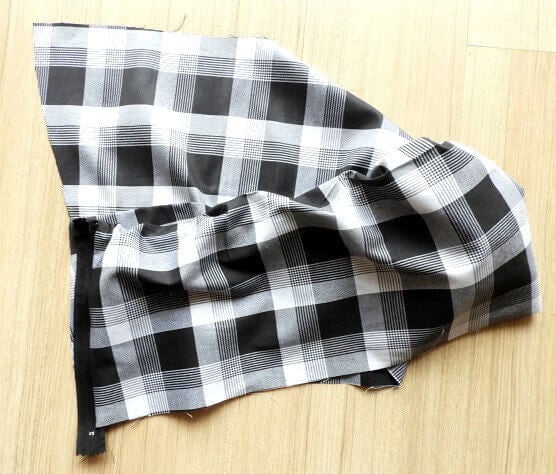
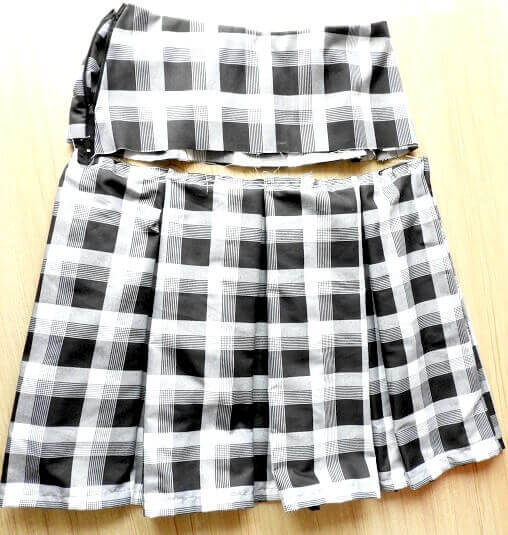
Step 7 Cut the Skirt pieces
You need to cut the skirt pieces. First, take some measurements
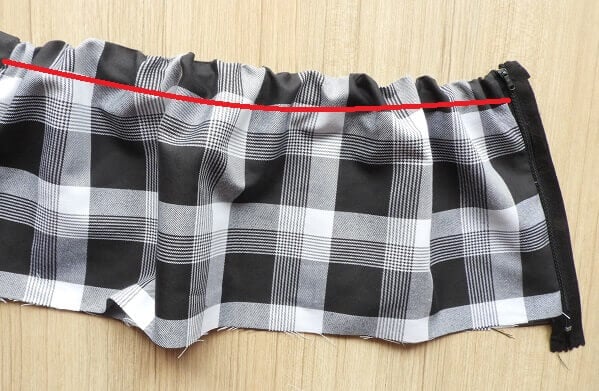
Measure the bottom edge of the yoke ( full round) you have finished. Take this as A
Decide on the number of pleats you want. Take this as B
Each skirt piece should be of width = A * 3 + 1″; You need 2 such pieces for the front and back.
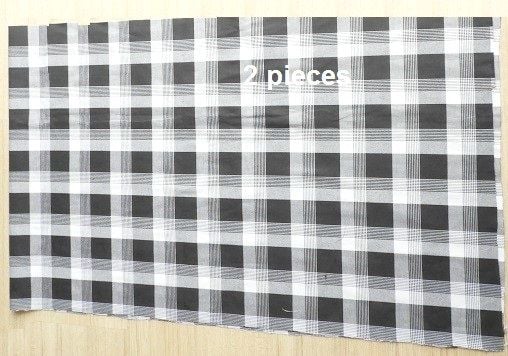
Length of each skirt piece would be the total length you need for the skirt minus 5 inches ( i.e minus 7 inches for yoke plus 2 inches for hem and seam allowance)
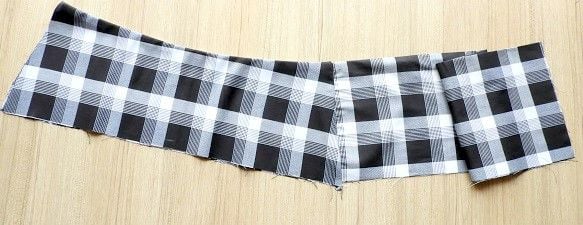
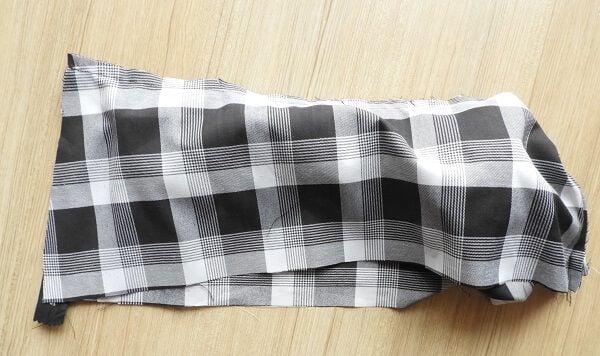
Hem the skirt pieces by turning under the bottom edge twice and stitching. Ensure that both the pieces end up with the same height. You can join the two fabric pieces now or after pleating.
Step 8 Pleat the skirt pieces.
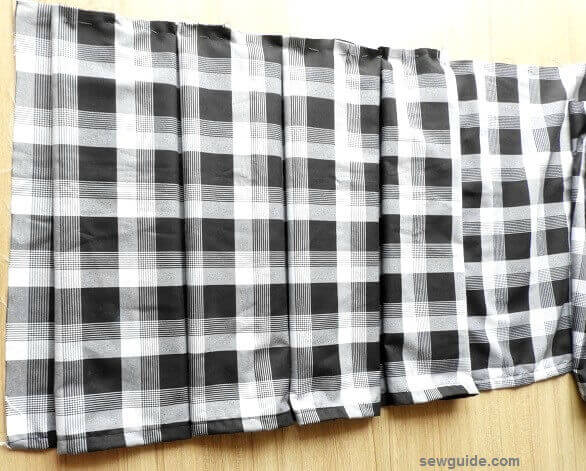
The pleating should have the following dimensions
Each pleat should measure – A/B
For eg. if the bottom edge of the skirt yoke you have made is 44 inches and you want 8 pleats you would be making (44 divided by 8 ) 5.5 inch wide pleats
Start pleating from one edge leaving 1/2 inch seam allowance. Make basting stitches with a hand sewing needle and basting stitches holding the pleats in place as you make them. When you finish pleating you should leave 1/2 inch seam allowance.
After everything is basted in place ( baste stitch with a sewing machine if you are unsure about the hand stitches holding) join the fabric edges together – to make the skirt tube.
Step 9 Join the skirt yoke and the pleated skirt
You will have to ensure that the top edge of the skirt and the bottom edge of the yoke are of the same measurement. If it is not you have to adjust the pleats so that they are of the same measurement before joining the two together right sides together – you can insert the yoke piece inside the skirt piece right sides together and stitch the edge.