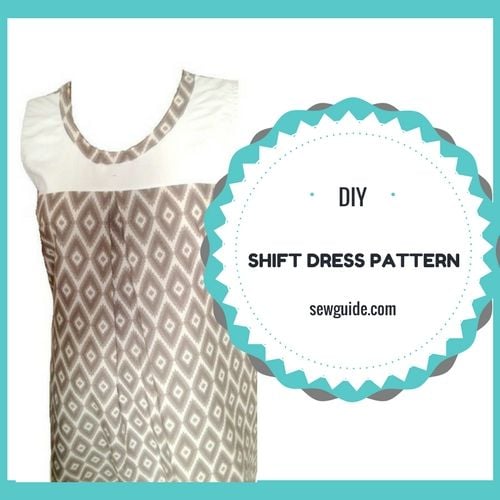
What is a Shift Dress? And How to make one?
- What is a Shift Dress? And How to make one?
- Pattern 1 for Shift Dress
- Step 1 Make the sewing pattern for the Shift Dress
- Step 2 Embroidery
- Step 4 Cut out sleeves
- Step 5 Join shoulder seams
- Step 6 Join sleeves
- Step 7 Do the neck binding
- Step 8 Join the side seams
- Step 9 Bind the hem
- Sewing Pattern 2 for Shift Dress
A shift Dress is the most simplest of all dresses – the kind which falls from the shoulders in a casual fit – not too loose or not too tight, with simple clean lines. Sewing one is as simple as the dress is. Just follow the patterns given below and sew one easily.
Pattern 1 for Shift Dress
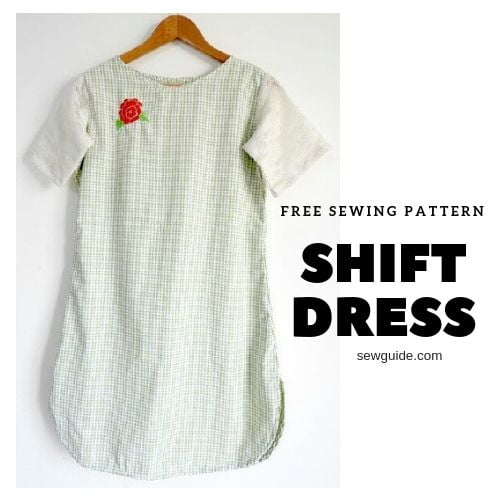
This is a sewing pattern to make a knee-length shift dress with sleeves. You can skip the sleeves if you want to.
Step 1 Make the sewing pattern for the Shift Dress
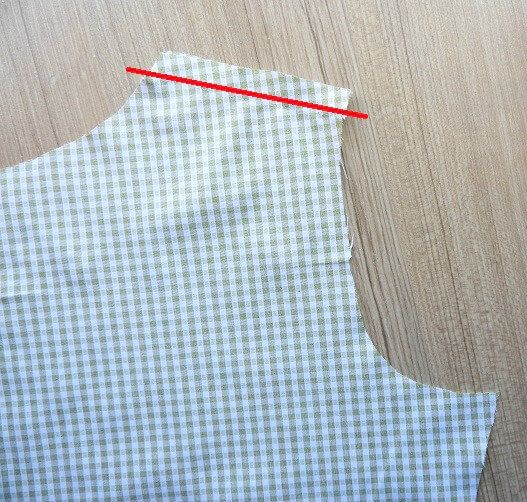
The pattern given below is for both the front and back of the dress – the difference between front and back is in the neck depth and the armhole. The front neckline and the front armhole is marked as red lines in the diagram

Mark on the fabric. The Back armhole is marked as a curve on the line drawn straight from E. The front armhole is marked 3/4 inches to the inside (P-Q on the diagram).
For more details on the armhole either look at the post on drafting the basic bodice or the shift dress pattern given below
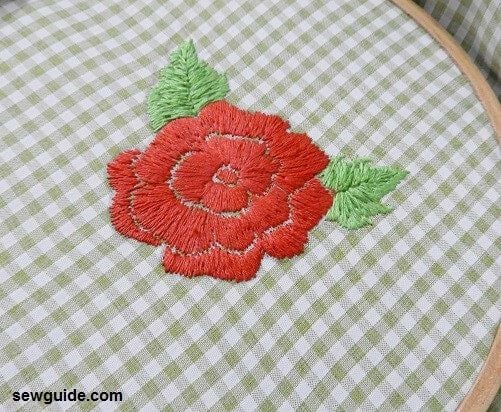
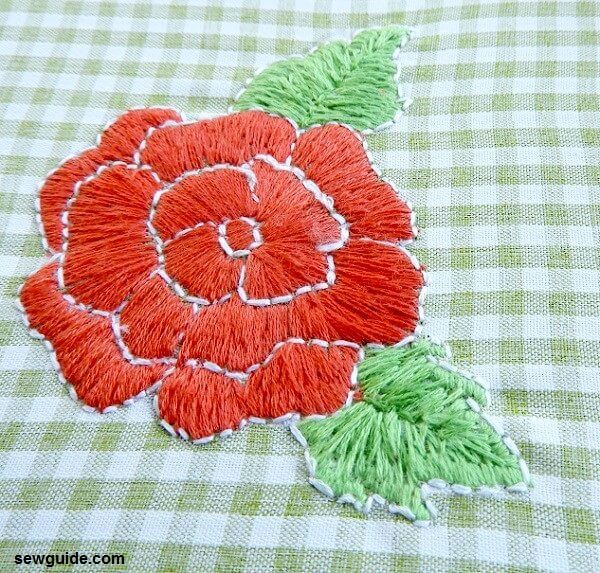
I am doing a small rose embroidery on the front bodice so the embroidery will be done before cutting the fabric. If you do not like the rose here choose another rose embroidery design from this post. Or a simple floral embroidery design from here. Check out this post on some tips for embroidering on clothes
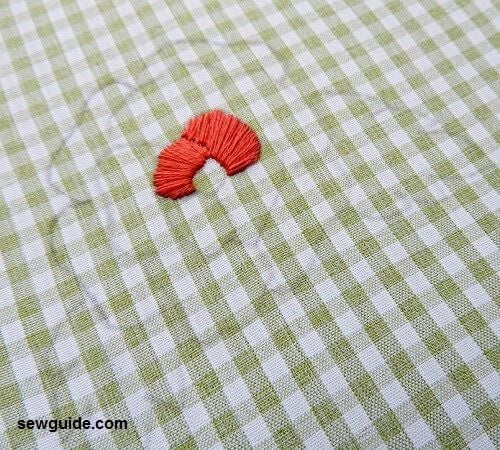
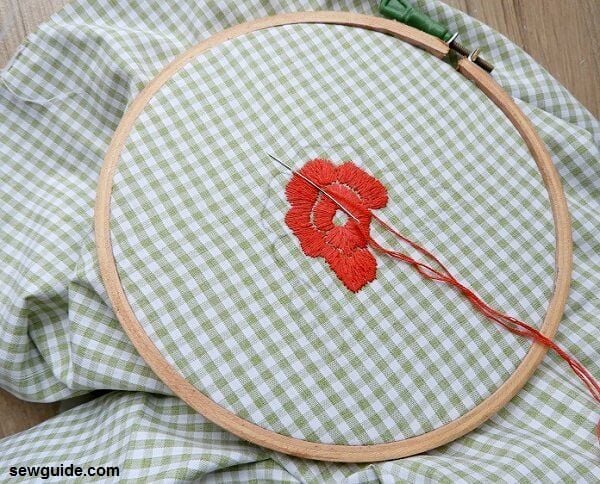
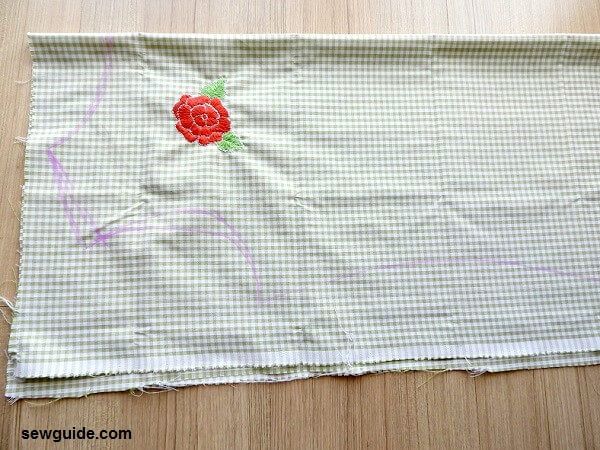
Step 2 Embroidery
Mark the embroidery pattern. I adhered a small piece of iron on interfacing paper thin kind on the back of the design for some stability to the thin fabric I had
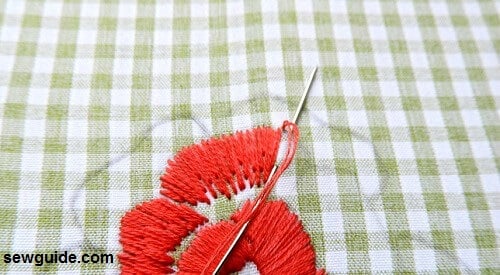
Started to fill the embroidery design with satin stitches and long and short stitches.
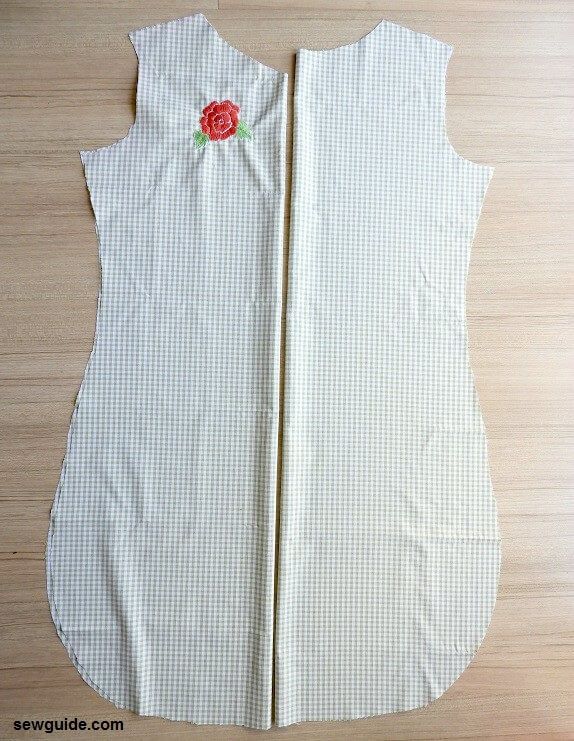
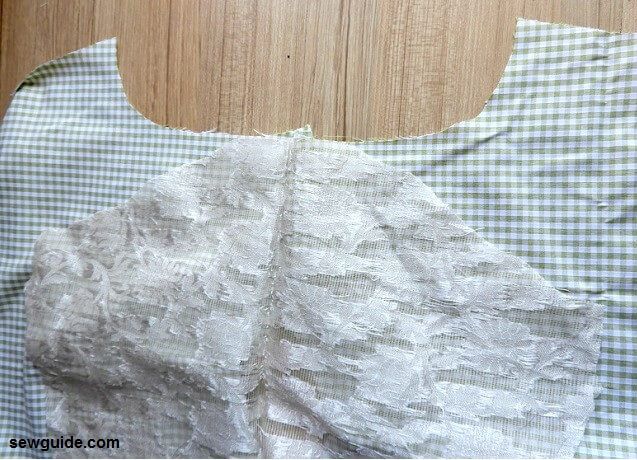
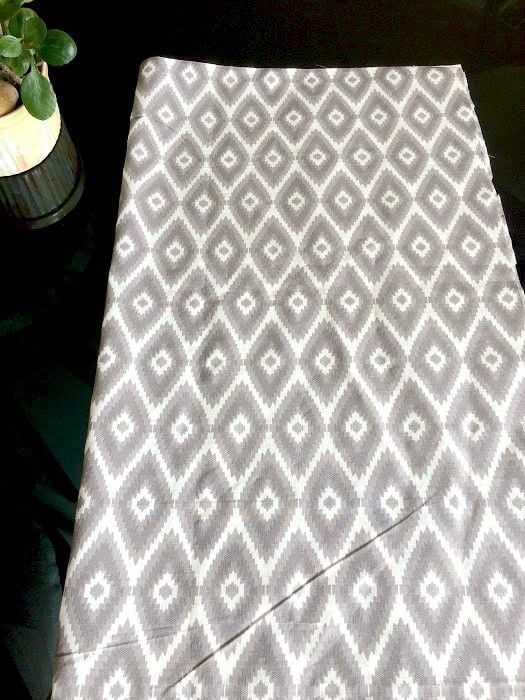
Step 3 Cut out the fabric pattern pieces
You need to cut out the front and back pieces
Here you have the back and front pieces folded
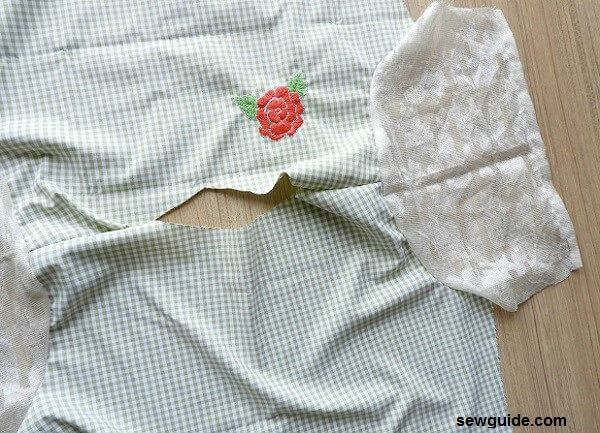
Step 4 Cut out sleeves
You can draft the sleeves as per the pattern given in this post – Sleeve pattern
Step 5 Join shoulder seams
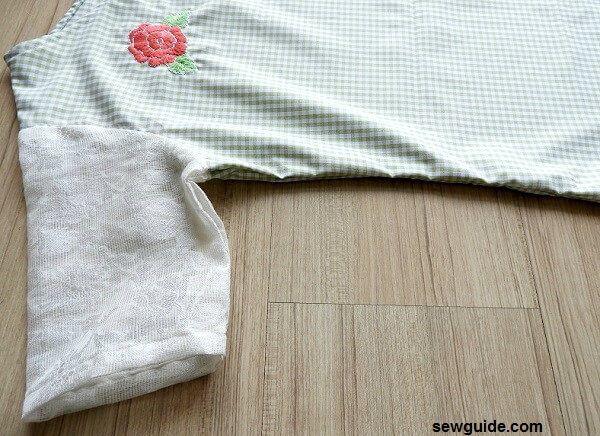
Step 6 Join sleeves
Step 7 Do the neck binding
I used a 1-inch strip of bias binding to bind the neckline. Start from the middle of the back neckline – fold the short end of the bias binding to the inside as you start.
If you want to use a facing to finish the neckline, check out this post on making an Aline dress
Step 8 Join the side seams
You should be joining the side seams only till the mark you made for J in the pattern given above- which is 5 inches from the bottom edge
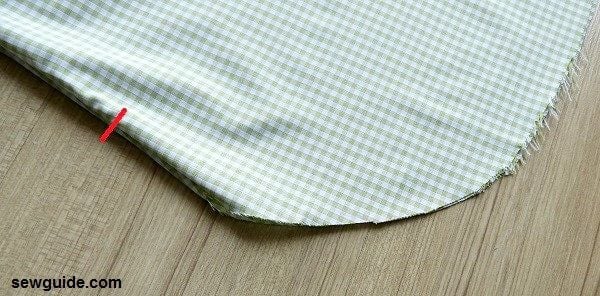
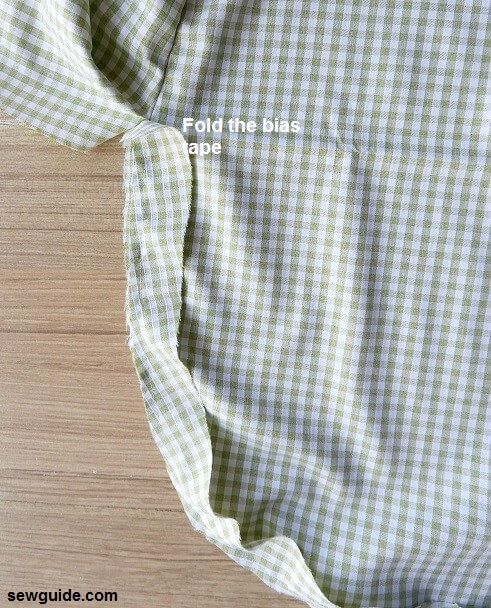
Step 9 Bind the hem
Use 1-inch wide bias tape to bind the bottom hem till the side slit. Remember to fold the short edge of the bias tape inwards as in the picture below. Turn to the back and stitch in place.
Sewing Pattern 2 for Shift Dress
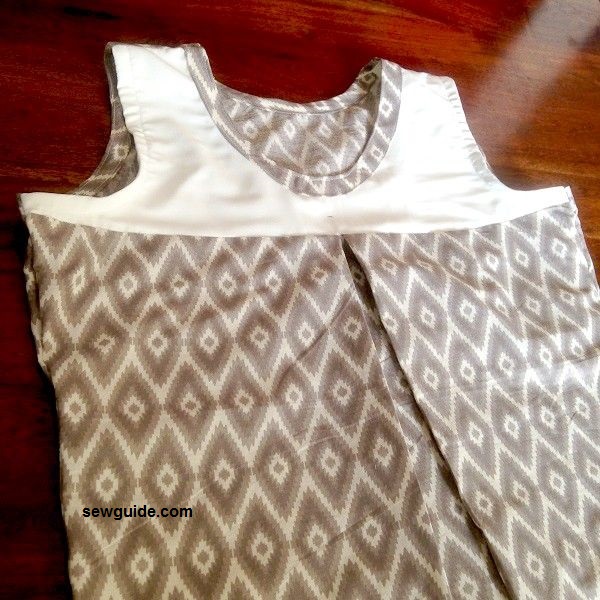
This is a pattern for a very easy to sew Short, sleeveless shift dress with inverted pleats in the bodice
Step 1
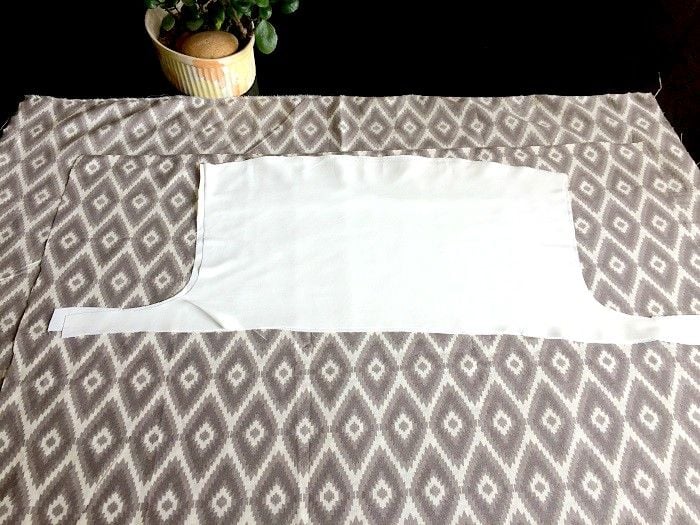
Cut out the pattern pieces. You need one yoke piece, one bodice piece, one back pattern piece , and facing for the neckline and bias binding to finish armholes and back neck
Back Pattern
 .
.
Front Pattern – This consists of 2 pieces – the yoke piece and the bottom piece

To make the front dress piece you need 4 inches extra in the center for making the inverted pleats.

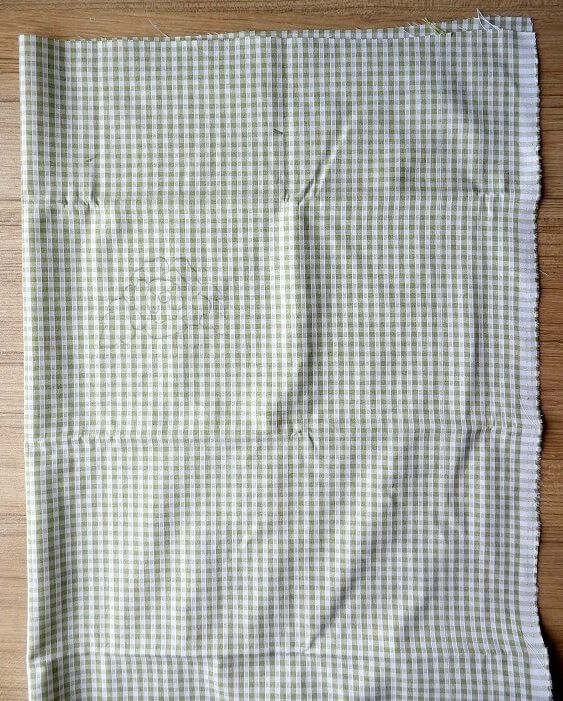
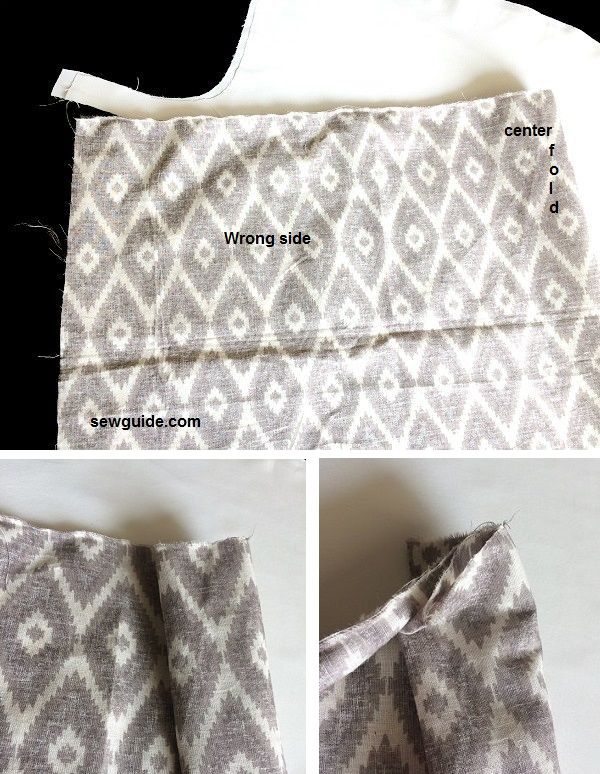
Step 2
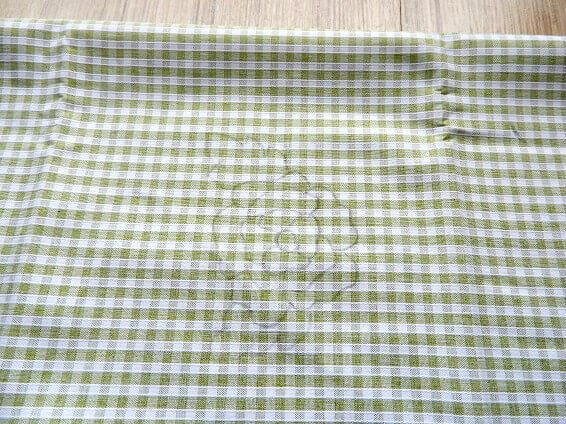
Make the inverted pleats in the front dress piece.Turn up the wrong side of the fabric . Keep the fabric folded by the center. From the center fold line, mark the correct center of the bodice. From there make pleats to either side of the center fold line, as shown in picture below. Pin in place. Baste stitch in place
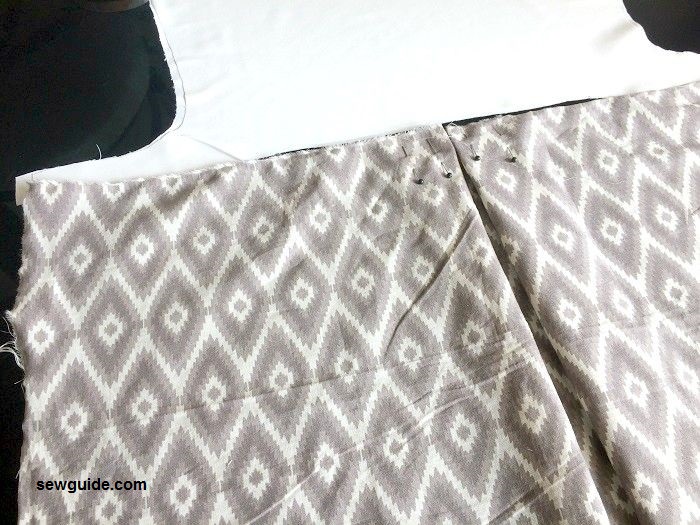
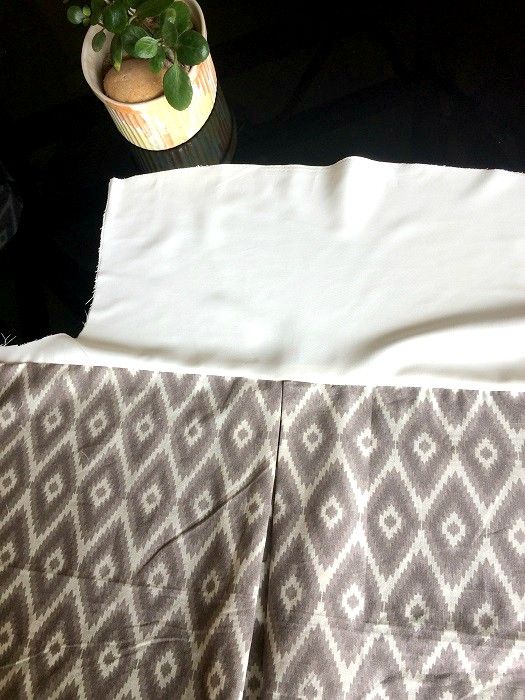
Step 3
Join the yoke piece to the front pleated piece, making sure that center points are all in alignment.

Step 4.
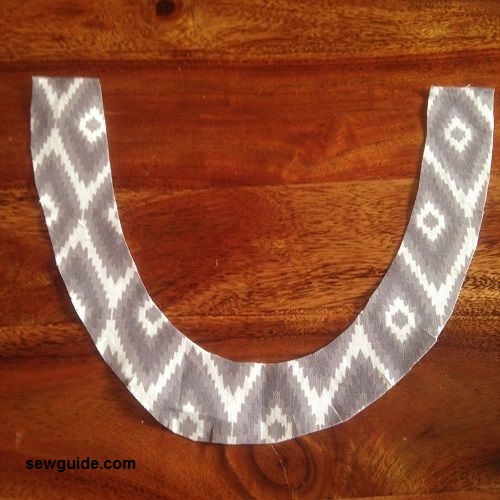
Make the facing for the neck. For that I marked the neck on a fabric piece on which I had applied interfacing on the back. As I wanted a binding band on the neck, I cut out the facing 2 inches ( which includes 1/4 inches on either side for seam allowance) . I cut it out precisely. Slit the fabric edges of the facing outside edge every 1 inch so that I can turn it smoothly.
Step 5
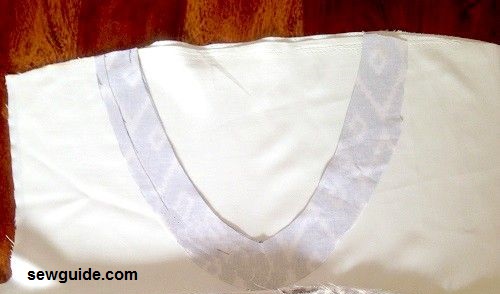
Place the neck facing right side down on the wrong side of the front piece, ensuring that the neck width markings on the facing and the main piece are aligned. Pin in place . Sew the facing to the front bodice. Cut out the neck opening. Understitch the facing to the front yoke piece. Turn the facing to the right side.
Turn under the outer facing fabric edge inside. Stitch in place
Step 5
Finish the back neck of the back pattern with a bias binding
Step 6
Finish the armhole edges with bias binding
Step 7
Join the side seams
Step 8
Finish the hem.