My husband told me that Microsoft CEO will soon be offering me a Job.
Knowing him, I knew there was more. And there was. It seems he recently read somewhere a quote attributed to Bill Gates that said he wants to hire lazy people. What he is supposed to have said is “I choose a lazy person to do a hard job. Because a lazy person will find an easy way to do it”
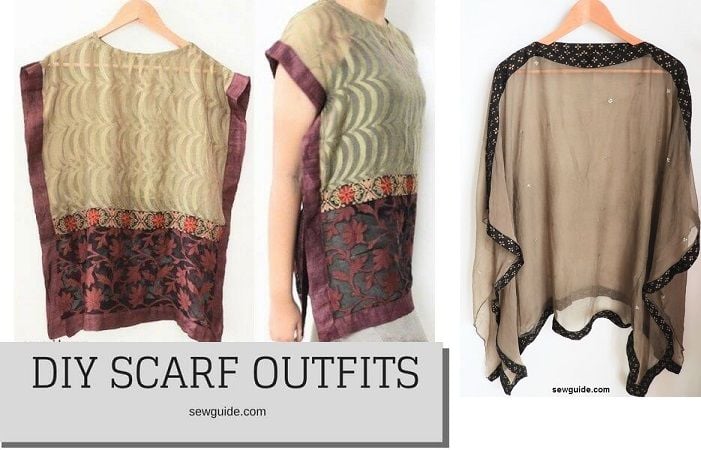
Can’t argue with that logic, since I do this all the time, so I let go of that jab. Being lazy has its advantages. Deciding to turn a Scarf into a top is one such. These scarf outfits are Easy to sew and made in such a short time and are great to wear
And takes care of the problem of what to do with all those old scarves, shawls and wraps.
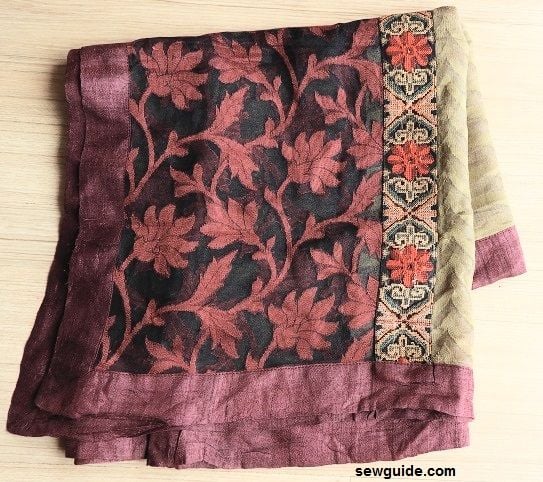
You will need big scarves to make these tops – not the skinny ones. If they have border prints or border attached, very well. If your scarf does not have a border on your scarf you can easily sew them – follow the post on making scarves for details on how to add a border.
You may also want to check out the related posts on 12 of my favorite ways for tying and wearing scarves and the detailed post on the dimensions of different types of scarves.
Scarf Outfit 1
To make this scarf top You will need a scarf of width equalling half of your bust round + about 5 inches extra. For example for a bust round of 36 inches, the scarf width should be 23 inches
The length of the scarf should be at least 56 inches (for a 27 inch long top).
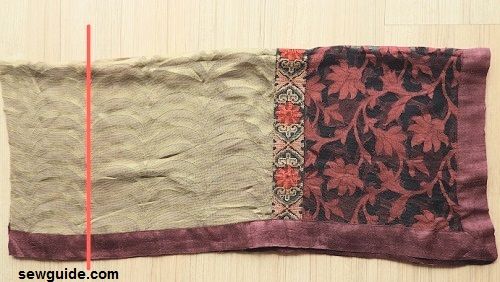
Keep the scarf folded by half and cut it to 28 inch long pieces (2 pieces)
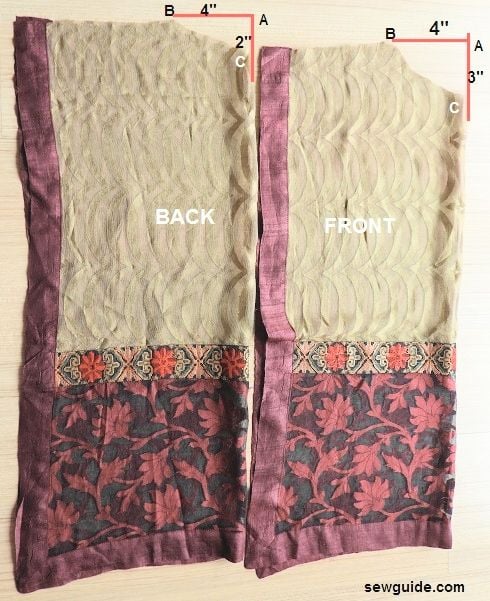
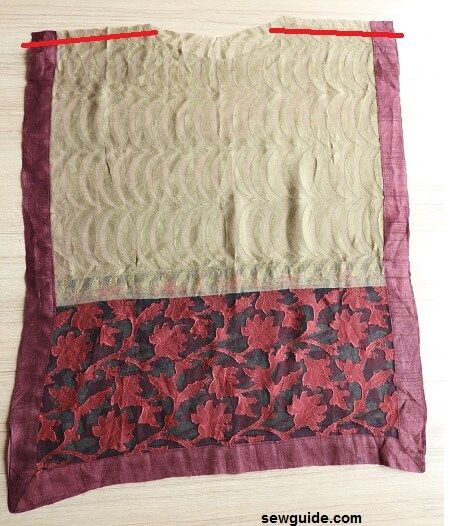
Give a slight slope of 1/2 inch to the shoulder. Mark the pieces as in the picture below and cut out the necklines of the front and back pieces.
Give more neckline depth for the front piece if you want a lower neckline.
Keep the scarf pieces right sides together to the inside and stitch the shoulder seams. Red lines in the picture below are the stitching lines.
Turn the top rightside out.
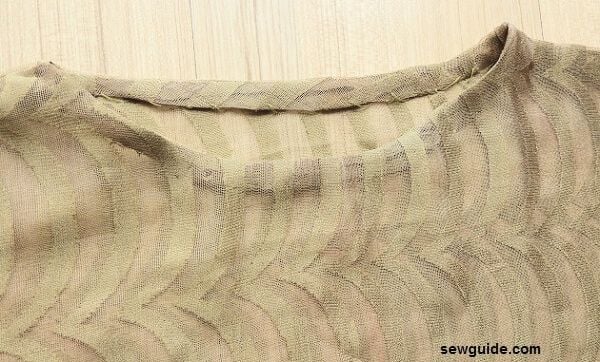
Now you have to finish the neckline.
I am binding the neckline with bias tapes. Check out the post on making bias binding tape and How to sew bias binding.
Keep bias tapes along the neckline (right sides together) so that the joint will come to the back

Remember that the bias tape should be folded to the inside initially at the short edge so that the raw edge would not be visible
Turn the bias tape to the inside and stitch in place – hand stitches work best
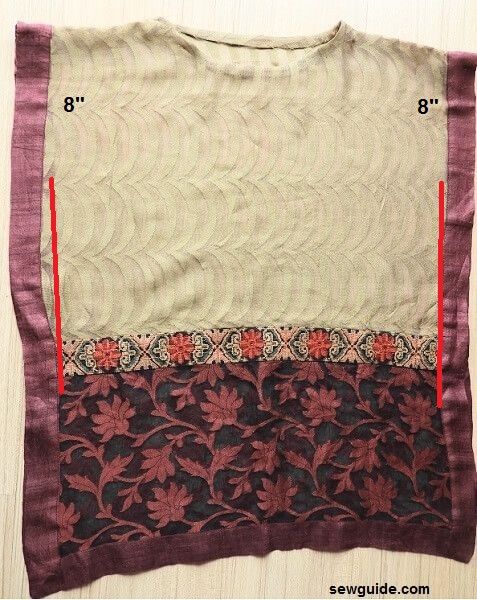
Now keep the top towards you, right sides out. Leave 8 inches from the shoulder line and stitch the side seams along the border – red line in the picture below
This forms a small slit at the bottom edge of both sides.
That is it.
This top is slightly boxy in shape – because of its straight side seams. You should be making it with flowy soft scarves like chiffon, georgette etc. The next top made from a scarf is a little more fitting in shape.
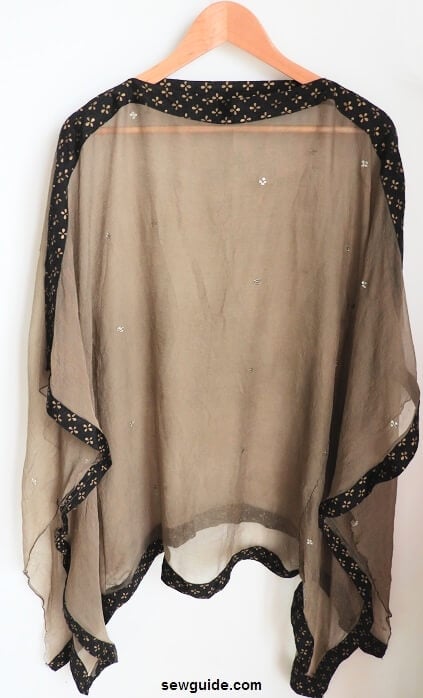
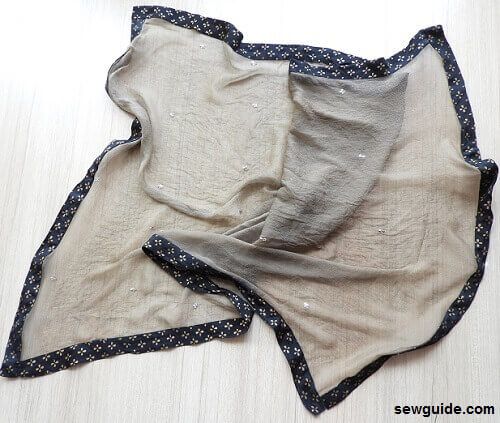
Scarf Outfit 2
This is a flowy top with an asymmetrical hemline and a boat neckline.
Measure your bust round & hip round
Measure the length from one elbow to the other ( You may have to take the measurement from one elbow to the center of your body and double it, as it is a stretch to take this measurement by yourself). Assume this is A
The total length of your scarf should be double the measure of A.
The width of the scarf should be the length you want for the top. If the scarf you took out is lesser than this keep it back and take a wider one. I have a scarf of 28 inch width which gives me that much length for the top.
How to sew this scarf top
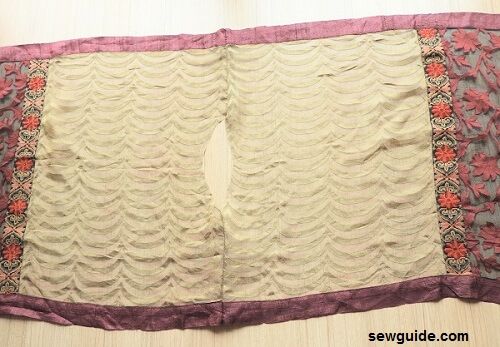
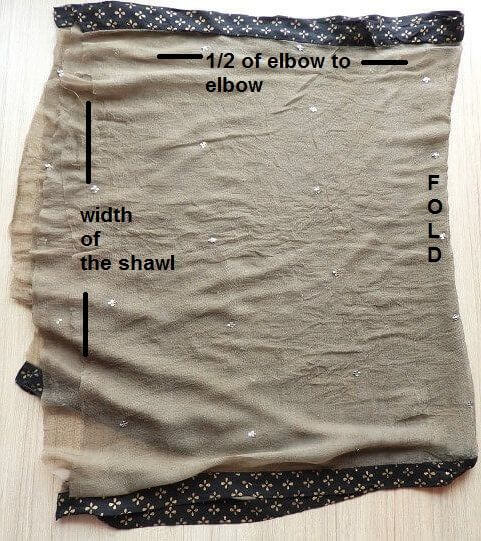
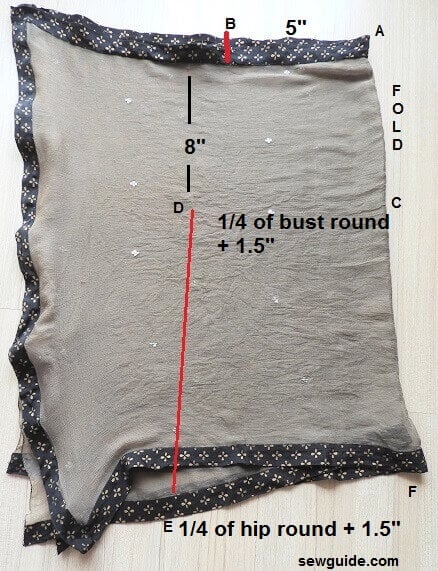
Take your scarf. Cut out 2 pieces of the following measurements. Ie the measure A in length ( if the scarf is folded, half of A, as in the picture below) and the length of the top in width
Finish the cut edges of the scarf with the hemmer foot.
The selvage of the scarf on the long sides will be left as it is. If you have a border print you are good to go.
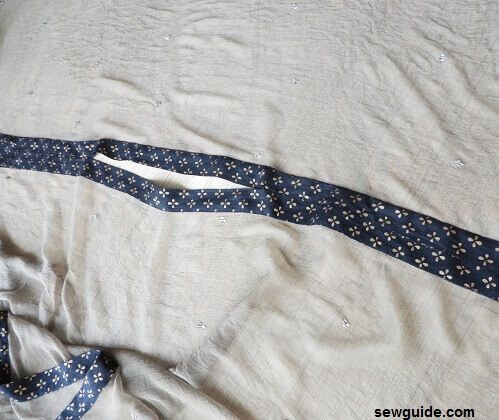
I decided to cut the border from one of the short edges and reattach it to the front piece side edge so that it forms a nice border on all four sides. This is totally skippable. A rolled hem would do if you are in a hurry.
Now fold the two pieces by the center and mark the neck width. A 5 inch neck width. Mark the side seams also, as in the picture.
Open the pieces.
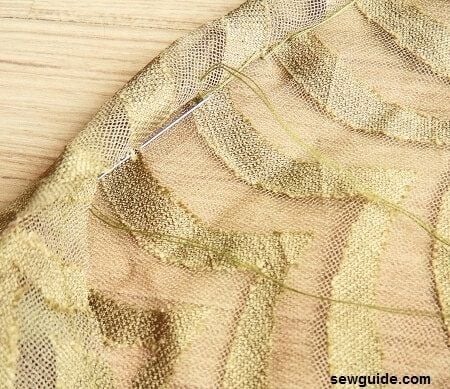
Attach the shoulder seams with a butt seam. A butt seam means you will be keeping the two edges adjacent to each other and join the pieces together with a zig zag stitch.
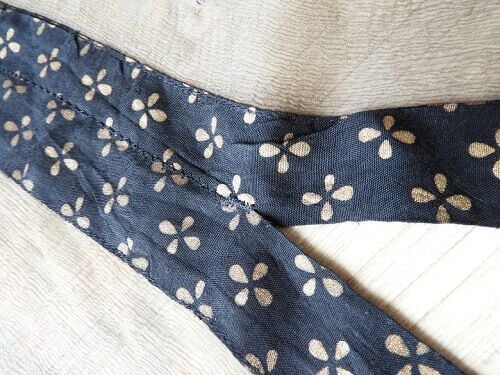
The stitch will catch hold of the two pieces. This eliminates the need for a seam allowance. See more seams like this in the post on sewing seams.
Do this for both the sides leaving the neckline unstitched. Remember to make the stitch near the neck stronger with back stitches.
Mark the side seams on the right and left sides. Keep the top right side out and stitch through the side seam lines you have made, joining the back and front pieces. (Stitching is done from the right side)

This is made in the style of Kaftan style tops. If you would like to see how a Kaftan top is made check out the tutorial for Kaftan sewing here.
Wear it and see if it fits.
You can check out the free patterns to make easy kimono jackets – they can easily be made from scarves -infact one is made from a scarf with border
3. Poncho style Top from scarf
You will need a 60-inch long scarf which is about 20 inches wide to make this very easy casual poncho top. Sewing this involves arranging the scarf into the shape of a top and top stitching it in place
First arrange the scarf so that one side is wrapped over the other side. You will get a v shaped neck with this arrangement. Pin in place and top stitch the wrap in place arranging it carefully to get the neck opening you want
Related post: 15 different types of scarves; More poncho sewing patterns ; Easy open jacket pattern
I have scarves I no longer wear, but thanks to your post, now I WILL!!
Thanks Sarina
These are great patterns
Thanks so much Sarina!
The instructions for the third top are cut off after the first step of crossing over to make a v. Can you tell me how to complete this?
I would like a few of the free patterns
I have a million scarves and know that I will never wear them. This is the first time I have seen something practical to do with scarves. I love the patterns on the fabrics, so I want to keep them. I see that you posted this around 2 years ago. If you have any other scarf tutorials or ideas, please let me know! Thank you!
Wow this is just what I’ve been searching for. I had the idea in my head but as I’m new at sewing I didn’t have the know-how to put my idea into practice. Thank you so much for your easy to follow instructions
Thanks Claire; Happy to know that these ideas have helped you
This is very well detailed thank you. Are there videos for this ?
This is wonderful! It looks fun and is so practical. I’m going to give it a try
Hi Valerie
Thanks for leaving the comment