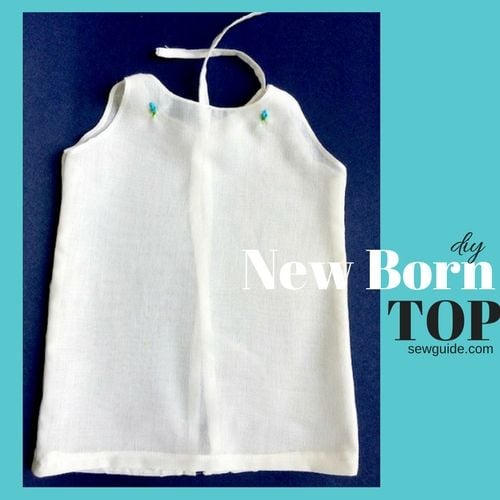
This is a free-size pattern to make a simple top a newborn baby can wear during the first few weeks of his/her life when the baby needs some soft and simple clothing against the cut umbilical cord.
If you want to sew gifts for your ‘soon-to-be-a-mother’ friend or cousin or neighbor this is a welcome gift as most of the clothing available is too large for the teeny weeny newborn babies or too restrictive or difficult to put on or take off or harsh on the baby skin.
The top has a back opening with two ties in the back and it can be put on the baby by simply slipping the hands through the armholes of the top; You just need to tilt the baby slightly to tie the back ties. No velcro or snaps which may irritate the newborn baby skin. Simply soft cotton cloth against his soft skin.
This top is strictly not for babies who move around and begins to grab things with their hands. As the top ties on the back with straps and the baby may get hold of the straps as he begins to move, it may prove to be dangerous. But for the two, three weeks or so when the movement is less, this is a nice clothing to be included in your list of baby essentials.
Checkout the post on preparing a Baby layette- the essential things that a baby will need.
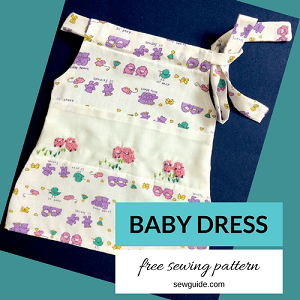
Also checkout the tutorial to make a very easy baby dress which can be worn by the baby for upto to 3-4 months .
As for this pattern, You can make it with the softest of cotton – Soft Voile, thin good quality muslin etc. Anything that breathes. No synthetic or heavy fabric.
Check out the post on the best fabric for making kids/babies clothes. The top is made in a free size with the assumption that a newborn baby will have a chest round of about 14 inches
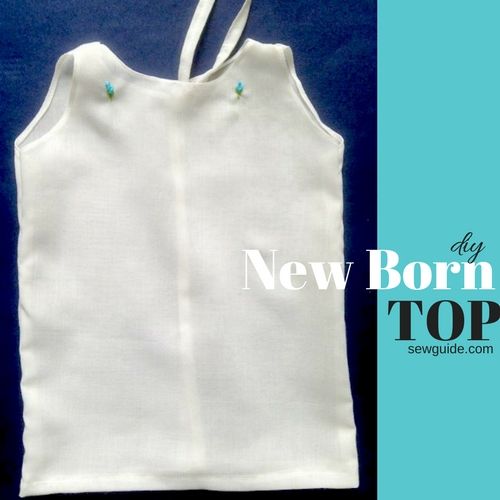
Top for newborn babies – sewing tutorial
Step 1
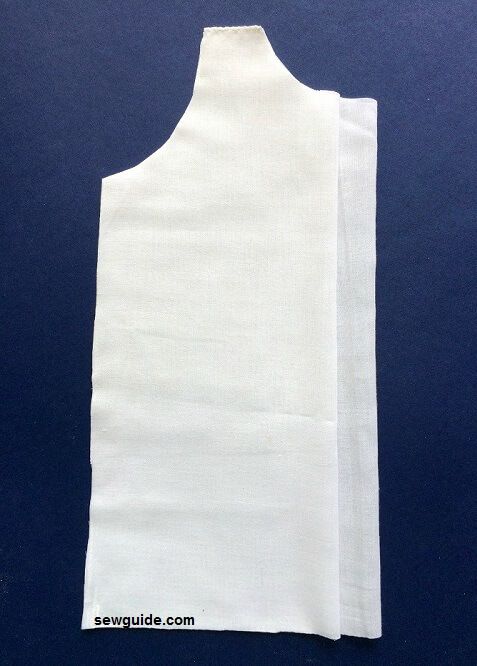
Cut out the pattern pieces as per the pattern given below. You can make the pattern two ways. The first one is without side seams. It is the easiest as it has seams / joints only at the shoulders.
The next pattern has three pieces -front piece and two back pieces, which will be joined at the side seams leaving an opening at the back.
The back pattern consists of 2 pieces with 1″ extra than the front piece on the two pieces to take into account the edge turning allowance.
I am making the second pattern in this tutorial. The first is super easy as it has only to be joined at the shoulder seams and the top is ready
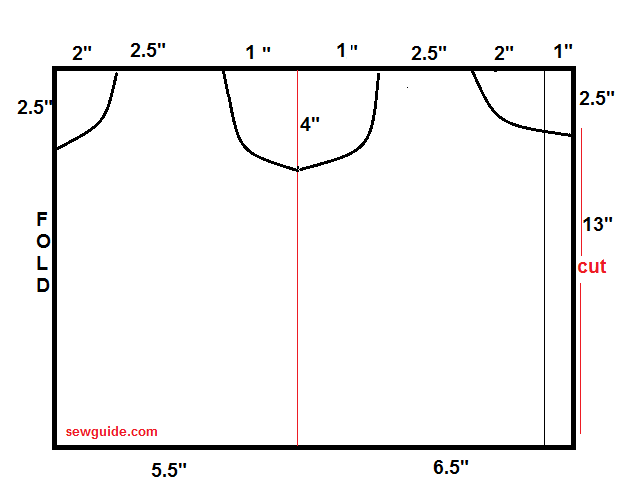
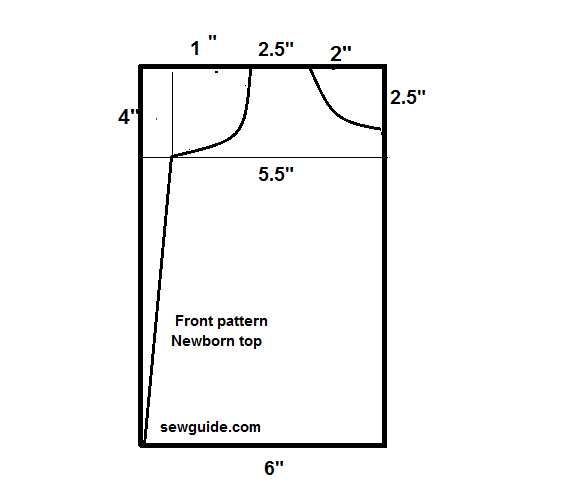
The first pattern for newborns
(one piece pattern which just has to be joined at the shoulder seams ).
To cut this pattern take a piece of fabric 24 inch wide and 13 inch long. Fold the fabric by half and mark the pattern below on it. The pattern near the fold is the front bodice and the cut edge is the back opening.
The second pattern with side seams
You need two fabric pieces ; One 14 inch wide and 13 inch long for the back pieces and another one 12 inch wide and 13 inch long
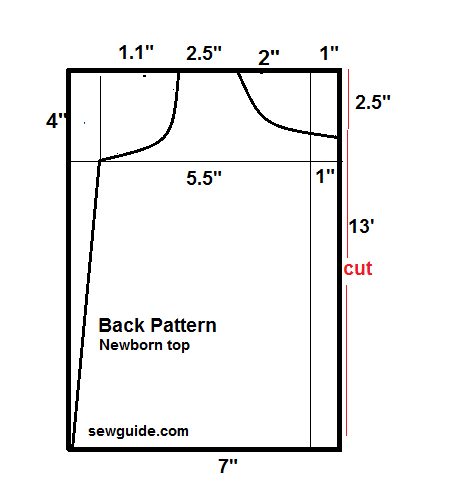
Cut the back pattern by the center.
Step 2
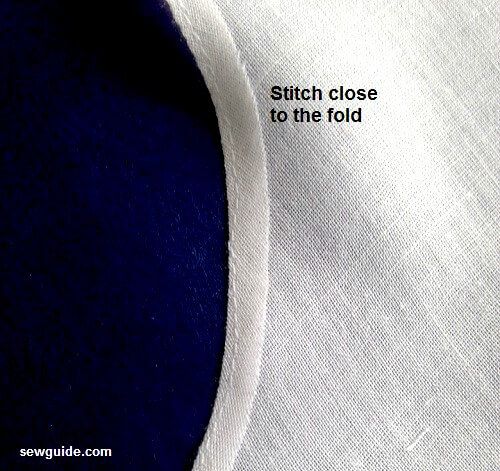
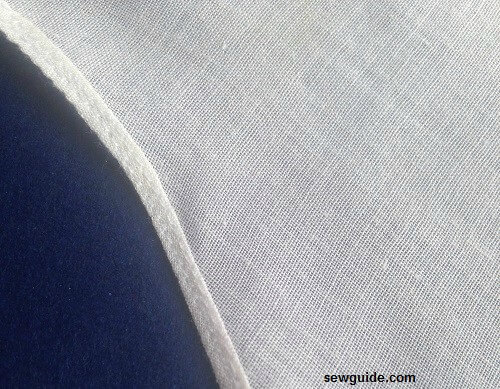
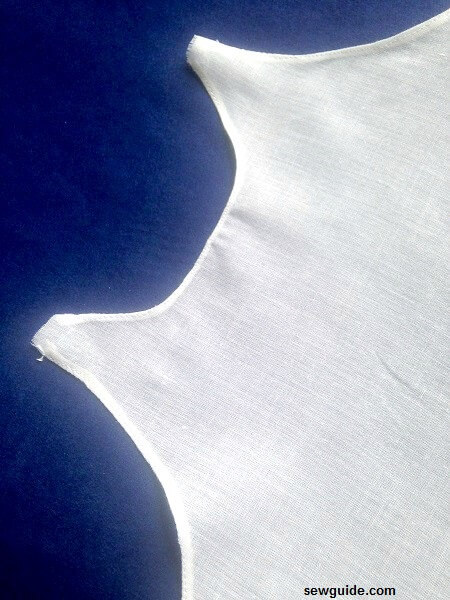
Stitch neckline and armholes of all the pieces – front pattern and back pattern pieces with a baby hem. Nothing complicated. Just turn under close to the edge once. Stitch close to the fold as in the picture below
Trim close to the fold
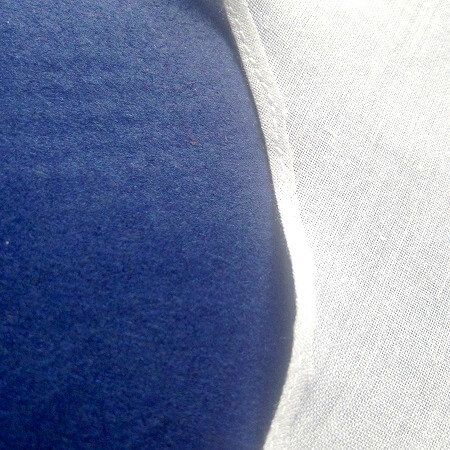
Turn the edge again and stitch this. You have this very narrow edge which is just right for a baby dress – the baby hem
Step 3
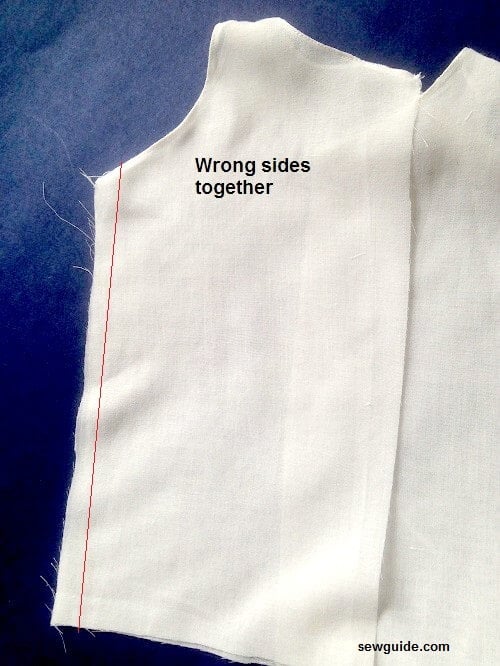
Join the shoulder seams and the side seams . I am using french seams to finish the seams in this dress so that the baby skin is not irritated with the cut edge of the fabric.
Checkout the tutorial for french seams here. French seam is nothing but a normal seam which is stitched twice; the first time the seam is stitched with wrong sides together (in a normal seam we stitch the seam right sides together), then again the seam is stitched right sides together this time enclosing the cut edges inside the first seam line. No cut edges exposed even on the inside of the dress. Very neat
The seams are first stitched wrong sides together
Seam is trimmed to 1/8 inch
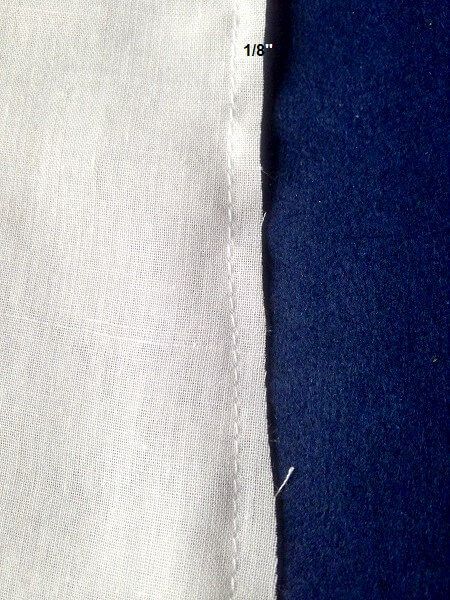
The fabric is turned so that it now lies right sides together. Stitch the next seam line 1/4 inch from the fold
Step 4
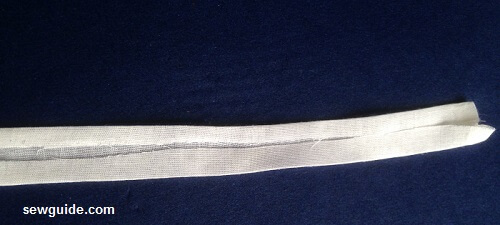
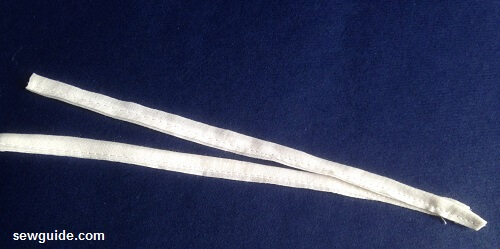
Take a fabric strip 1″ wide and 5-6 inch long. Fold one short edge to the inside. Fold the fabric again to the center along the long edges, then fold by the center to make simple straps.Stitch in place
Step 5
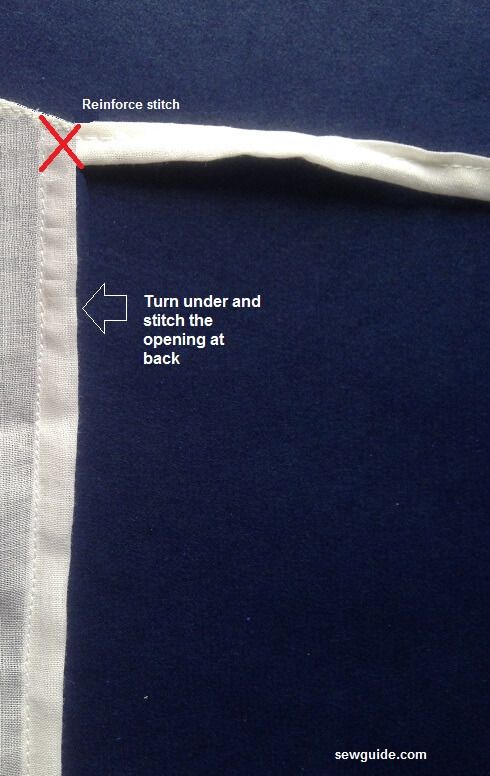
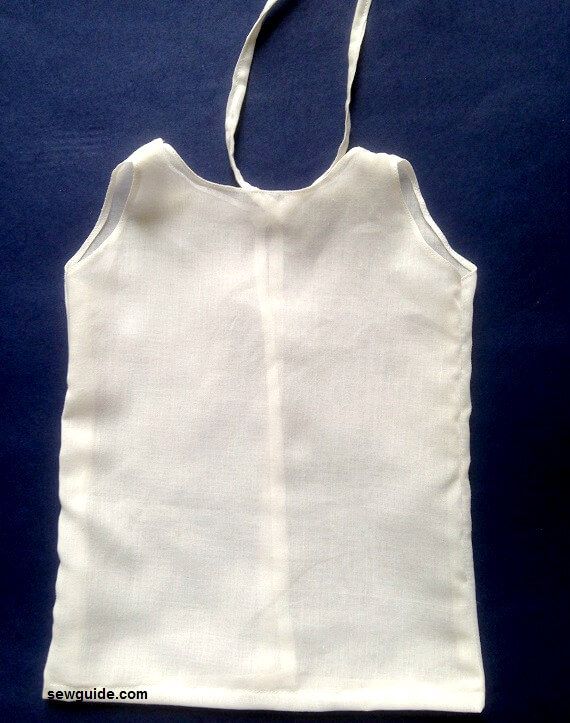
Fold the back opening of the back pattern pieces twice inside. Keep the strap to the inside of the fold. Pin in place. Stitch in place. Make an x stitch to make the strap secure at the top.
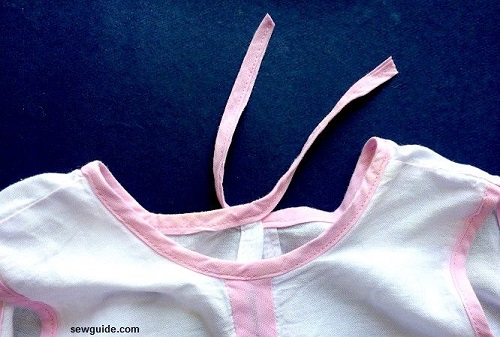
Another method to attach the ties is to bind the neckline and leave the balance as ties, as in the picture below. Simply leave a tail of 4-5 inches at the end of binding strips
Step 6
Hem the bottom edge. Simply turn under 1/4 inch twice and stitch.
You can embroider simple flowers on the top or near the bottom edge. Ensure that you are not knotting in the back with the embroidery thread so that it would not irritate the baby skin.
I have made two bullion knots to resemble an embroidered rose bud.

You can also check out this post on 10 easy baby embroidery designs for some regularly used motifs when embroidering kids clothes

How to sew clothes for newborns – some tips
The skin of newborns is super delicate and super sensitive. Keep this in mind when you decide to shop for the clothes or make them yourself. Scratchy materials or openings are a big NO. Synthetic fabric is also out.
If your baby will have to be in the incubator metal openings should be avoided. With velcro one side is a little harsh and it can scratch the newborn’s skin, so count it out as well. Avoid any trims like lace, ribbons which can also irritate skin. Even buttons may prove scratchy on the silky skin.
You need uncomplicated clothes which will come off fast and which can be put on easily. You will be doing this a lot each day (and night)
Related post :
Sewing for kids; Cloth diaper Patterns ; Make a baby blanket

Hello, could you please share a printable pdf version of the pattern please?
Correct All right
Thanks
I love it
Thanks for this
Me too, wow
I am interested
Say cute baby
Good guide.
Tq.
Very detailed and useful