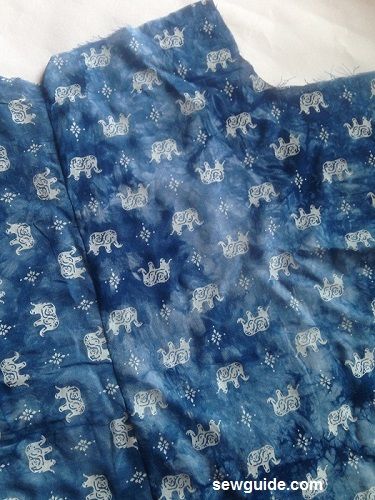
Umbrella Dress – A flared dress with the skirt portion resembling an umbrella. If you do not get it, just try twirling in it, and you will see the umbrella. Well, almost. Suffice it to say that the flare is quite full and attractive.
You need a 60 inch wide cloth to make it ( or you will get a skirt with a center seam as well as the side seams if you have a fabric of width lesser than 60 inch; you will have to join fabric panels to make the 60 inch fabric)
You can wear it with leggings as an Umbrella Kurti or on its own.
How to make the Umbrella Dress
Step 1 Make the bodice pattern – front and back.
Fold two pieces of fabric of width = half of your bust round + 4″ and length 16 inch by center and mark the pattern for the bodices – front and back on it with any of the marking tools
I mark the back pattern first – then remove one piece and mark the front pattern on the remaining piece. ie Mark back and front the same on everything except the armhole.
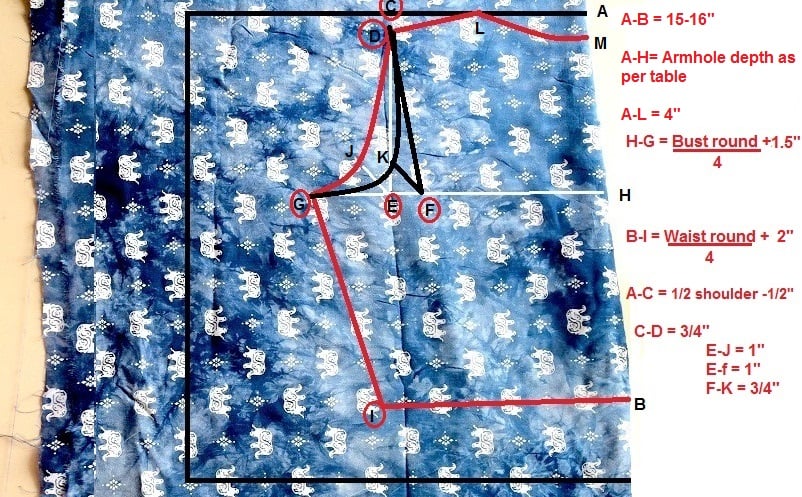
A-B = length of the bodice – Take it as 15- 16″
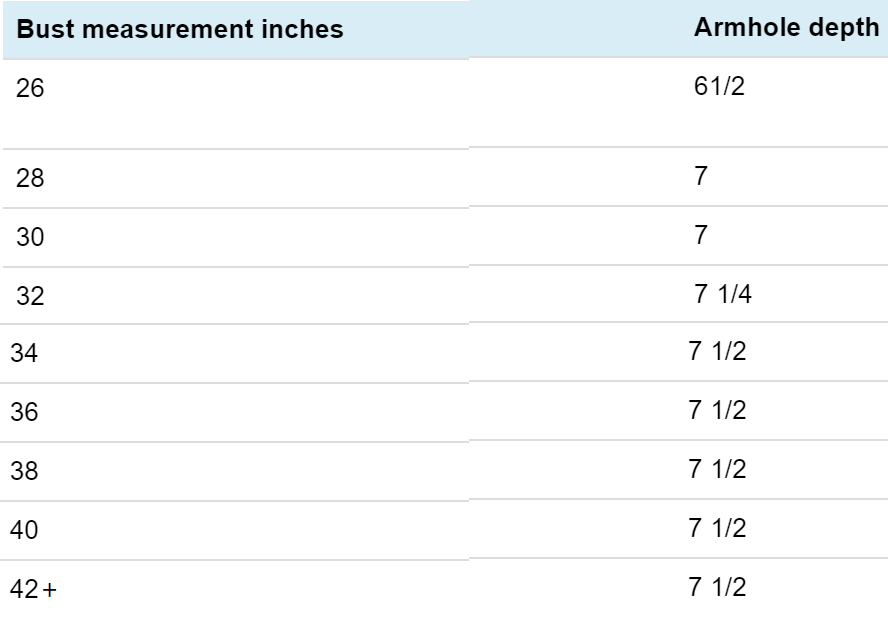
A-H = This is the armhole depth – Take this according to the table given at the end of this post
A-L = 4″ ; This is the neck width
- H-G = Bust round /4 +1.5″
- B-I = Waist round /4 +2″
- A-C = 1/2 shoulder -1/2″
- C-D = 3/4″
- E-J = 1″
- Mark the back neck as A- M – 1.5″ as well
- Join D-J-G as the back bodice armhole curve
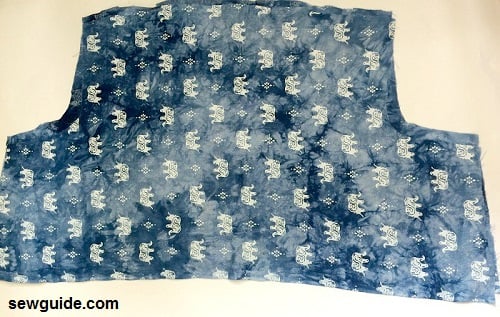
Till this part, mark the same for the back and front pattern. Cut the pattern. You must remove the back bodice piece and mark the armhole differently for the front bodice.
We will be marking the front neck on the facing piece
- For armhole Mark E- F = 1″
- Mark diagonally F-K = 3/4″
- Mark and Cut out the curve D-K-G as the front armhole curve
- Instead of a straight cut give a slight upward curve at the side seams – I have missed this and it is not lying as nicely as it would have if I had given this curve.
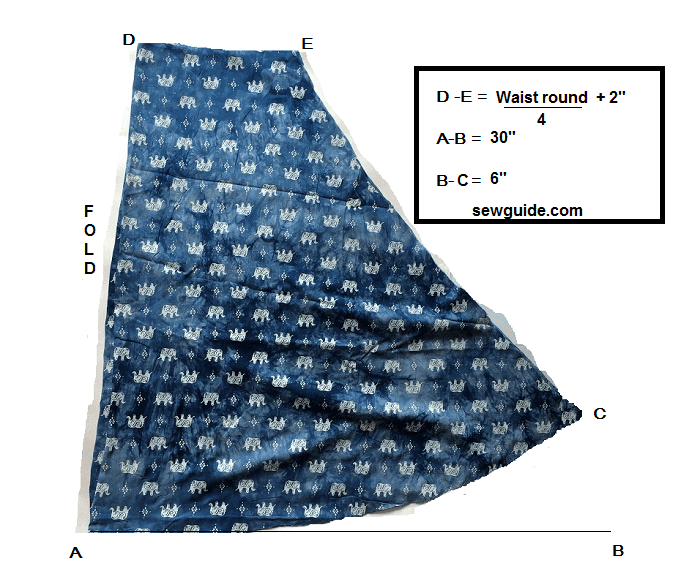
Step 2 Cut out the skirt .
The pattern is as given below. Fold two 60 inch wide and 25 inch wide long cloth (or whatever length you want for the skirt from the waist) by the center. Mark as in the picture below.
You will get two pieces for the skirt – front and back.D-A is the fold – mark it the length you want for the skirt from the waist.
Step 4
Join one of the skirt pieces to the front bodice and the other one to the back skirt at the waist seam.
Step 5 Make the facing piece for the front neck
Checkout the post on facing for more details
What I did was to adhere the interfacing to the back of a matching cloth. Then mark the neck width and neck depth as in pattern below. I have taken the neck depth the same as for back bodice – 4″
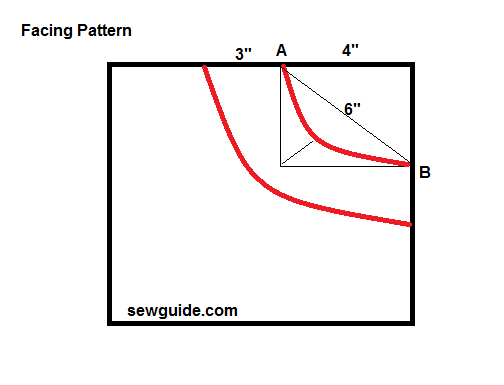
Take 3-4″ outside of it and cut it out. Remember you will be cutting interfacing and fabric as one.Finish the outer edges of the facing with a serger or a zig zag stitch or by turning under once to the wrong side
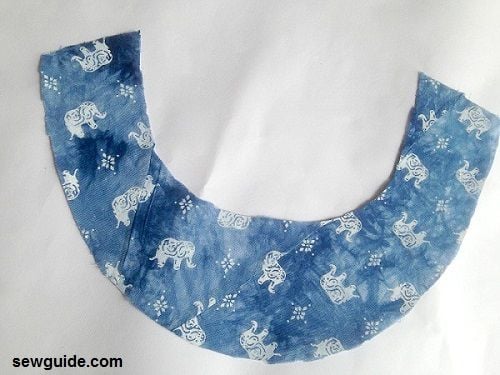
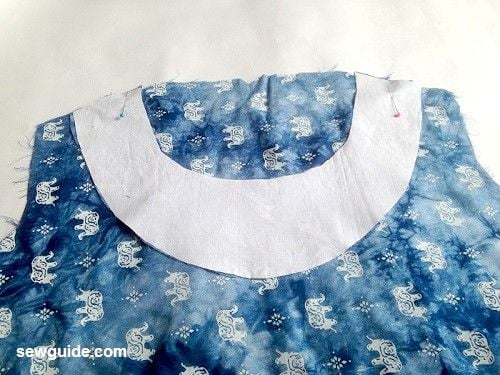
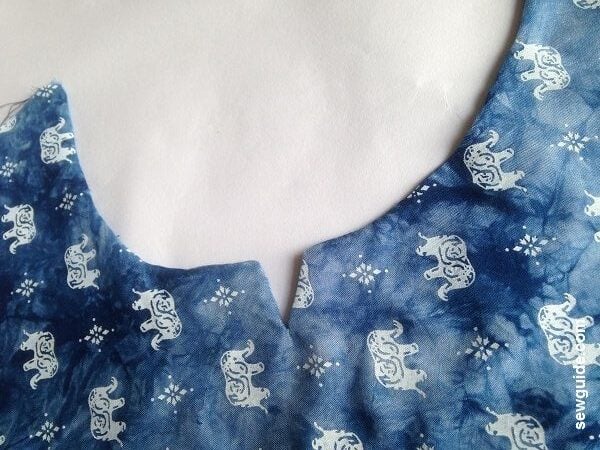
Step 6 Sew the facing to the dress
Pin the facing to the bodice right sides together; Ensure that the center of the facing and the dress are aligned; You can make a nip at the top and the facing to make sure it is aligned
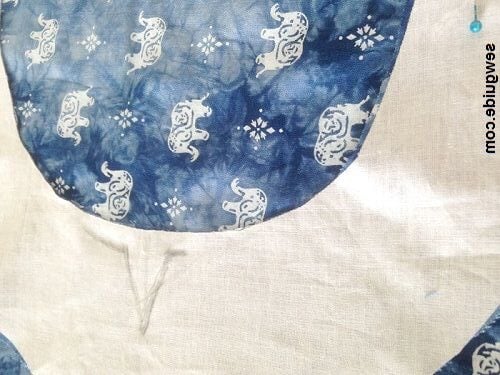
I decided to make a sweetheart neckline rather late and that too free hand without measuring – wouldn’t recommend that – it is better to measure the center and draw a straight line 1 or 2 inch down and then join slanted lines. I ended up with a slightly skewed slit.
Top stitch 1/2 inch from the edge if you want to
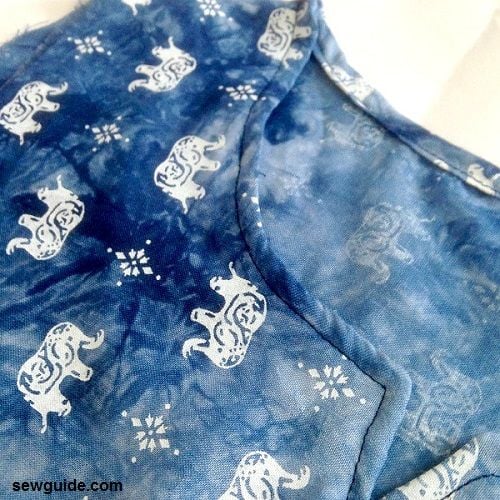
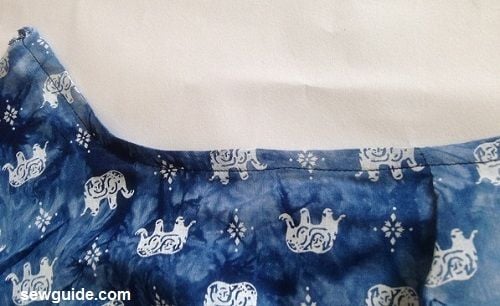
Step 7 Finish the back neckline by bias binding
Step 8 Join the shoulder seams of the front and back patterns. You can use the maneuver described here or just join the shoulder seams with regular straight stitching
Step 9
Bind the armholes with bias binding as well
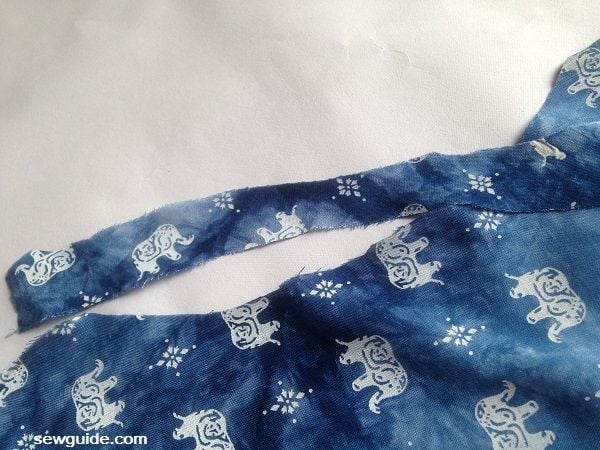
Step 10 Add Waist ties ( Optional )
I have added waist ties to this dress so that there is more definition at the waist. You can make two 30 inch long ties and add them to the side seams
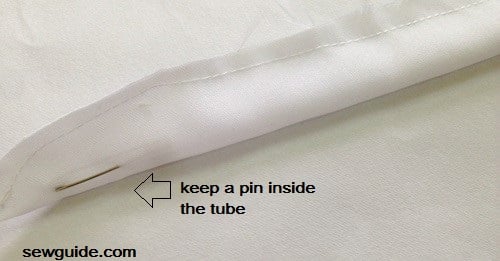
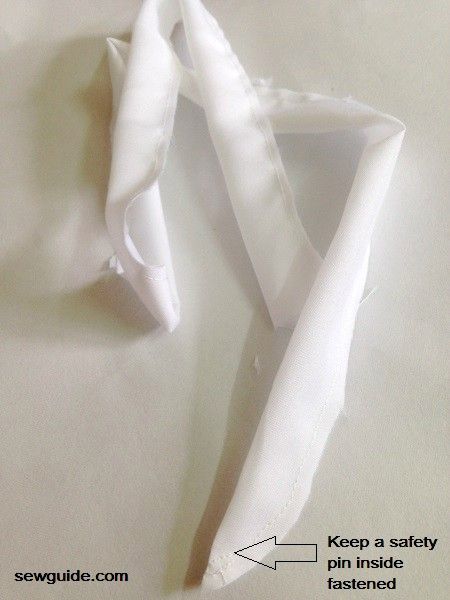
Get two pieces of fabrics about 5 inches wide and 30 inches long. Taper the front end side if you want to. To sew this – Take one and fold by the center long side, right sides together. Keep a pin fastened inside at the closed end. Sew the edges together with a 1/4 inch seam allowance.
Now you can easily turn the tube inside out by using the pin inside.
Step 11
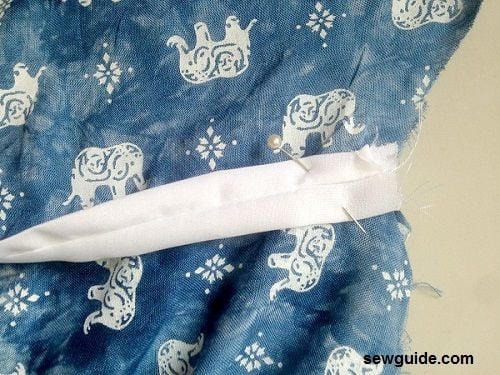
Join the side seams and finish the hem.
Keep the waist ties near the waist sandwiched inside when sewing the side seams.
A narrow hem is the best hem for any flared dress. Just turn under the hem 1/4 inch first, stitch along the fold . Trim the seam allowance and then turn under again 1/4 inch or lesser and stitch. The perfect hem.

Related posts: Make a gathered dress for kids; Free frock patterns for girls
Very nice tutorial, much helping, thanku