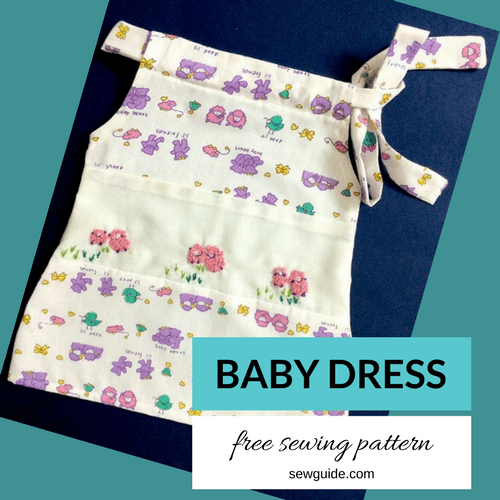
This is a free size pattern to make a simple dress that a baby girl can wear from the time she is born to about three – four months
Babies are delightful. They are a delight to sew for as well. Do they ever complain about fit, fashion or fabric, like the older ones. And they look so cute when wearing the dresses you have embroidered and sewn yourself. Who needs a better motivation than this to sew a newborn baby dress like this one.
How to sew the baby girl dress patten – cutting and making
Step 1
Cut out the pattern pieces for the front bodice and back bodice as per the pattern below. ie you need to take two fabric pieces 14 inches long and 15 inches wide. Fold them by the center and mark the pattern and cut. Back and front pattern pieces are the same
Check out the post on the best fabric for sewing for kids/babies
Baby dress pattern
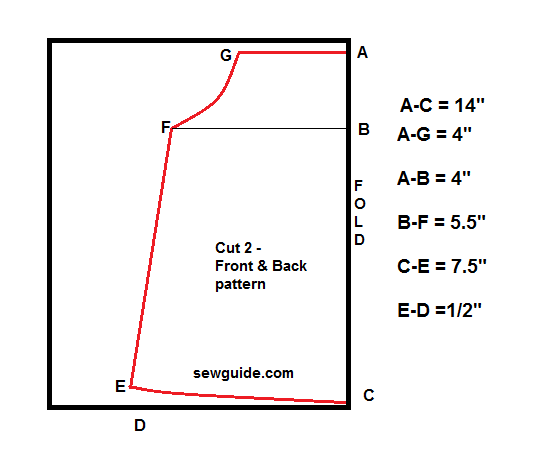
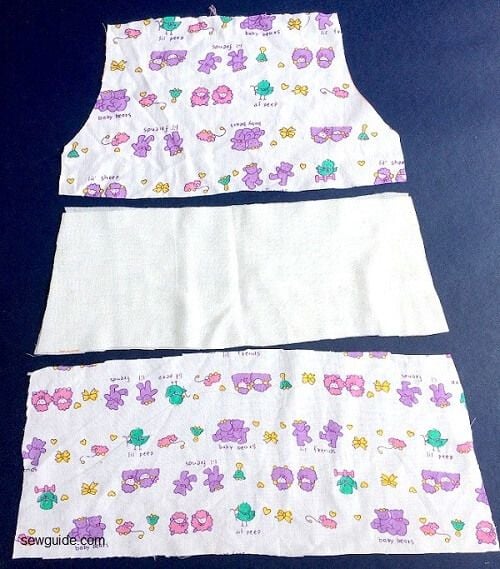
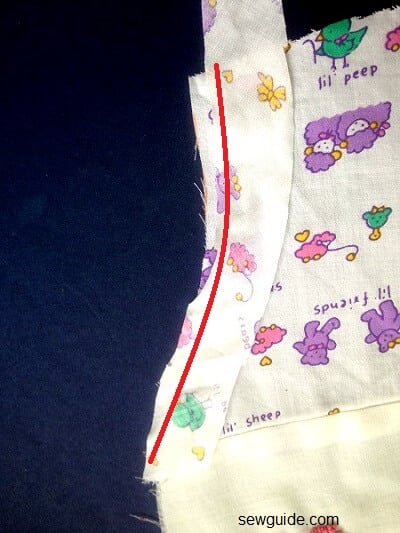
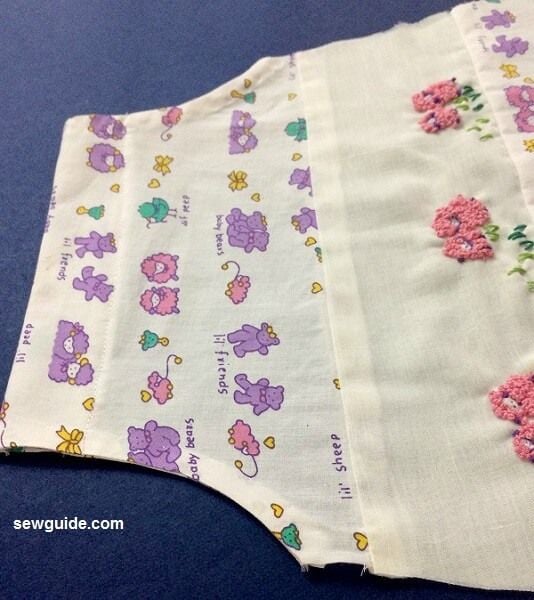
I am using some soft cotton pieces I had in my stash for making this. Since I decided to add embroidery I am joining a small white piece in the middle. You can make this pattern by marking the original pattern on a piece of paper and then cut it and add 1/4 or 1/2 inch seam allowance. You can make the seam a discreet french seam so that the seams wouldnot irritate the delicate skin of the baby
Do prewash the fabric you will making the dress with. Prewashing is needed so that the dress wouldnot shrink after sewing and the harmful chemicals in the fabric would not irritate the baby skin.
Step 2
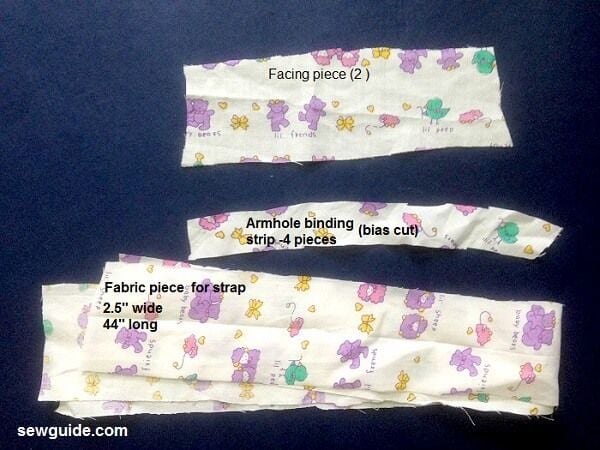
You also need facing pieces for the top edge, armhole binding strips and a long fabric strip to make the sash
Make two facing pieces for the top edge of the front and back bodices which is about 2 inches wide and length equalling the top edge ( a copy of the top portion of the bodices) + 1/2 inch extra.(for turning under)
Sash – 44 inch long piece 2.5 inch wide
Armhole binding strips ( bias cut strips) 7 inch long and 1″ wide
Step 3
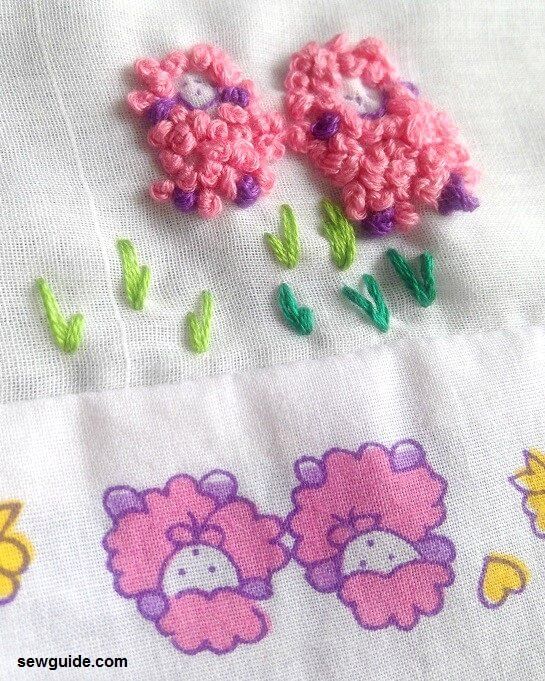
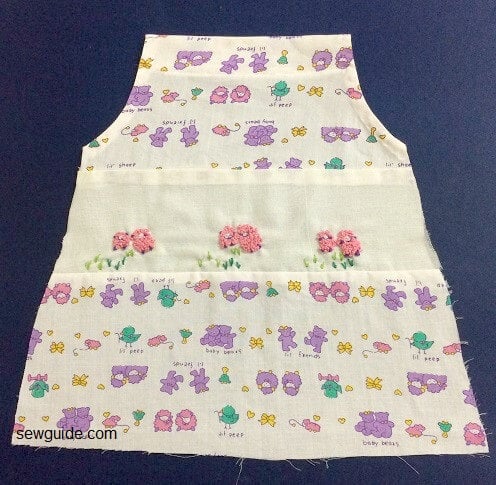
Do some embroidery
This is mandatory on a baby girl dress. Ensure that there are no irritating knots or loose threads after the embroidery on the back of the fabric – it may irritate the soft skin.
I have made a mirror image of the cute little lamps in the cotton fabric I am using. To make these lambs make the small dots that form the eyes and nose of the lambs first and the outline of the face with stem stitch and then surround these with lots and lots of french knots. Checkout the french knot tutorial here if you would like to.
You can also check out the post on the 10 embroidery designs suitable for baby clothes for inspiration

Step 4
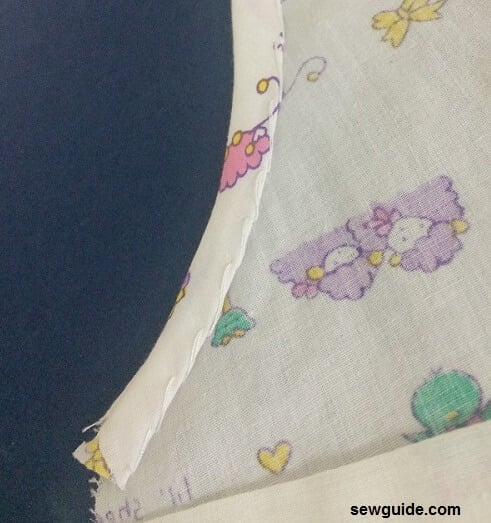
Finish the armholes with bias binding. Stitch the bias binding to the armhole rightsides together. Turn the binding strip to the back and stitch it there, either by hand or by machine. I have used basic hand stitches, because they show up very little on the front of the garment.
Step 5
Attach facing – make casing for sash
First finish the edges of one of the long edge ( bottom) of the facing piece by turning under once and stitching. Then turn under the side edges 1/4 inch and stitch.
Then attach it to the top edge by keeping it face down on the face up bodice(right sides together, basically). Stitch the edges together with a 1/4 inch seam allowance.
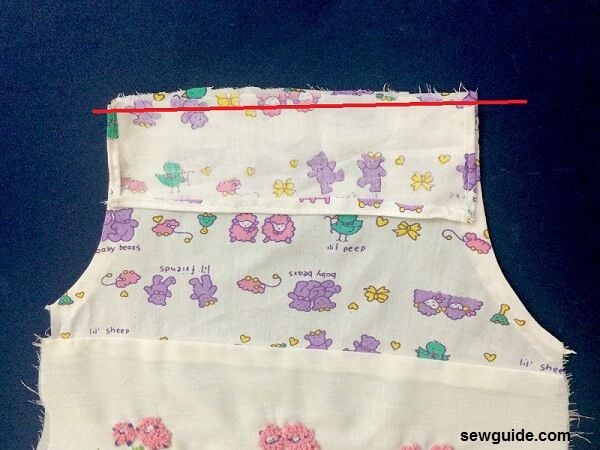
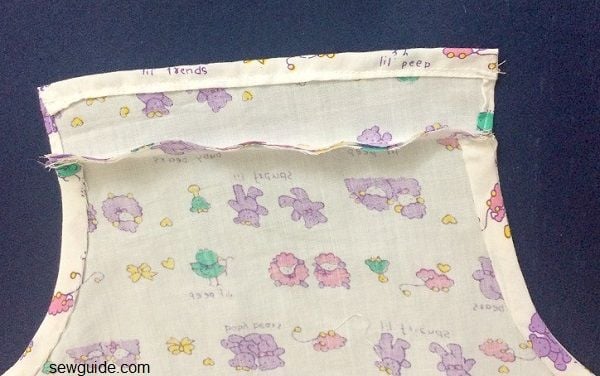
Turn the facing to the back and stitch the edge . This will give you a casing for the sash
Step 6
Finish the back bodice
Do the same thing for the back bodice as well- binding the armholes and making the facing – casing
Step 7
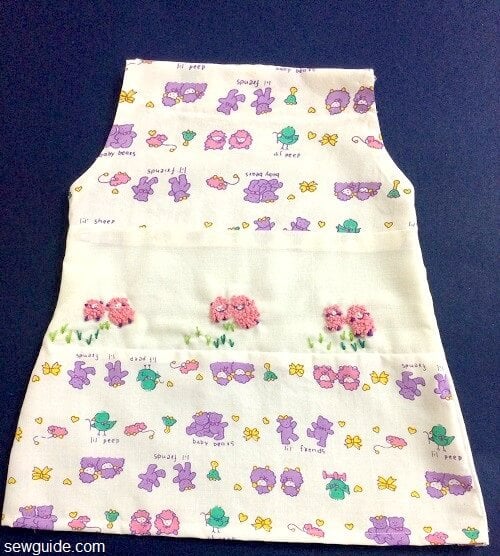
Stitch the hem of the front and back bodice.Ensure that the hems and armholes are aligning
Stitch the back bodice and front bodice together at the side seams.
Step 8
Make the sash for the neck
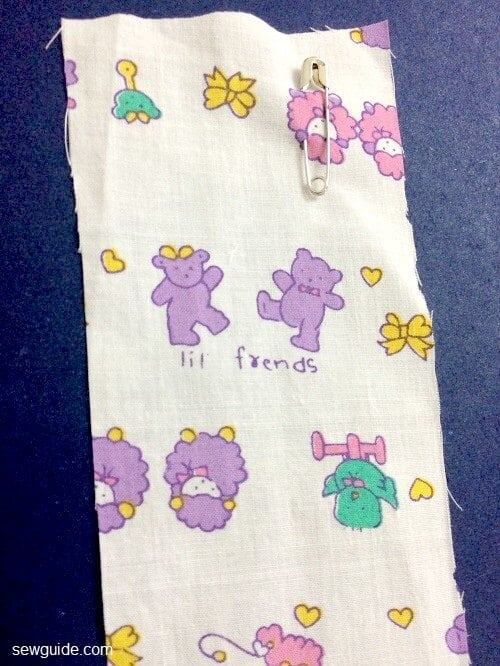
Pin a small safety pin some 1/2 inch down one of the short edges of the strap/sash piece.
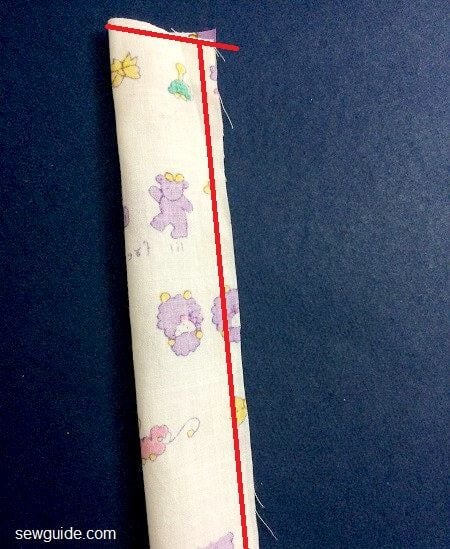
Stitch the short edge ( only the one above the pin) and along the long edge with a 1/4 inch seam allowance. ( Donot stitch the other end shut- you have to turn the tube out)
After the stitching is done you can easily turn the sash inside out with the safety pin.
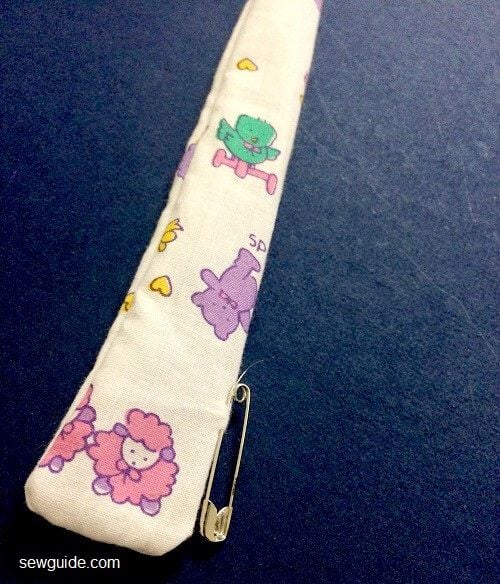
Sew the other end shut with a hand sewing needle and thread and a slip stitch.
Step 9
Insert the sash through the casing and you have the pretty baby dress ready
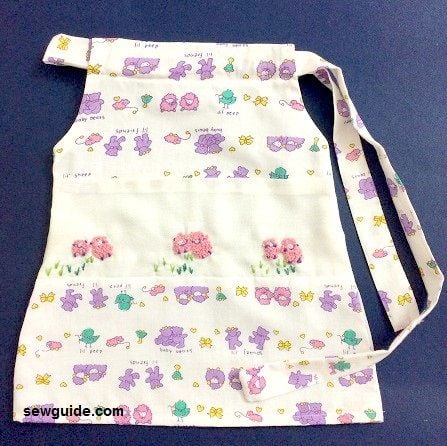
Note : Do be careful that the baby donot pull the sash loose, because the baby may pull it to the neck or something, heaven forbid. You can fasten it by making it into a pretty bow and keep an eye on the baby all the time, as well as fasten the sash with a baby safety pin
Related posts

Make a Newborn baby top – free sewing pattern
Make a dress for 6-12 month old babies.
This baby out fit is beautiful ❤️ I will make my friend one for he new born daughter.
Thanks for all tips and help.
thanks for your sew guide
Thank you
This is beautiful, I am going to try it.
Thanks, teaching is simple.