When you buy an ironing board it comes with a beautiful cover. Then the inevitable happens. Age catches up with it. The hot iron helps a lot. In a short time, you have a cover which you wouldn’t want on an enemy’s house. I know from experience – the scorched yellow stains from overzealous ironing are an eyesore.
And then when you look for a cover they are all way overpriced or not the color you want on your interior, and when they do come from the store it is slightly loose or slightly tight or not the color you saw on the computer screen. It is time for another DIY – a surprisingly easy DIY.
What do you need to make a padded ironing board cover?
Padding – I am using a big old terrycotton towel. The towel should be the length of the ironing board’s top surface of course. You can use cotton batting or thick decorator fabric or wool fabric (from old blankets); anything that will pad the metallic surface adequately. If you intend to iron a lot of wool clothes or thick fabric you will need a nice padding of about 3/8 inches inside.
Ensure that the padding fabric does not have any seam – this will marr your smooth ironing experience somewhat.
Cotton Fabric – About 1.5 meter ( I.65 yard) cotton fabric, depending on the length of your ironing board with some extra 6 inches or so .
You may want to simply use a heavier weight fabric in one layer or choose to use thinner cotton fabric in many layers. I have used 2 layers of cotton fabric above the padding; then you need that much more ie 1.5 meter of each fabric layer. Just one thing- ensure that the fabric doesnot give out lint.
4 meters of cord
How to sew the ironing board cover
Step 1 Cut the padding.
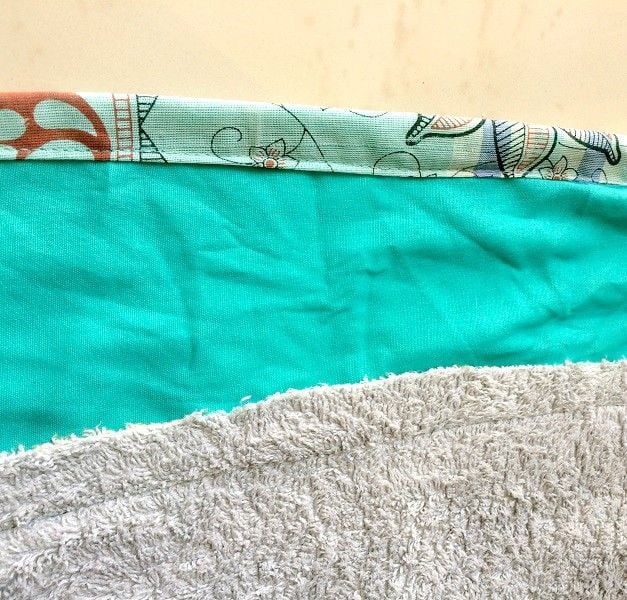
Keep the ironing board face down on the floor over the padding.( as in the picture below). Trace the shape on the toweling cloth( which I am using as the padding). I have used a sketch pen to draw all around the outer edge of the top surface of the board
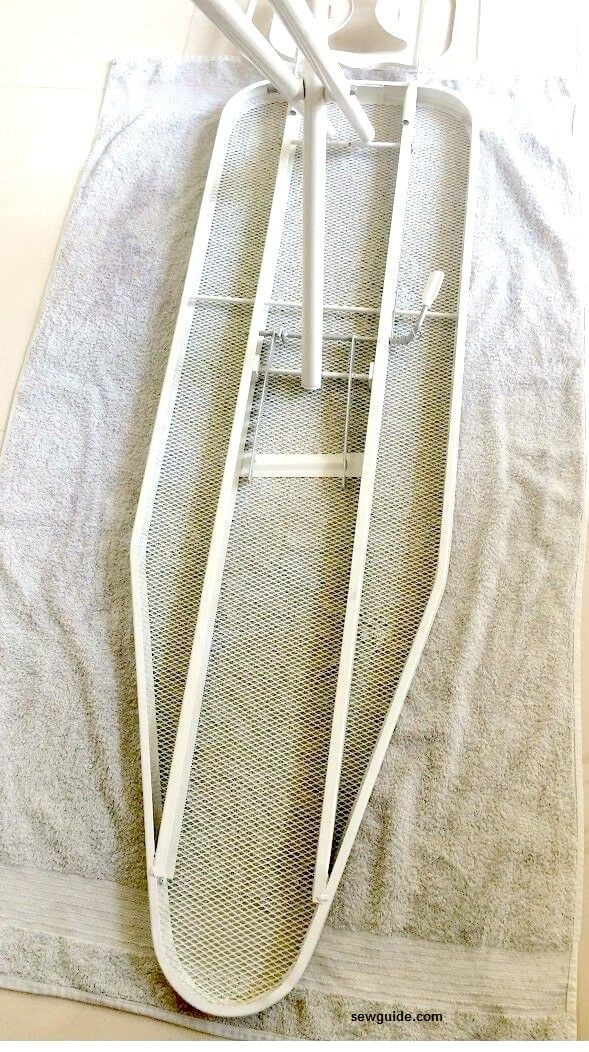
Remove the board. Cut the padding fabric along the marked line
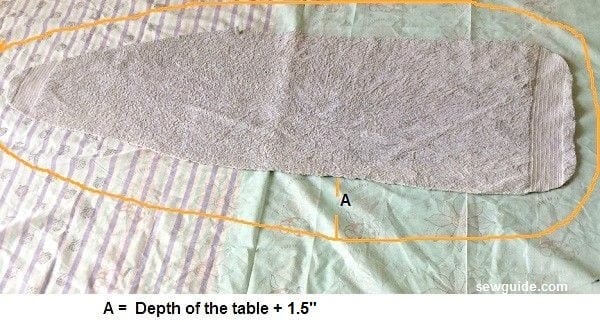
Step 2 Cut the outer fabric
Measure the depth of the table. Mine is 2.5 inch. Add 1.5 inch to this This is for the seam allowance for attaching a fabric strip for the casing and a little to the inside.
Another alternative – You can simply turn under the edge and make the casing, in which case you need to leave about 2.5 inch extra all around in addition to the depth of the table. I donot however recommend this because it makes a mess when you turn around the edge, because of the curvy shape of the board. To make (a somewhat ) neat casing for the cord, you should use the facing method.
I am using a strip of fabric sewn to the edge of the fabric and then turn it under to make a casing for the drawstring cord.
Cut the outer fabric this way. If you are using more layers treat them all as one, when you are making the casing for the drawstring
Step 3 Stitch the padding in place
Keep the toweling/ padding in the middle of the wrong side of the ironing board cover fabric and stitch in place.
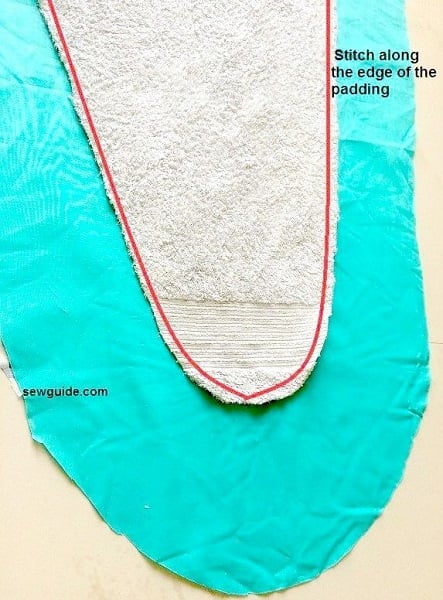
You will have to pin the padding in place first and then stitch along the outer edge (the red line in the picture above). As you stitch around the toweling you may have to adjust the pin so that there are no wrinkles in the fabric underneath – I had to. If you have basted it right with plenty of pins and properly stretching the cloth you maynot have to.
Remember to iron the fabric beforehand ; also to remove the pins ater stitching.
Step 4 Make the casing for the drawstring cord
Stitch the casing. Turn under the edges if you have left the extra 2 inches for that or stitch the facing fabric strip ( long enough to go all around the outer edge). Leave 1″ unstitched for threading the cord
Thread the drawstring with the cord with a safety pin.
Step 5
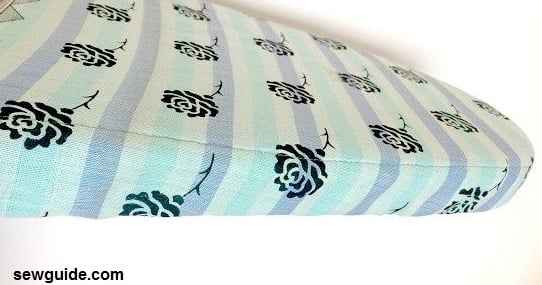
Now place the cover on the ironing table. Tighten the cord under the table and tie it tightly. Distribute the gathers to the back of the table as well. Done
Related posts :
Best way to press for sewing – 20 tips ;Pressing tools used in sewing; What is a Pressing cloth used for; How to iron shirts; How to iron clothes properly ; Clean your damaged iron; How to remove scorch marks from fabric; Garment care
Thank you for this article. I need to make padding and covers for two vintage sleeve boards. The one sleeve board had several layers of linen wrapped over top and it was stitched on across the bottom with a thin but, strong natural cord of some kind. I read the curves on the ends of sleeve boards can also be used to press curved seams. Is that why you only put padding on the top of your board? I’m just wondering if I should use the padding over the edge or just on top.
P.S. It’s mid afternoon where I live, not 3 AM.
I have owned Dry Cleaners & Commercial Laundries and the professional ironing board covers come with the drawstring underneath and also sharp like fishing hooks and springs to create the tension needed so the cover does not roll when pulling fabrics across the ironing board. Now that I am retired I use elastic and safety pins across the bottom of my cover in places on the board where I iron the most.
Awesome!!
Thanks