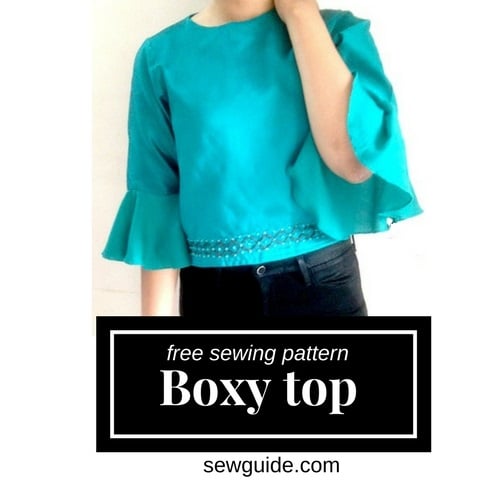
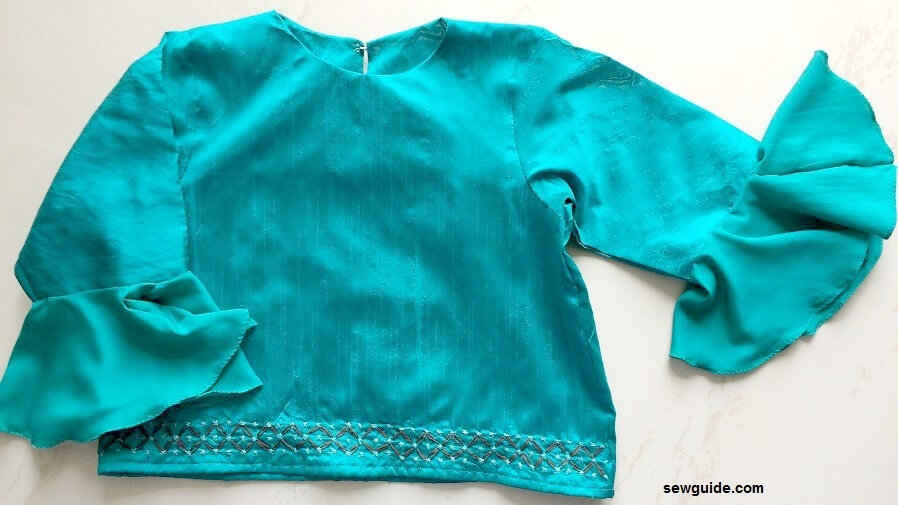
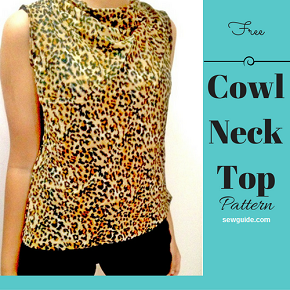
This is a pattern and sewing tutorial to make a boxy top with frilled sleeves also called flute sleeves. A small embroidery border design is given at the bottom edge on the front.
Step 1. Cut out the pattern pieces.
You need – Front pattern (& optional lining ) ; back pattern (& optional lining) ; sleeves and the frills
I am using artificial silk fabric which is quite thin, so I used the same fabric as lining and used this lining as facing (Checkout the post on making facings for the alternate way if you are not using lining) ; So cut all the pieces both front and back in duplicate.
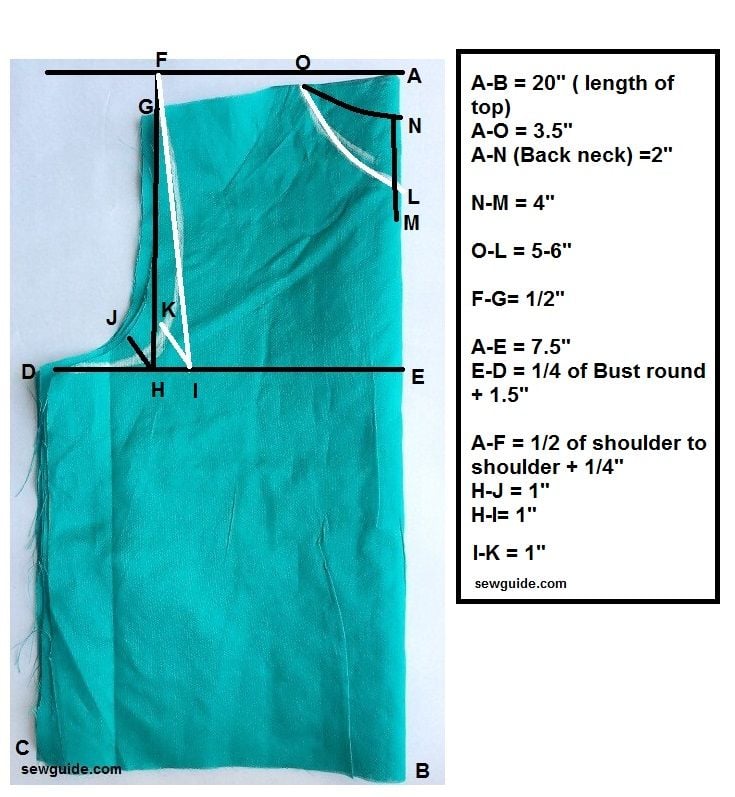
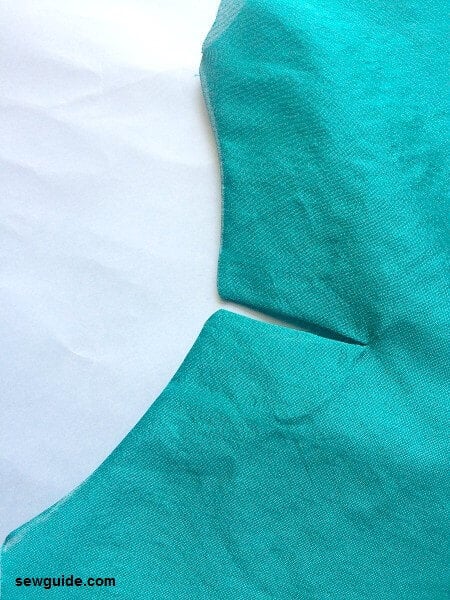
Pattern for the bodice
The white line shows the markings for the front bodice. First cut both the fabric pieces as per the back pattern; then remove one piece and then mark the front pattern on the remaining one
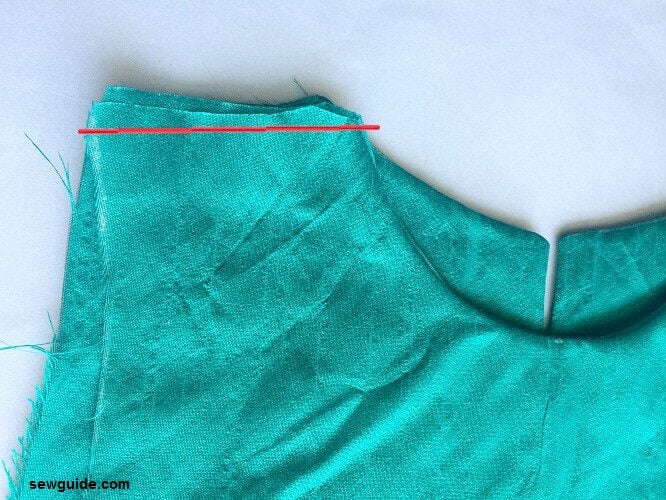
A-B = 20″ ( length of top) You can take this measurement from shoulder to where you want the top to end preferably where you tie the skirt or the pant belt plus 1.5 ” seam allowance
A-O = 3.5″ This is the neck width.
A-N (Back neck) =2″ Mark down from A
N-M = 4″ – This is for the back neck slit for hook
O-L = 5-6″ -This is the neck depth for the front neck. 5 inch will give a Tshirt type close neck.
A-E = 7.5″ This is the bust line Mark down from A.
E-D = 1/4 of Bust round + 1.5″ This is marked on the bust line
A-F = 1/2 of shoulder to shoulder + 1/4″ ( take measure from shoulder point to shoulder point and half it)
F-G= 1/2″. This is marked for the shoulder slope
Mark down straight from F to the bust line
H-J = 1″. From H Mark diagonally to J
H-I= 1″. From H mark to the inside 1″ to I – this is for marking the front armhole line
I-K=1″. Mark diagonally to K 1″
Mark the front neckline as D-K -G & back neckline as D-J-G
The bottom edge of the bodice is marked straight down from the bustline. This is assuming that your bottom edge is smaller than the bust round. As it ends on the waist area for those who have a big waist round this top maynot be right – checkout this tip and others like this in the post dressing tips to make yourself look thinner.
When cutting you can give a slight upward curve at C (1/2″) so that it doesnot hang down.
Pattern for sleeve
Make a pattern for the sleeve . You can follow the pattern in this page for drafting sleeves. or the pattern below
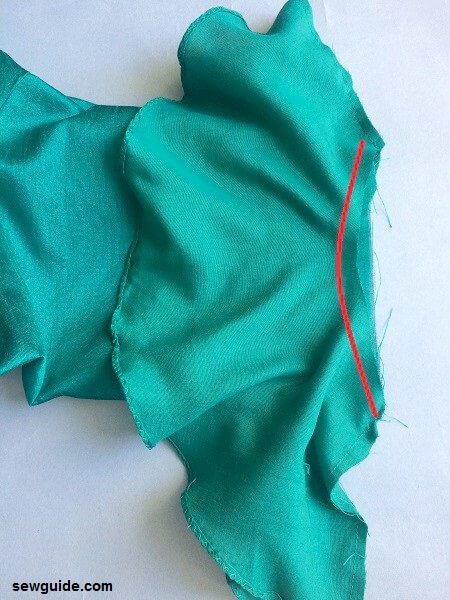
Fold the fabric pieces for the sleeves right sides together . Mark the back sleeve pattern. Cut through the line. Open it up and cut through the front sleeve line on one side.
Step 2
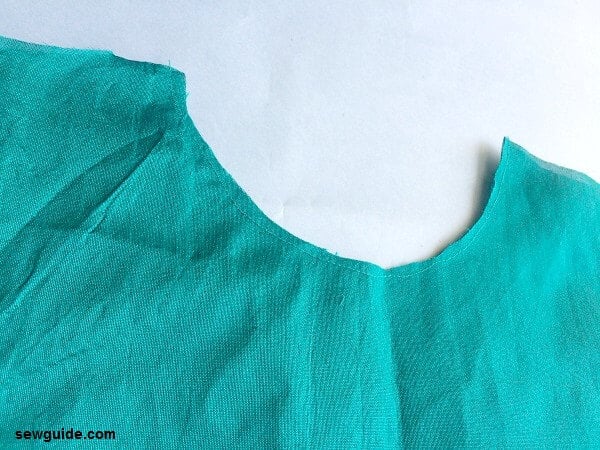
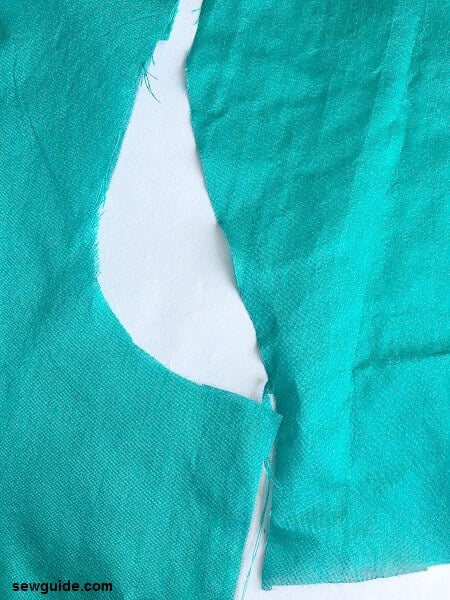
Finish the necklines of front and back bodices.
I have kept the top fabric and lining fabric rightsides together, drew the neckline markings and stitched through the marking
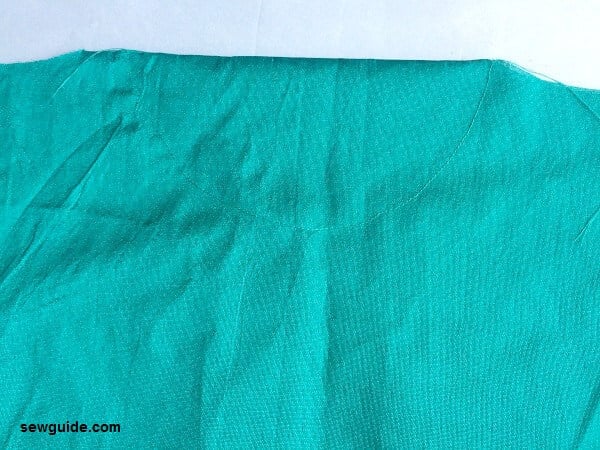
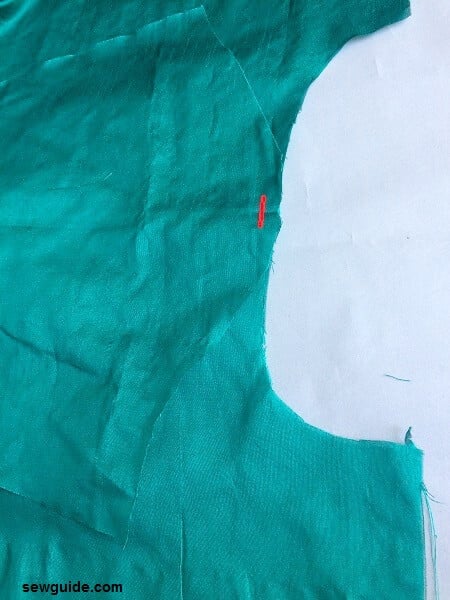
Cut close to the stitching line; clip every 1 inch or so.(ok, I didnot clip which is why the neck looks not so much right in the next picture) .You can understitch the seam allowance and lining together so that the lining will fall to the back easily.
Turn the lining to the other side and press in place.
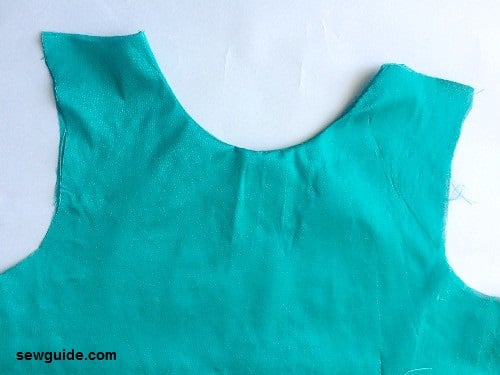
Do the same for back as well. A slit is given for opening in the back
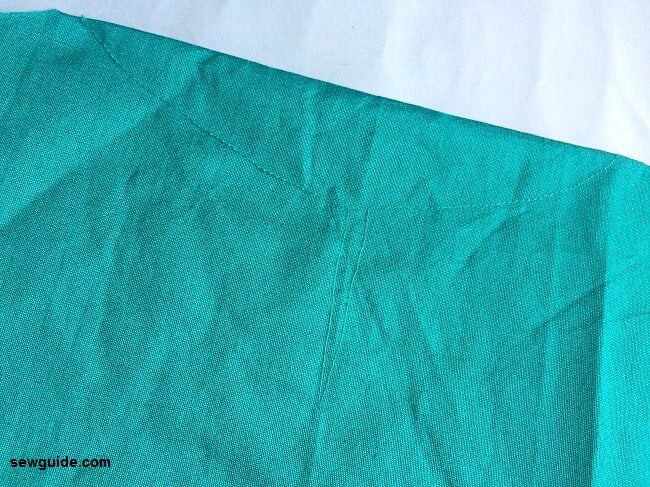
Make sure that you are making the cut to the end of the point at the same time ensuring that you are not cutting the stitching lines
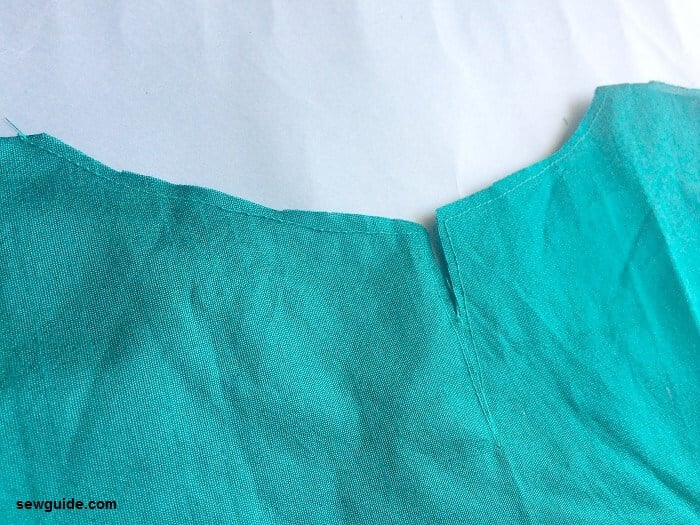
Step 3. Stitch the shoulder seams
Step 5
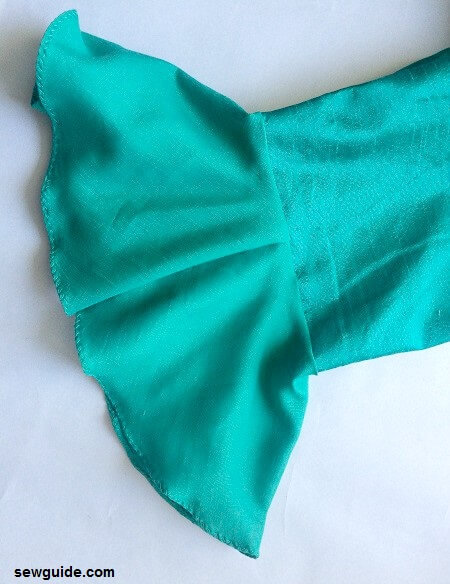
Join the sleeves to the bodice.
Start stitching from the center aligning the center line of sleeves with the shoulder seam
Now sew the side seams . Sew the sleeves and the bodice side seams of two sides.
Step 5 Make the frills for the sleeves
Measure the sleeve bottom edge round ( without the seam allowance). Take this as X. Divide X by 6.28. Take the result you get as Y

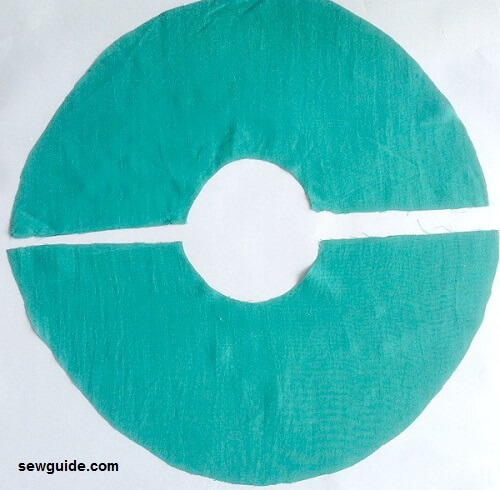
Take two pieces of fabric (for one sleeve) of 20 inch width and 10 inch length. Fold by the center.
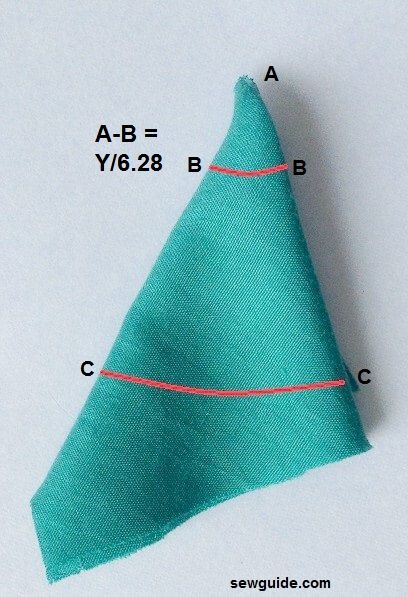
Again fold diagonally. Mark Y from the corner. Mark A-B the length of the frill you want.
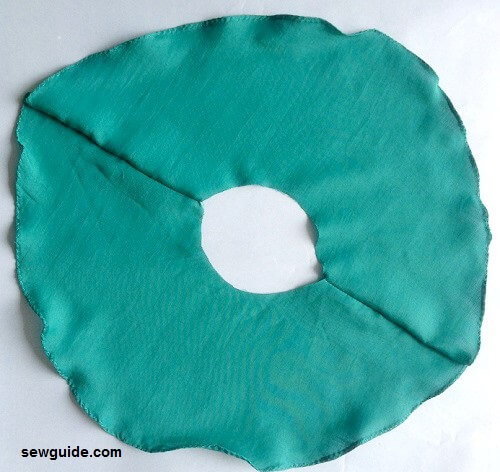
You will need two more like this for making frills for the other sleeves. You will get 4 half circles
Join two half cirlces to make one circle. Finish the seams with a zig zag edge. ( because when you lift the arms this will be seen)
Finish the edges with a rolled hem . Use hemmer foot for this.
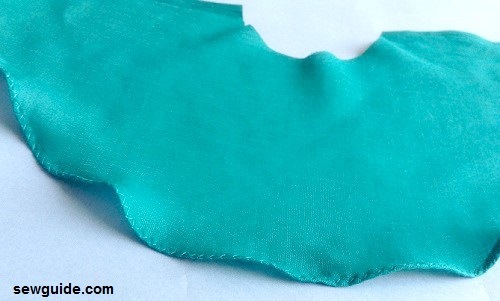
Keep the sleeves and frills right sides together and stitch the edges together.
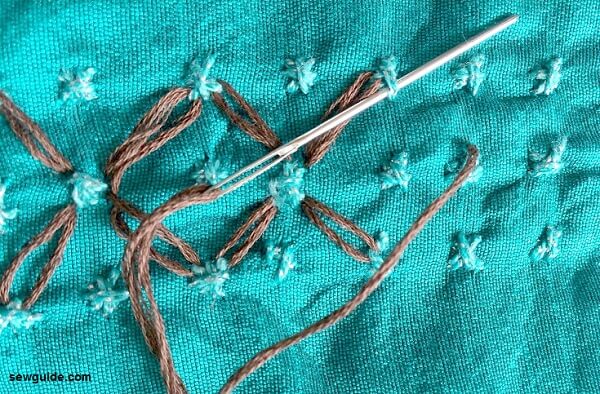
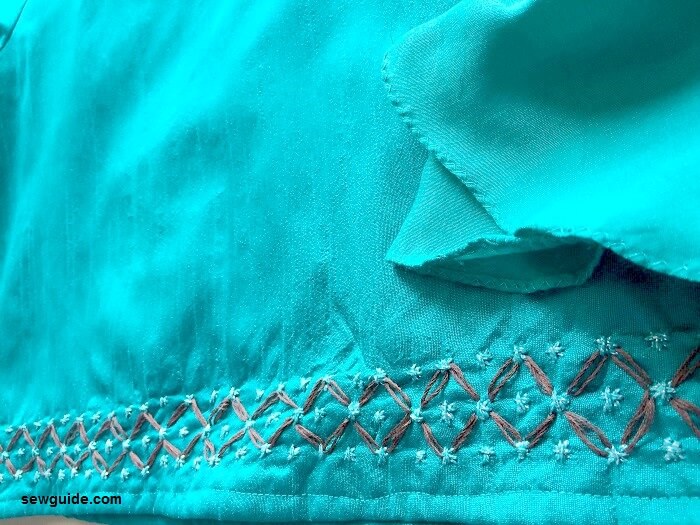
Step 6 Do the embroidery
A professional would do this work before any sewing is done, after the pattern is marked and in a hoop – But I am not a professional; so excused. But you can be one and do it the proper way. Use interfacing on the back for the embroidery to have some stability .
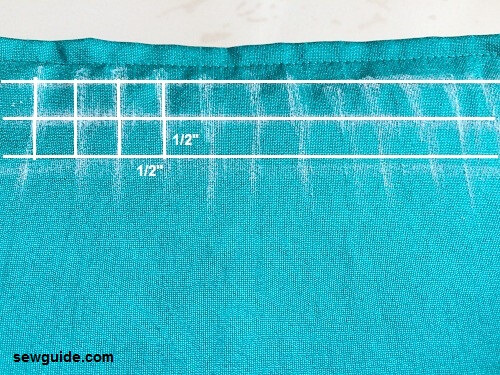
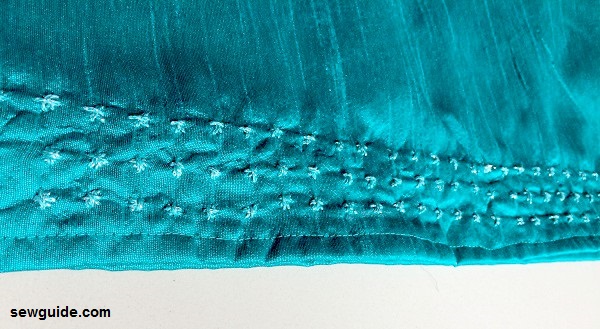
I have done chicken scratch embroidery. You can do any other embroidery border designs as well
Usually this embroidery involves making double cross stitch on checkered fabric (gingham). I have drawn similar markings 1/2 inch apart to make the double cross stitches . These cross stitches are then looped with a blunt needle and thick thread in a pattern. There are many ways that you can do this work.Checkout the chicken scratch embroidery tutorial for more details
My pathetic photography doesnot do justice to the work. The small smyrna cross stitches when done in blue yarn art thread with a mix of silver looks like sparkly sequins
Step 7 Attach hook on the back and make a thread bar as well.Read How to sew hooks and eye if you would like to know how to.
Related posts : Names of all tops; How to sew a simple tunic top ; Halter top pattern
Is there a seam allowances to join two circles of the sleeve frills?
Please, I read both the tutorial for a plain sleeve, and the one fir a boxy top w/frill sleeve twice. I cannot find the measurement for I,E on the sleeve pattern, nor what amount D, to the unnamed point is? Please advice.
I know much work went into these tutotials and I thak you. Jojo
Hi Sharon
sorry – In this tutrorial I had mentioned a table for the armhole depth for the sleeves which seems to have lost itself in an update
MArk F in the center of the line B-C ; MArk straight up to G;
A-B = G-F which is 3.5 inch for an adult ; you divide that line G-F ( which is 3.5″) by 3 . Mark these on that line. The first part is marked as 1 and then the next part as 2.
For the front sleeve you mark the armline through the mark 1 and then for the back armline you mark through 2 – simple 🙂
You cut through the back armline first ( for both the layers), then open up and cut through the front armline on the other side
hope it is clear
sarina
please I need a detailed sketch to get the arc at the top of a sleeve. There is a place you use 3.5″ I’m still confuse. is it a fixed measurements or it varies. Moreso the the term armhole depth is a bit confusing to me. the word depth I feel it synonymous to height or length. so why is it use as width/breath for the sleeve. I know you are doing a great job but please I need further clarification on this.
The 3.5 inch refers to the sleeve depth – from the top of the sleeve to the line corresponding to the bustline .I take this the same for all adults; For young ones slightly less. this page has sleeve drafting in more detail https://sewguide.com/all-the-sleeves-you-want/ and this one on taking body measurements https://sewguide.com/how-to-measure-body/
hope this helps
Thanks for the prompt reply….. Really appreciate. Will go over it again.
Thanks for your prompt response. Want it try this top for my daughter.
🙂
Hi, Can you give me a rough estimate of cloth required for this top?
roughly 2 meters