I have decided to retire from the post of the “resident scarf hoarder” at home. You see I have run out of wardrobe space and have got the ultimatum from the high and mighty at home. But these Scarves are so cute and pretty. A pretty compulsive habit too. And my excuse was that they didn’t need much space.
But I know that I do not need to go to the shops to get more scarves. A raid of my fabric stash is enough to make any number of scarves for decades. So there.
The store-bought scarves have a beauty and variety that may seem impossible to replicate. But after all, they are just a piece of fabric prettied up. Let us see how you can transform some of those fabric pieces into cute little scarves, worth the space in your wardrobe.
Best fabrics to make a Scarf ?
Most of the scarves available in shops are Acrylic ( the knit types), polyester, Rayon blends or silk. A Good quality polyester fabric in a crepe or georgette texture is good enough for summer wear. Chiffon is also great as it is soft and fluid. If you want some weight to the scarf, thin cotton like voile can also be used for making scarves.
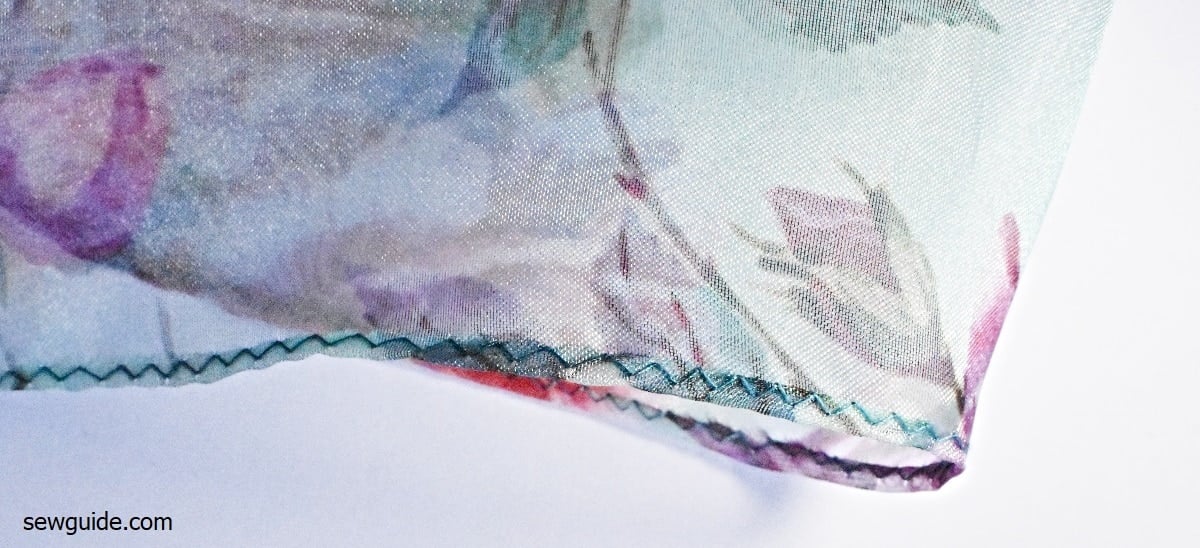
Silk is gorgeous at any time. Learn how to sew edges of a silk scarf here
Pashmina scarves are the most coveted of all scarves the world over. Flannel can be cut into beautiful scarves which need minimum sewing.
A fabric that is a blend of wool and silk also would be great for a winter scarf.
I would not choose to make them in Rayon as it is not the best durable fabric ever, but then if you do not plan to wash scarves often ( as someone told me “not washing is the best prevention for scarf damage”) go ahead.
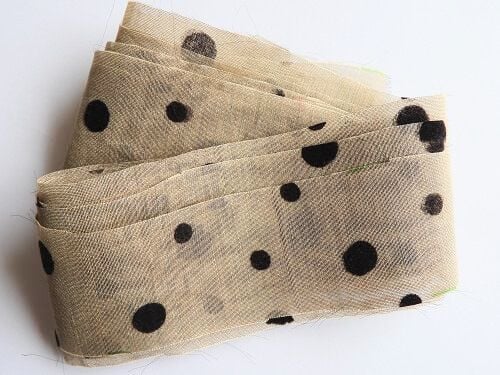
Solids are good but prints are better. Polka dot fabrics, floral printed ones are favorites for making girls’ scarves, whereas men’s scarves will have preferably striped prints, checkered prints, with Houndstooth print being a favourite; Patriotic prints are also popular in men’s scarves.
Size of the scarf
22-24 inch wide and 70 inches -75 inches long are the usual dimensions of scarves. Though you can make in different sizes as per your requirements. Just look at this post on the scarf dimensions to know the different sizes you can make the scarves in.
Sewing a Scarf – easy ways
1. Regular scarf
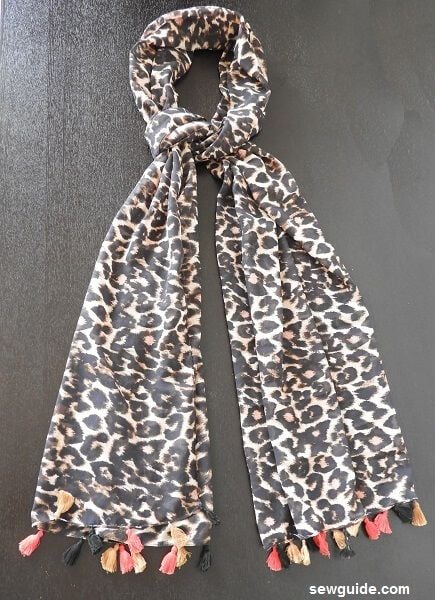
This is the usual scarf available in stores nineteen to the dozen. When you want to make this scarf at home, cut out the fabric in your preferred dimensions and use a hemmer foot to finish the edges neatly. Use a contrast thread for the rolled hem on solid coloured scarves.

Leave it as it is or embellish the edges with tassels or fringes. Make your own tassels / fringes and attach or even better make beaded tassels
Related post: How to sew a silk scarf with pretty edges.
Different ways to finish the edge of the scarves.
You can use a matching thread or a contrasting thread to make a rolled edge finish. Or for a festive look use a metallic thread – a golden or silver thread can be used. Other options include adding a lettuce edge / way ruffled edge, adding satin cord with 1/8″ width or a 1/8″ wide satin ribbon along the edges.You can give a beautifully beaded edge by adding Swarovski crystal beads or faux pearls along the edge – check out these posts on adding beads along the edge or other edge stitches in hand embroidery.
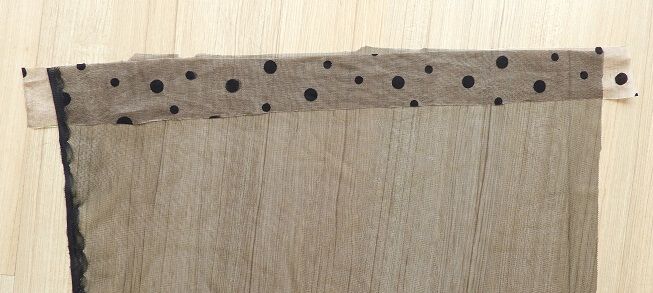
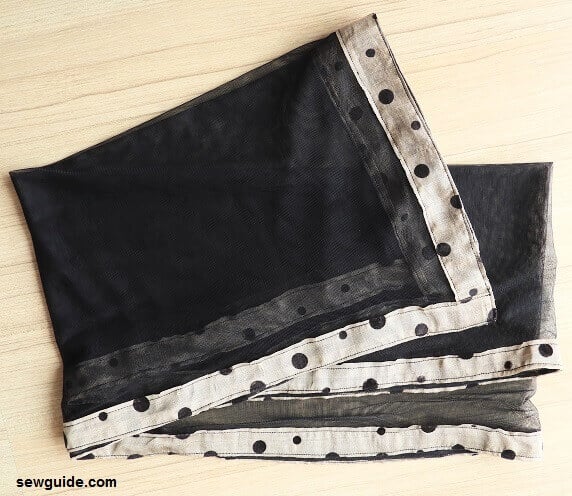
2. Scarf with a border
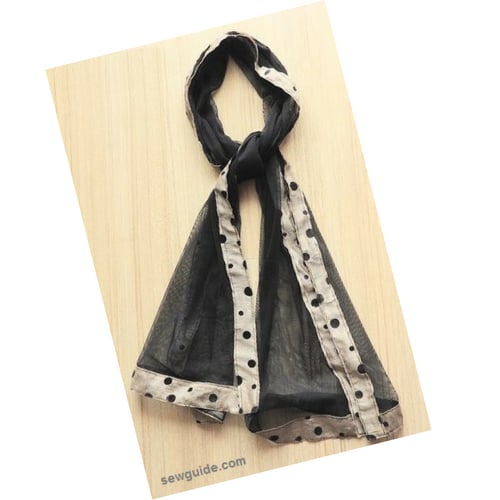
You can make this scarf very easily.
Step 1
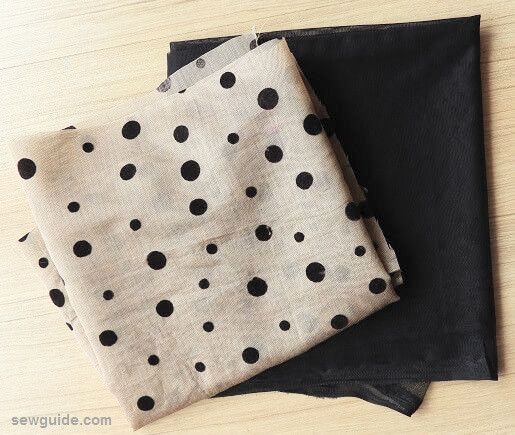
Cut out the main scarf fabric in the dimension you need. I have cut a 22 inch by 70 inch black net fabric. Choose an appropriate border fabric ( you can use ribbon also).
Step 2
Cut out 2-inch fabric strips from the border fabric – you need enough to go around the whole scarf plus some to turn under. I cut 210 inches long and had some extra
Step 3
Keep one fabric strip (long enough for the short edge of the scarf), good (right) side up on the table
On top of this, place the scarf fabric right side up
Sew along the edge with a 1/4 inch seam allowance
Step 4
Turn under the raw edge of the fabric strip – some 1/4 inch
Turn this fabric strip to the right side of the fabric and stitch in place
Step 5
Do this for both the short edges of the scarf
Step 6
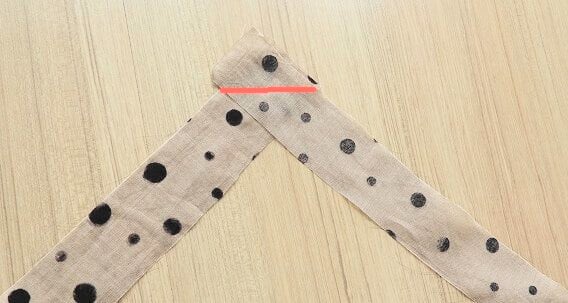
Now take another fabric strip long enough for the longer edge of the scarf. If you do not have a big enough fabric strip join two together like this ( the way we do bias strips)
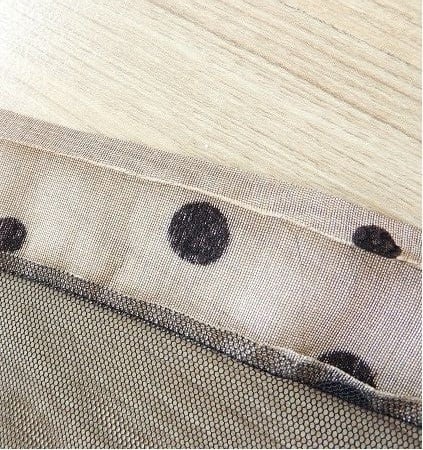
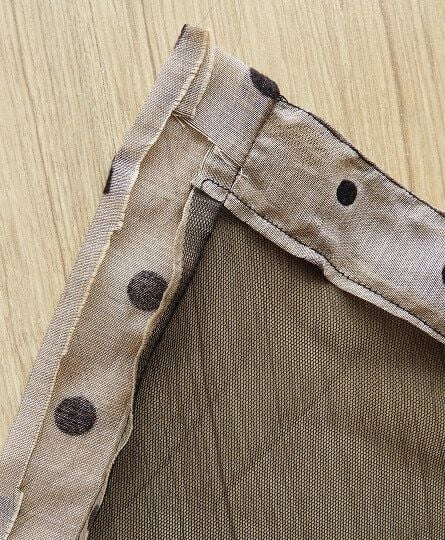
Step 7
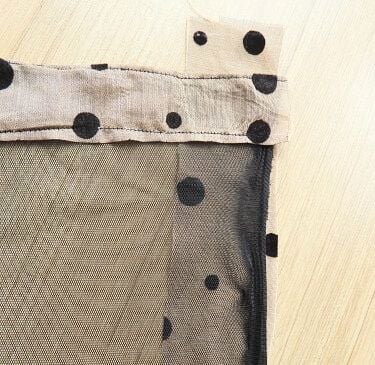
Keep this fabric strip right side up on the table.
Keep the scarf rightside up on the fabric strip, so that 1/2 inch is projected at the top edge ( see the picture below)
Step 8
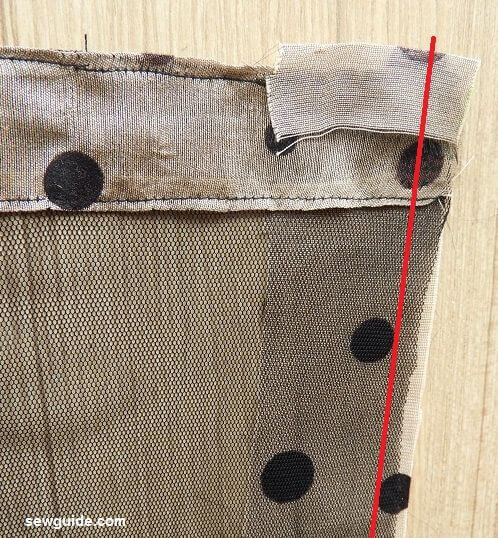
Now turn down the projected portion to the front. Pin in place or press in place.
Stitch along the edge with 1/4 inch seam allowance (red line in the picture)
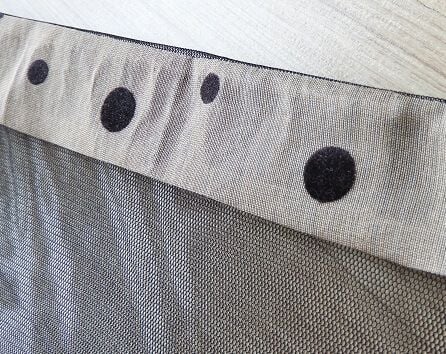
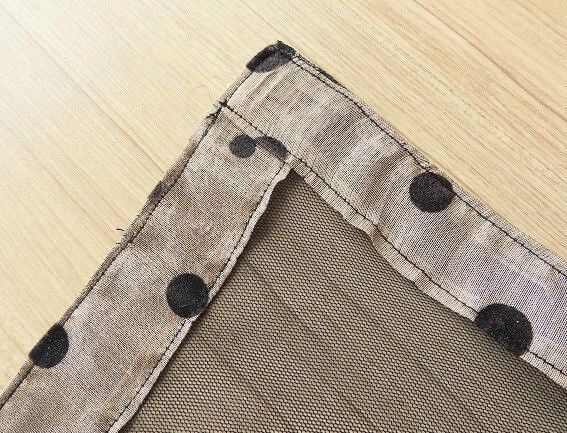
Step 9
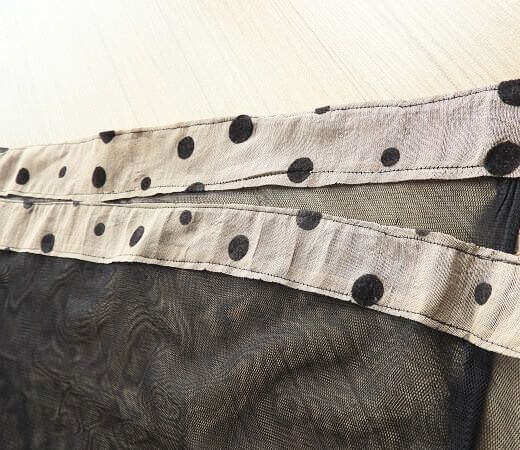
When you open this you will get the piece like this, the edges neatly enclosed in the fold you made.
Turn under the long edge 1/4 inch. Press in place.
Step 10
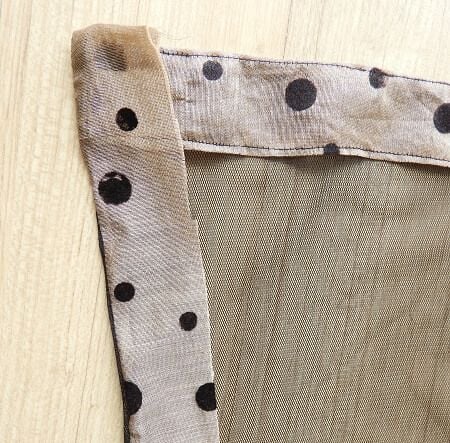
Turn the fabric strip to the front. Press in place and Stitch along the edge
Do this for both the ends – on 4 corners.
3. Skinny tube Velvet Scarf
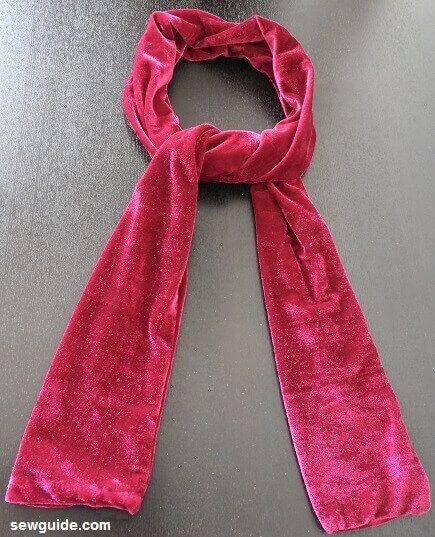
Velvet is available in different rich colours like Burgundy, Navy blue, Black, deep green, royal blue, rich purple, chocolate brown. You can make a thin tube like scarf with velvet ( or any other fabric) by following this simple method
Cut out a piece of velvet fabric 10 inches by 60-70 inches. (The total width will be halved in the final scarf so you will have to decide on the width you want for the scarf and double this)
Attach a pin on the good side of the fabric on one short edge (this is for easily turning the tube).
Keep the fabric right sides together and sew the long edges together with a 1/4 inch seam allowance. Sew one of the short edge also – the one where the pin is attached.
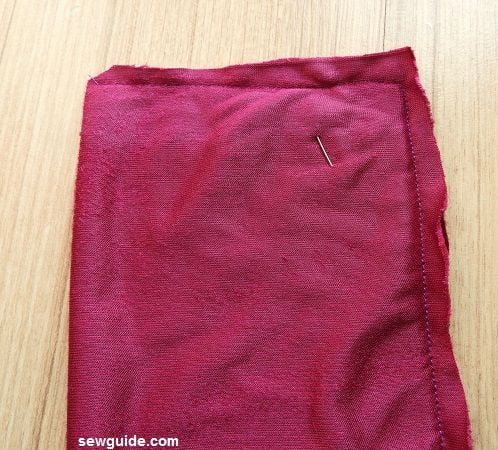
Do not stitch the other short edge.
With the help of the pin inside turn the tube inside out through the open short edge.
Slip stitch the open unstitched short edge.
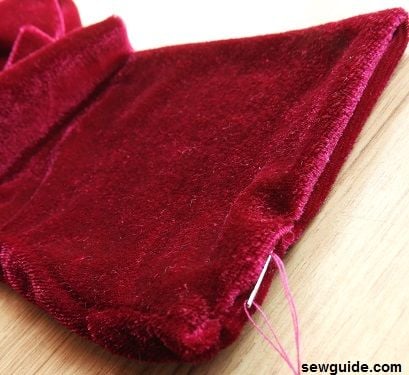
Check out the tutorial to stitch the seam invisible with the slip stitches here. Your skinny tube velvet scarf is ready. Isn’t it easy ? It sure is pretty.
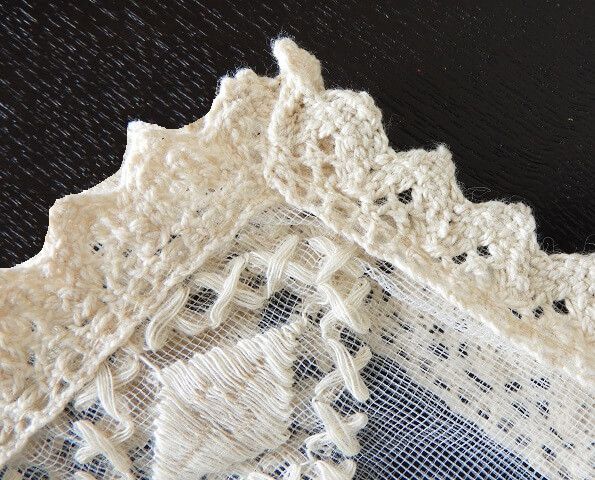
4. Lace trim scarf
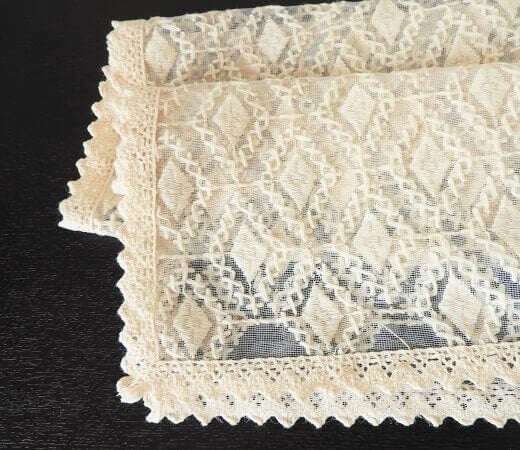
Self-explanatory. Long net/lace pieces can be made into scarves with a fabric/lace trim added to the edges. Attach the trim to the edge as in the picture below.
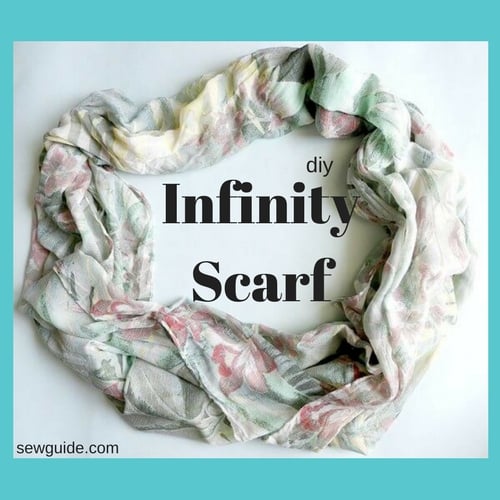
5. Infinity scarf
An infinity scarf is just a loop of fabric. So very easy to make. But there are some 20+ different ways to make it in different variations. Check out the tutorials to make infinity scarves here.
6. Neck Kerchief scarves
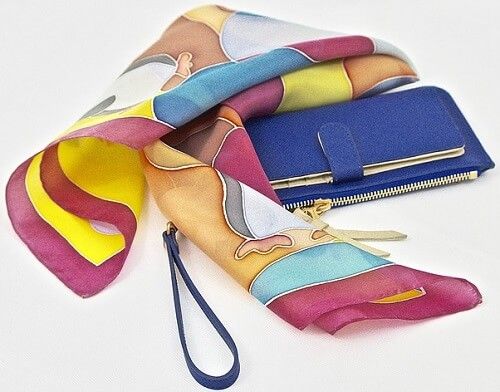
A neck kerchief is a scarf which is square shaped. The most pretty neck kerchiefs are usually made in silk, and they will have beautiful paintings on them.
You can cut these scarves any size you want. The giant Hermes scarves, which are ever so famous, are 55 inches squares. The small ones could be as small as a 21″ square. A 40-inch square is my ideal size.
A bandana is a type of neck kerchief. Check out the tutorial to make a bandana here.
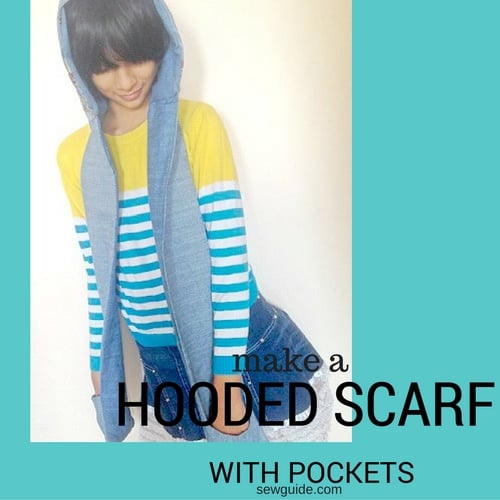
7. Hooded scarf with pockets
Necessity is the mother of new sewing projects. When you need a head covering with pockets and looks like a scarf, you need to sew it yourself. Check out the tutorial to make a hooded scarf.
There are many embellishments that you can do on your chosen fabric to turn them even prettier.
Check out the related post : 12 easy ways to tie a scarf
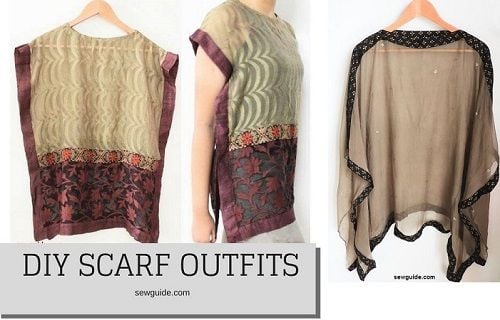
Turn your old scarves into tops
In your article you wrote “This is the usual scarf available in stores nineteen to the dozen.”
The phrase nineteen to the dozen refers to the speed of something, not the quantity.
For example “sarah was talking nineteen to the dozen”.
Being a british term, it’s understandable that folks sometimes confuse it’s meaning/usage.
Also want to thank you for the large variety of scarf styles you offer! i tend to think of the one plain basic style of scarf, so you’ve really expanded my creativity, thank you bunches! :^D
kind regards,
melissa jean
Hi Melissa
I meant the term to mean “lots” – because whatever context I read about it, it seemed to refer to the enormity of the term, you know what I mean. 🙂 but when i look it up in a dictionary what you say is right. Thanks for writing in to correct.
Just started thinking about creating & selling scarves. You have written EXACTLY what I was looking for to get started. Thank you do much for your help!
Correction: should read so in the last line not do. Sorry
Hi Lynda
Thanks for leaving the comment. So glad to be of help