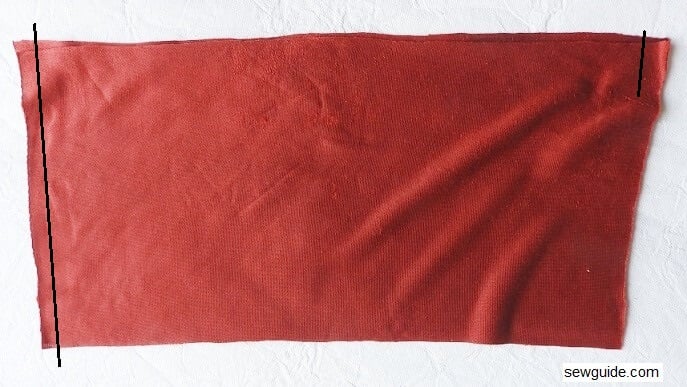
Making a tube top is a simple affair of sewing two fabric pieces at the side seams – ie, if it is a stretchy fabric. If you have a stretchy fabric, You can make it to your exact measurements and it will stretch itself automatically to your dimensions. But if it is a non-stretchy fabric, it is a different matter. You have to make it fit through your body and still be fitting.
To make this super simple tube top, take measurement on the body as follows:
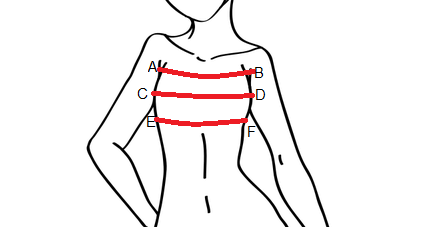
A- B – measure around the body under the armpit
C-D – measure around the body around the highest point of the bust
E-F -measure around the body just under the bust
G-H – measure the bust at the front from one side to the other – along the highest the point of the bust.
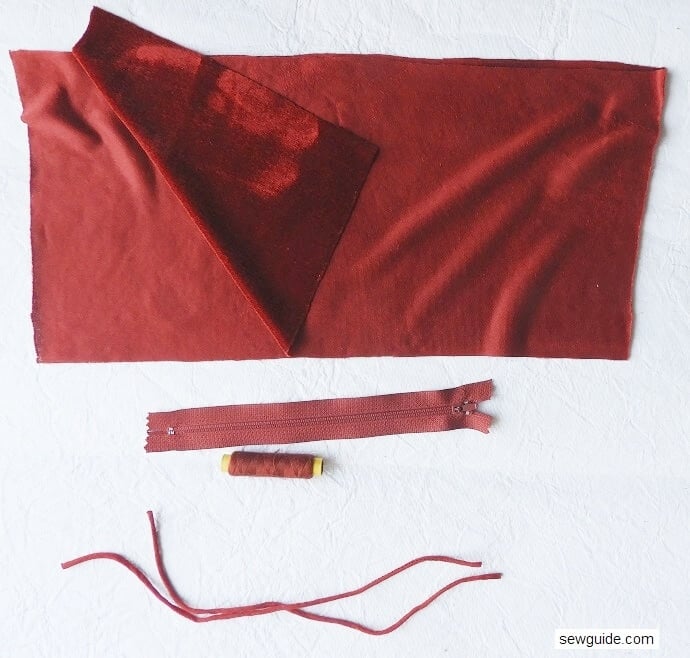
You now need to cut two fabric pieces for your tube top with these measurements.
You also need a 7 inch or longer zipper (preferably invisible zipper)
Front bodice
X-Y = C-D divided by 4 plus 1/2 inch seam allowance plus 1/8 inch ease plus dart.
Dart for top edge on one side = C-D minus A-B divided by 2.
For the measurement I took A-B was 30 and C-D was 32. So dart was 1 inch for one side.
V-W = E-F divided by 4 plus 1/2 inch seam allowance plus 1/8 inch ease plus 1/2 inch dart extra.
Back bodice
S-T = A-B divided by 4 plus 1/2 inch seam allowance plus 1/8 inch ease.
P-Q = C-D minus G-H . Divide this by 2 and add 1/2 inch seam allowance
U-V = E-F divided by 4 plus 1/2 inch seam allowance plus 1/8 inch ease.
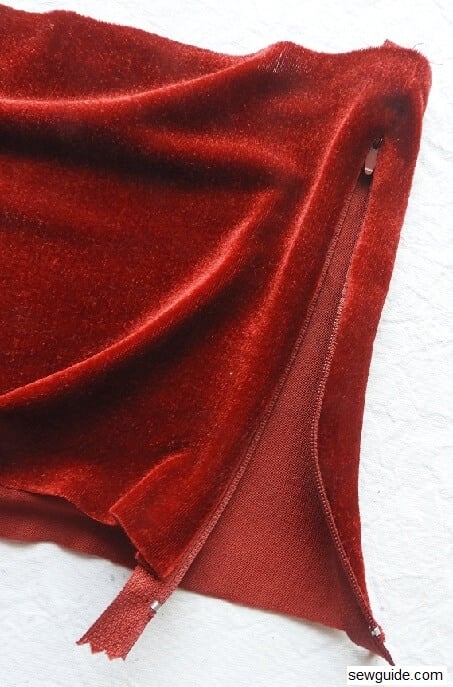
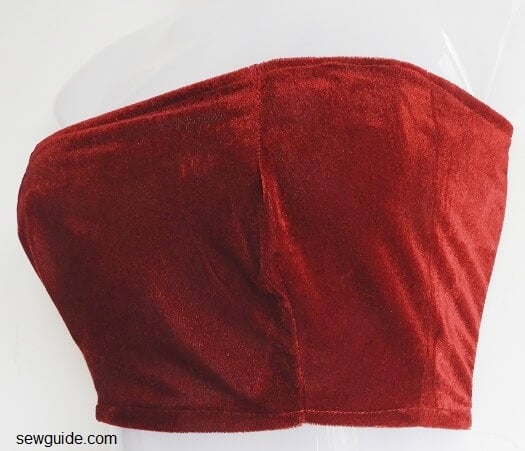
After you have sewn the darts keep them together, right sides to the inside and sew one side together and the other side 1 inch at the top edge.
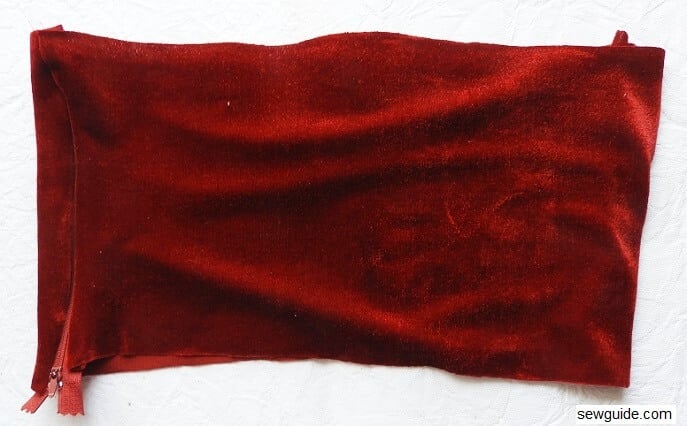
Trim the seam allowance along this partially stitched edge by 1/4 inch. After this keep the zipper along the edge and sew it there. You can use your zipper foot and keep the zipper face down and sew.
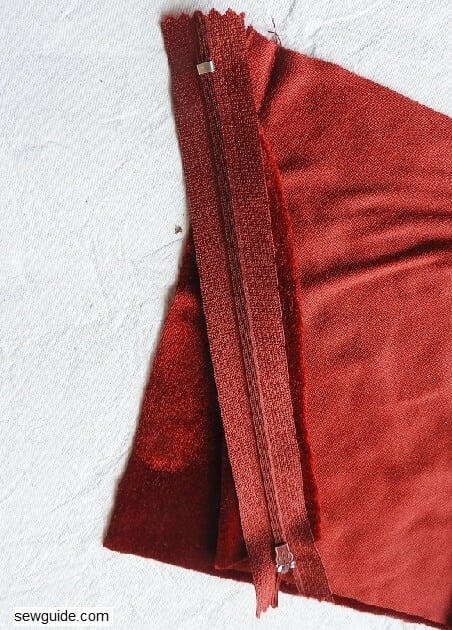
Sew both edges of the zipper to the edges of the top, creating a side seam zipper opening. This is necessary so that you can get the tube top fitting along the bottom edge. If you do not attach the zipper you will never get it past your shoulder.
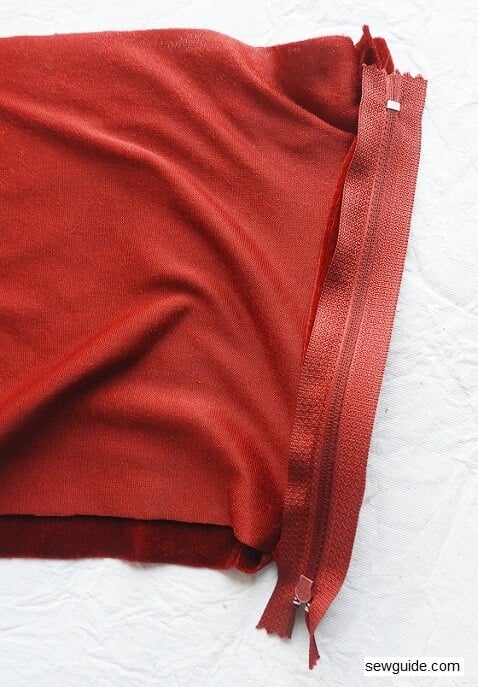
An invisible zipper would look much better along the side seam – it will disappear into the seam
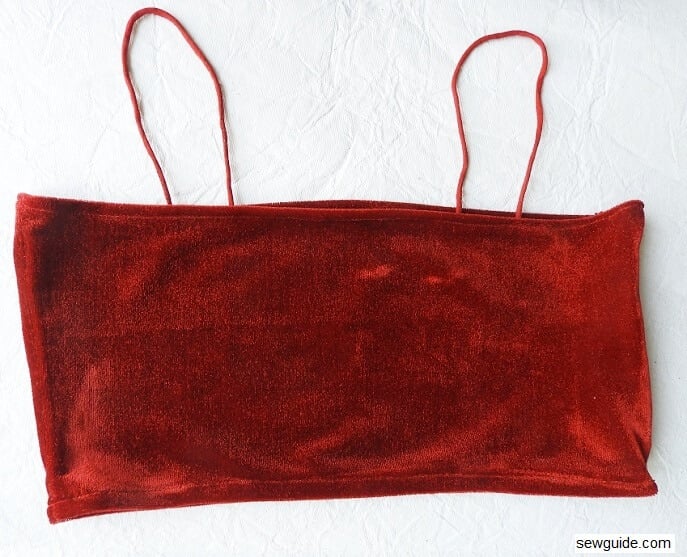
You can finish the bottom and top edges by turning the edges to the inside and sewing in place.
Attach straps if you want to. Measure the strap length on the body from the measure A-B in the front to A-B in the back. Add 1/2 inch seam allowance extra. You can make fabric tubes for the strap. Find the tutorial for making thin fabric tubes here.
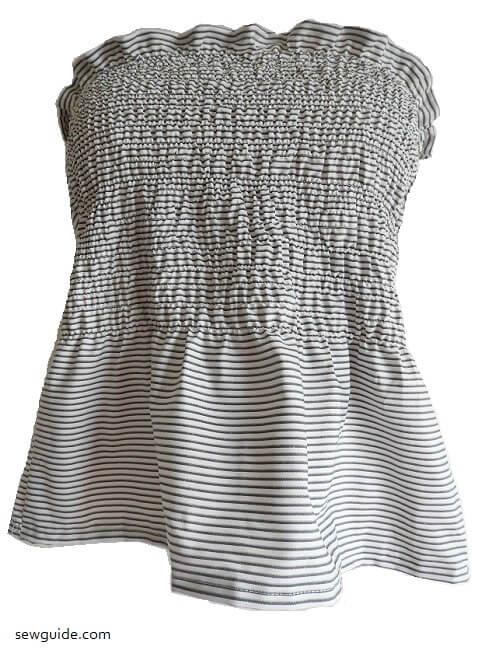
If you have stretchy fabric – like a stretchy velvet, you can make this top without the darts. If you like shirring a tube top can be made easily by doing shirring on the fabric with elastic thread. Find the tutorial to make such a top in this post on making a strapless top.
I’m really confused by written instructions. This top is for my granddaughter with DD cups.
I love that you give where to measure. I’m going to put elastic on top and bottom, but may try the darts. It a very tight stretch fabric. Thank you very much.
Thanks for all the tutorials. Is it possible to show the diagram with the markings for the front and back bodice. It will be of much help.
Nice tutorial but having pics of the draft would helpful. Please upload the same