When I started to sew bags, all I could see was the possibility of owning a lot of bags that looked as good as the ones I gawked at in bag showrooms. But my first attempts were pathetic and comic and cringe-worthy.
Most people think that making bags is difficult – they see all those hardware, stitching multiple layers and beautifully made bags by others and think that they are impossible to be made at home with a simple home sewing machine. Yes, some bags can be made only with professional machines but not all the other beautiful ones.

But, even with seemingly simple bag patterns there will be very trying circumstances like your fragile home sewing machine refusing to move a single stitch because you made it impossible to, with lots of layers of fabric along with a thick interfacing layer that is needed to give the bag shape or the thread breaking every 5 minutes or so because they were not meant to hold layers of fake leather together etc.
Persistence and patience are one of the most desired skills of a sewist sewing anything; and when sewing bags it is more so. Looking at the beautiful bags like on this Pinterest board can give you a lot of inspiration and passion to go ahead.
Add to this some basic sewing knowledge as listed below on your journey to making bags and you are ready and set to go.
Bag Making posts
- Make a Carry-All faux leather Bag with a flat bottom (Sewing tutorial)
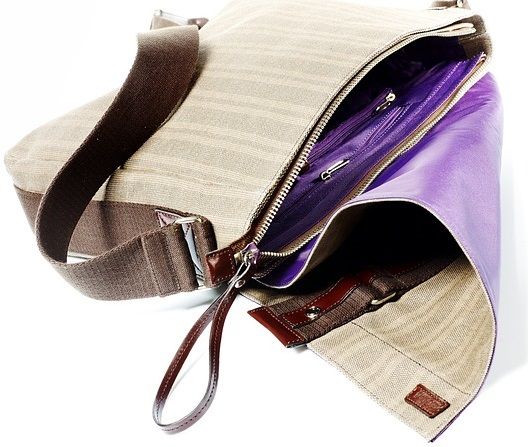
- Make a Hobo Bag (Sewing pattern & Tutorial)
- How to sew a Phone belt pouch
- Laptop Sleeve : Sewing tutorial
- Make a Japanese Knot Bag : An easy no-fastener bag
- Make a Fold Over Clutch Purse
- Sew a Wedding Pouch in a jiffy
- Make an easy Book Pouch
- Sew Super easy Toiletry Pouch :Sewing tutorial
- How to make a Clutch purse with a Metal Frame
- Make a Sling bag :Sewing tutorial
- Sew a Storage Pouch with zipper in a boxy shape
- Sew easy Duffel Bag :Sewing tutorial
- How to make handbag handles or purse straps : 7 different types
- Sew a zippered Tote bag: DIY tutorial
- Sew a small Coin Purse : Sewing Tutorial
- Hand Sew a simple Leather pouch
- How to fold fabric into a Needlebook
- Super easy Makeup pouch : Keep your cosmetics in style – 2 Sewing tutorials
- Make instant Bags from old T-shirts and knit tops : 2 easy ways
- Tote bag : Here is the best way to make this every day bag
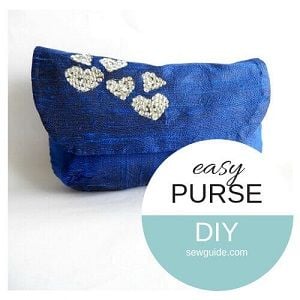
- Easy Party Clutch – Sewing Tutorial
- Make a Reusable Grocery Tote bag in Fabric
- Sew a Backpack with adjustable straps :Sewing Tutorial
- Easy Fold over Wallet Pattern & Sewing Tutorial
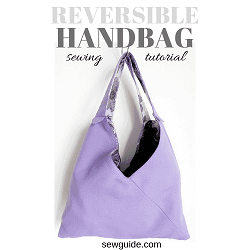
- DIY Reversible Handbag making Tutorial :Sew a simple 2-in-1 bag
- 10 best Bag making Fabrics
- How to sew a Phone Purse (Sewing Tutorial)
- Reusable grocery bags : DIY pattern & tutorial
- DIY Toddler Purse – 2 easy to make Bags for a Little Girl
- How to sew a Purse – 2 Easy sewing tutorials
- Bag handles (A list of 18 types )
- How to make a cute little Lunch bag – very easily!
- Messenger bag pattern & sewing tutorial
- DIY Denim bags from old jeans: 3 easy to make ideas
- How to make bags
- Zipper Pouch Tutorial : Step by step instructions to make one easily
- Easy to sew Shopping Bag pattern with a flat bottom
- Sew a Microwave Heating Pad (Easy DIY Tutorial)
- SUPER EASY DIY Drawstring Bag – Backpack Pattern
- Drawstring Pouch – Free DIY pattern & Sewing Tutorial
- How to make Reusable Fabric Gift bags – DIY Tutorial
Sewing techniques you need to learn
- Bag Making posts
- Sewing techniques you need to learn
- 1. How to sew bag handles?
- 2. Which fabric is best to make your bag?
- 3. How to sew different types of seams and the seam finishes
- Hand sewing bags – Basic hand stitches
- Sewing machine stitches
- 4. How to sew flat bottom and darts
- 5. Embellishments
- 6. How to sew fasteners
- 7. How to fuse interfacing
1. How to sew bag handles?
There are so many different ways to make your bag handles. Check out this post on the 18 different types of bag handles and also Learn more about 7 different methods to make bag handles here.
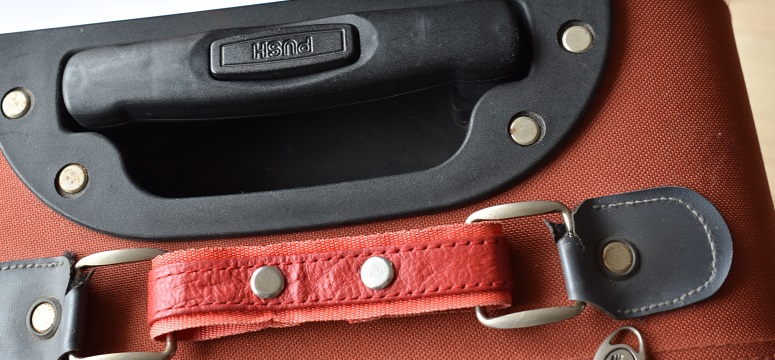
If the material is too thick you may have to attach the bag handle ends with the help of rivets – these are small metal studs with two parts that fit in through a hole in your materials joining them together. Check out this post on attaching rivets.
2. Which fabric is best to make your bag?
Checkout this post on the different types of fabrics used to make bags. My favorites are canvas and pleather. Cork is also another favourite.
3. How to sew different types of seams and the seam finishes
The usual seam is a straight seam with serged or zigzagged edges but for bag making more sturdy seams like a flat felled seam is used for added strength and stability. Check out the post on different ways to stitch a seam.
For a properly finished bag you will have to finish all the visible seam allowance fabric edges – sometimes the seam stitching is such that the seam allowance is not visible outside, so no need to finish fabric edges like for a french seam .
Hand sewing bags – Basic hand stitches
The most important hand stitches you will need are the following
1 Back Stitch – This basic stitch can look as good as any machine-made stitch if you make it all same size and in a straight line. So if you are thinking of hand sewing the whole bag this is the stitch for you. Even otherwise this stitch may be useful where you will find it is impossible to sew with a sewing machine. Check out this tutorial back stitch for instructions to stitch it.
2. Tacking stitches – A very simple stitch needed to hold the many layers of fabric together before you sew them with the sewing machine. Check out the post tailors tacks for more details
3. Running stitches – These are long loose stitches which are used for decorative as well as functional purposes. Think sashiko embroidery, Indian quilting stitch kantha stitch etc. They add great texture to the fabric.
4. Basting stitches – These are basically long running stitches and serve the same purpose as the tacking stitches, that is, hold fabric layers together temporarily till they are stitched finally. Have a look at the post on basting stitches
5. Bar tacks – Closely made straight stitches in one place to reinforce somewhere – usually made in the pocket top edge. More on bar tack stitch here.
6. Blanket stitch or satin stitch – If you are doing applique work on the bags these are very much needed. Learn how to do blanket stitch and satin stitch
7. Whip stitch – Useful to sew turn under edges
8. Ladder stitch/slip stitch – These are invisible stitches used to join two fabric edges and make it look as if there are no stitches from the outside – they are invisible. The stitches are hidden between the fabric folds of the edges very cleverly. Look at ladder stitch and slip stitch tutorials
Sewing machine stitches
The basic straight stitches are all that you may need to sew the seams in the bags and for that, you will need the straight stitching foot. For buttonhole sewing and finishing the fabric edges, you will need the zig zag foot. Other than that you do not need anything else necessarily, but if you can use the various other presser foot you got along with the machine and learn how to use them properly, more power to you. Check out this post on the 35+ presser feet and their uses.
You will also need to know which sewing machine needle to use, which is the best sewing thread etc and basically how to best use your sewing machine. And the best way to start sewing with your sewing machine if you are a beginner
Edge stitching
An edge stitching foot can make edge stitching easy for you. Edge stitching is a top stitch made along the fabric edge or along a seam to flatten it and strengthen it. The edge stitch foot can be helpful in making it even and equidistant from the seam/edge. More on edge stitch here
Stitch-in-the-ditch
This is a very often used sewing technique used in bag making. In this, topstitching is made very close to the seam line through all the layers of fabric. It helps in holding all the layers together as well as invisibly catch the turned under edge of the fabric underneath, like a bias binding. More on stitch in the ditch stitching here.
Understitching
This stitch is made when sewing a facing to a fabric edge, so that the facing rolls to the back of the fabric very easily without it becoming visible on the face of the fabric.
After the facing is sewn the facing is turned to the back of the fabric and the seam allowance and the facing is stitched together with the stitching line on the facing very close to the seam line
Bias binding tape is a very useful thing in bag making. It is used to bind fabric edges very neatly and attractively. Check out the post on making bias tape from any size of fabric piece as well the tutorial to sew bias binding
A casing is made for attaching elastic or a drawstring on a bag like in the case of this drawstring backpack tutorial
Trimming and Clipping the seams
Clipping is made all along the seam allowance so that the fabric will conform to the different shapes you are making for the bag. Usually, these clips are made along the outer edges of curved seams. For a non-puckered and smooth exterior for your bag, it is essential to clip and trim the seam allowance at all the appropriate places. Grading the seam (cutting away seam allowance in layers so that bulk of seam allowance is avoided) is another frequently used technique in bag making for making it easy.
4. How to sew flat bottom and darts
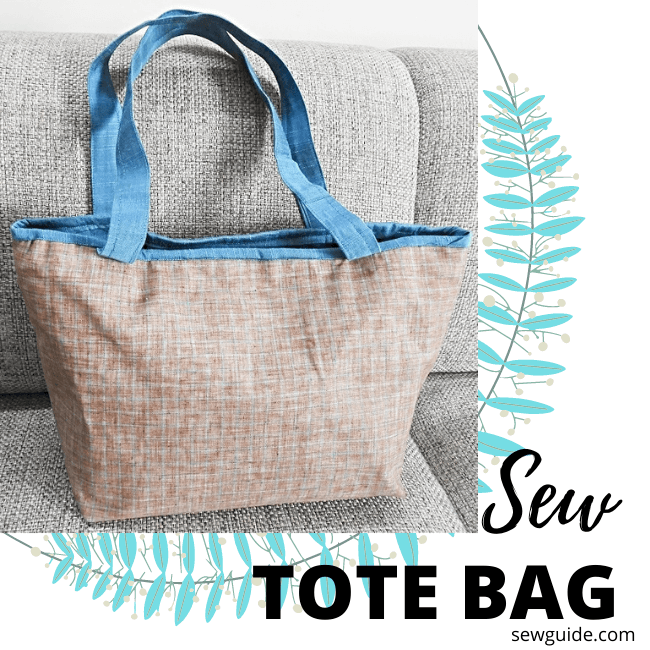
Dart gives shape and form – a dart is basically a tuck that tapers on one end so that a curved shape is made on the other side. The 3-dimensional look of a bag is created with appropriately placed darts. You can learn how to sew this totebag with zipper here.
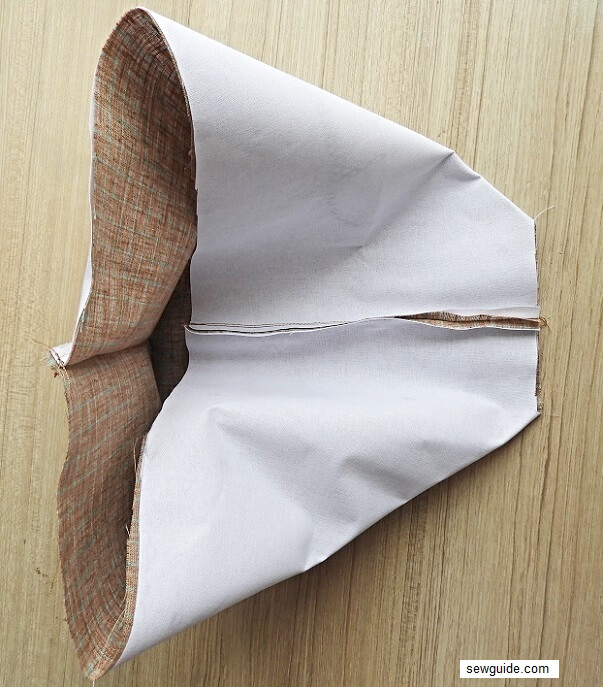
You can give a flat bottom to your bag easily with a dart across the corner of flat bags. Additionally, You can check out the tutorial to sew a shopping bag where the flat bottom is sewn.
5. Embellishments
There are some 50+ ways to create a beautifully textured fabric for your bag. Have a look. Embroidery is my favorite. You can use embroidery on the face of the bag or even on the back – all over or selectively placed. Hand embroidery as well as machine embroidery stitches are great for this purpose.
On bags, gathers pleats and tucks and even shirring are sometimes used to contain the fullness of the fabric and create depth.
They are added to the bag design so that there is enough space in the bag without it seeming so at a glance. Check out the post on different types of pleats you can sew , different types of tucks, How to do shirring and how to sew a box pleat easily
How to sew piping
You may want to embellish your bag with piping done in a contrasting or matching colour fabric ( that covers a cord) and keep it in between seams. This can make the seam attractive as well as add some strength. Check out the post on making and sewing piping
How to sew trims?
Sewing trims like ribbons and lace can add to the charm of your bag. Learn how to sew the trims from the post here and the different types of fabric trims you can add.
6. How to sew fasteners
Knowing sewing techniques for sewing zippers, buttons and other fasteners like snaps and frog closures are a necessity if you want even a passably professionally made bag
Check out the post on the different types of sewing fasteners and the posts like sewing exposed zippers , sewing zippers – 3 different ways, how to sew a button, how to make a handmade buttonhole how to make a machine made buttonhole. A hook and tape also popularly known as a velcro is the easiest fastener for a bag. Here is a tutorial to attach magnetic snaps on bags.
Check out the different methods you can customise and trouble shoot a zipper problem.
7. How to fuse interfacing
You may want to use a beautiful dressmaking fabric for making your bag but it is only possible with the help of interfacing; otherwise, you will have a very slouchy bag in your arms after all your hard work. Interfacing is what gives weight to the bag fabric.
It is a specially stiffened fabric which is applied between the main fabric and the facing, mostly fused to the back of the main fabric with a hot iron.
Some interfacing is not fusible. You will have to sew it.
And a lot of fabrics used in bag making should never be fused with interfacing – like leather, faux leather, vinyl and cork. The heat will make it bubble up.
8. How to attach hardware/notions
Nothing says homemade than a bag without hardware. Some would even say that a bag is just a sack without proper hardware. You may need good quality Hardware for bags like metal grommets ( eyelets), clasps, chain, Studs, bag feet, D-rings and other rings, metal sliders, snaps, locks, buckles,and connectors for handles etc., and knowledge to attach them.
9. How to sew pockets and straps?
Pockets and straps – Can you imagine bags without them. You will need to make a lot of these when you have started to make your own bags. So might as well master the easiest and best ways to make them well.
Related posts :
When you have mastered all these techniques you are on your road to make better bags. After you have made all of the bags you and your family needs maybe it is time for you to think about stitching it for others and make a profit from your passion. Check out the post on selling bags – some pointers
Sewing tutorials : How to make a reversible Handbag
good i luv this
The best guide i ever have . Best of Luck
Thanks Annie
Bless God
Nice to meet this slide. I hope you will send more information about stitch.