Satin is glossy; satin is smooth; satin is drapey. And therein lies all its problems. Sewing with satin may prove to be one of the most frustrating, if you allow it to be.
Marking & cutting Satin
Satin is one fabric which calls for a muslin first before making the final garment. It may be very difficult to rectify mistakes in sewing satin.
You do not want to make marks on the precious fabric. If you have sewn a seam wrong and have to resort to ripped stitches, this will mar the look of the dress, as the soft smooth surface of satin will show the stitch marks prominently.
I know from experience that picked seams look horrendous on satin.
Cutting satin fabric
This is a challenge for even the hardened sewist. It will try your patience like no other fabric.
The slippery nature of the fabric makes it difficult to keep it position on the surface.
Make sure the surface also is not slippery. Keep pattern weights. Cut in single layer – always.
If you cut in two layers, the layer underneath will/may definitely shift and you will have a different sized piece.You can keep paper underneath and cut together with the paper. The crispiness of the paper will give some stability to the fabric. You can also use rotary cutter and mat.
Having very sharp scissors is mandatory when cutting satin.
Getting yourself a serrated edged scissors helps greatly. These scissors have tiny teeth-like grippers that hold slippery fabric as you cut without slipping. Their blunted points prevent snagging of fabric.
Marking satin
The smooth surface of satin will smudge and smear the chalk lines and you may find it is permanent.
Also. as it shows water staining marks prominently if you try to remove chalk marks with water you may get very ugly looking water spots. Marking on the dull side of satin is the solution.
Use pattern weights instead of pins wherever possible. Where you have to use pins, use sharp silk pins; I would pin only within the seam allowances – satin shows pin marks clearly.
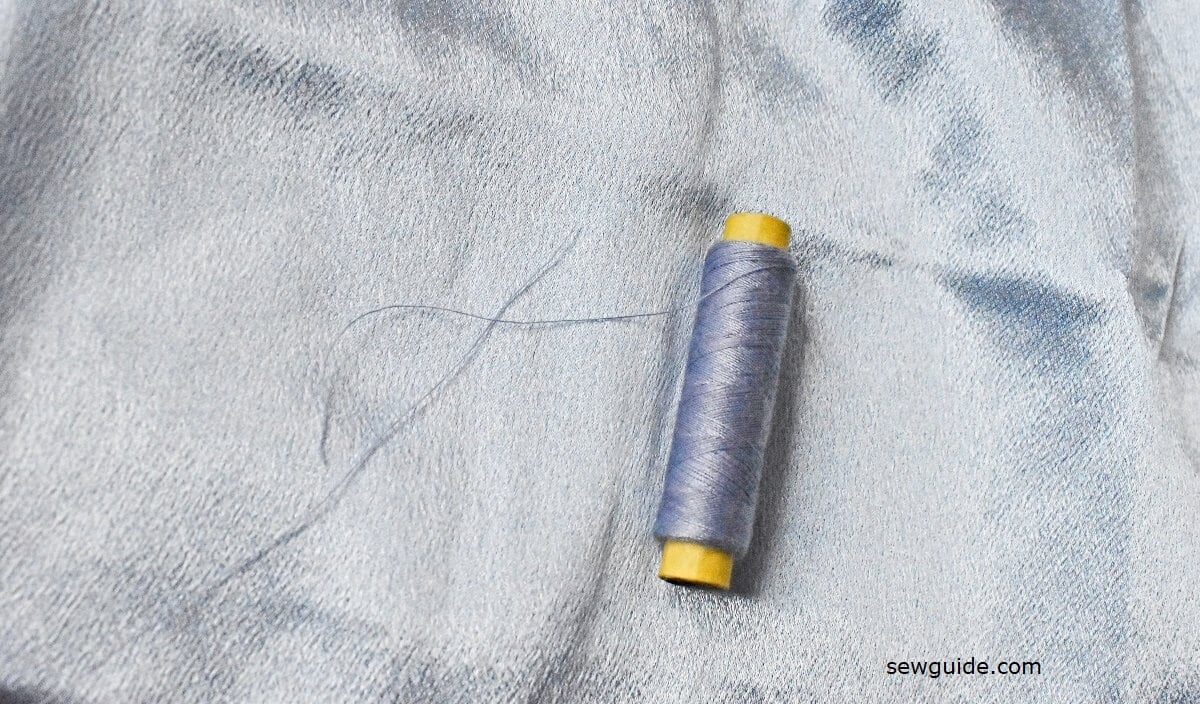
Needle and thread used for sewing satin
I usually use a slightly darker color thread to sew rather than a lighter color. Polyester thread has enough shine to match the fabric than a cotton thread – and is stronger.
When sewing satin you have to use very sharp needles. Microtex (sharp) needles work very well especially for thin satin which may snag with regular needles; otherwise a lightweight standard universal point needle would do.
Big needles and blunt needles can leave large holes. These can fray the seams. So start a sewing project involving satin with a new needle and an appropriate one. Read more on sewing machine needle types and sewing machine needle sizes.
A walking foot / even foot is said to be the best for use with slippery fabrics.
Sewing Needles to use
- Duchess satin – Use a Size 11 needle
- Silk satin- Use a Size 11 or 12 needle
- Acetate satin – Use size 11 needle
- Polyester satin – Use size 12 needle
Buy cotton-wrapped polyester thread, Polyester thread or a lingerie thread for sewing satin fabric.
Satin frays a lot. But thankfully it doesn’t fray on the bias. So if possible cut on the bias. Read how to go about bias cutting of fabric.
Cutting on the bias requires more fabric than the regular lengthwise layout.
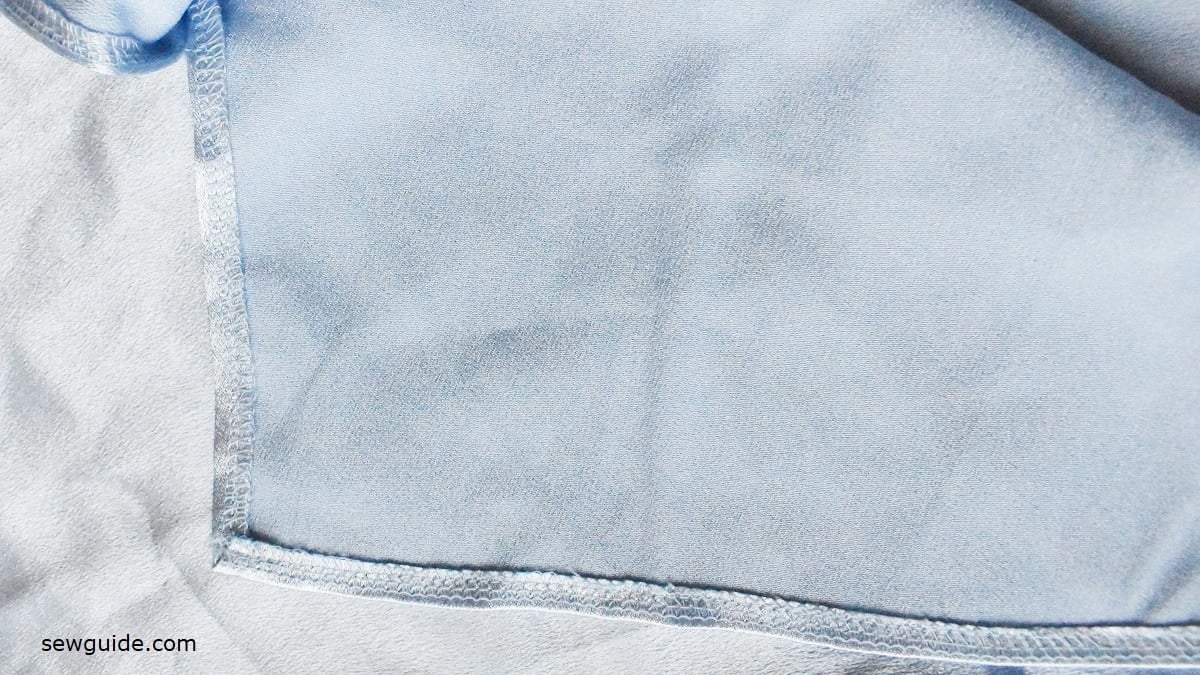
If you cannot cut on the bias, leave wide seam allowances and do not forget to finish the fabric edges. I sometimes apply fray check immediately as soon as I cut.
French seams also work very well, as the fabric edges will be well hidden.
Satin dresses are usually lined so that will take care of a lot of frayed edges. Interlining also gives some weight to the fabric
Sewing Satin
Use a short stitch when stitching satin seams. Keep the fabric taunt with your left hand as you are sewing satin, as the fabric may disappear into the needle plate.
It is a good idea to test the tension and pressure and stitch length on a test piece first before trying on the final garment. Some also use thin paper under the fabric when sewing.
You should also choose a needle plate with a small single hole – I dislike it when satin disappears into the machine. If you have the zig zag pressure foot on your machine change it with a straight stitch pressure foot for sewing straight seams on satin.
On necklines you can use stay tape if you are not using lining. Stay stitching is mandatory to avoid stretching
Pressing satin on the face of the fabric may cause shine marks – so press on the wrong side or if you are pressing on the face of the fabric, use a pressing cloth.
For everyday clothes, satin is probably a poor choice – I can think of the perspiration stains on satin dress armpits as the number one reason. Then other reasons like how it snags easily – and even a simple pin mark remains, like forever.
But when you see the beauty of satin fabric, you forget all these problems and proceed to buy yards and yards of it.
Related posts : Satin fabric