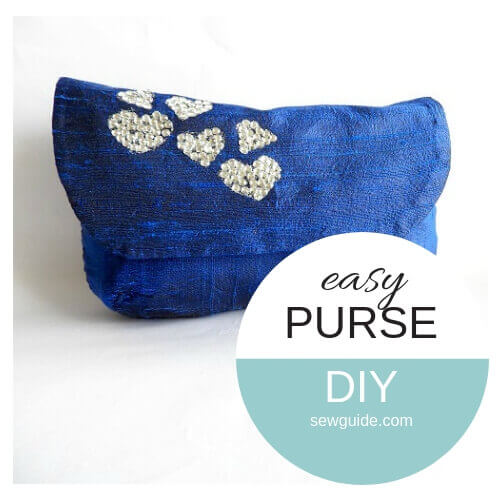
Imagine carrying a purse that matches your outfit for a special occasion; Or better, imagine having a lot of purses that match all your dresses. That too, each of them made so fast that you could only have missed one episode of your favorite web-series.
This one is as easy as that – just buy the best interfacing which will hold shape and that matching fabric I told you about and a magnetic stud and you are ready to sew this easy peasy purse.
So how do you make these purses? Just follow the tutorials given below:
How to sew an easy Purse – Method 1
Step 1
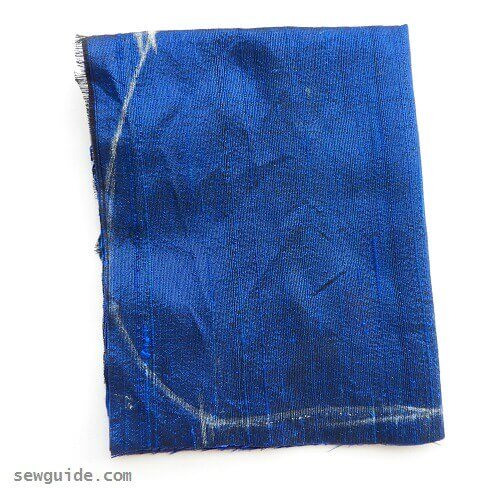
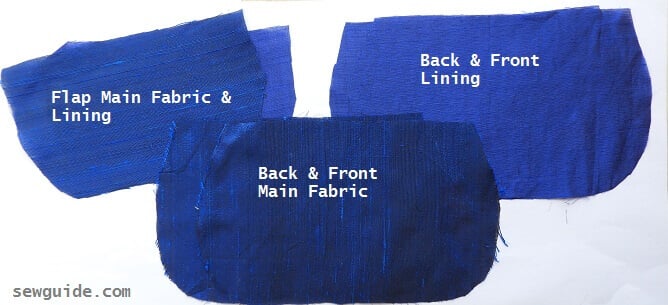
Cut out the fabric pieces – you need 2 pieces for the flap ( one outer fabric and one lining), 2 pieces for the front and back (Outer fabric) and 2 pieces for the lining. ( I used a silk fabric for the lining but cotton lining is better as it adheres better to interfacing); And matching interfacing pieces for all these
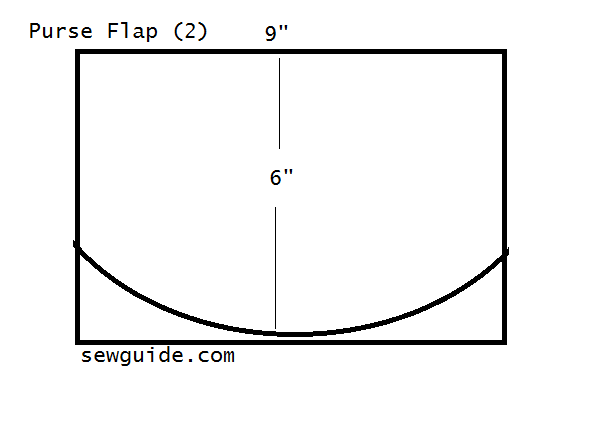
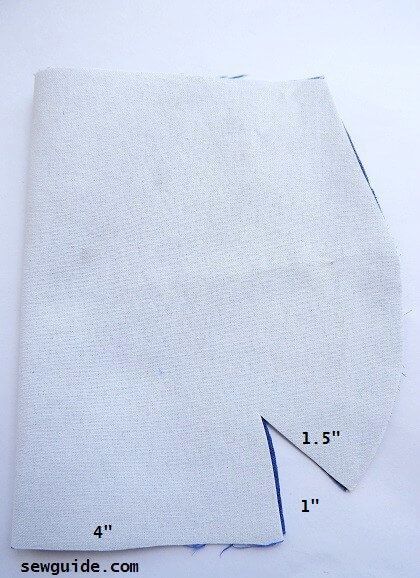
Cut out flap as per this diagram – 2 pieces for the flap ( one outer fabric and one lining)
Cut out the purse body pieces as per this diagram – 2 pieces for the front and back (Outer fabric) and 2 pieces for the lining.
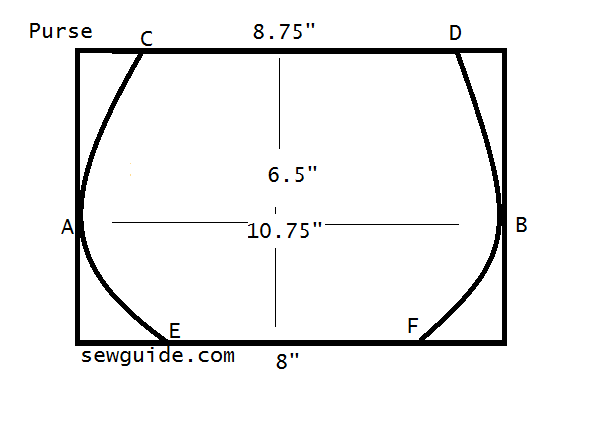
The dimensions will correspond to.
Length
G-H = 6.5″
Width
C-D = 8.75″
A-B = 10.75″
E-H = 8″
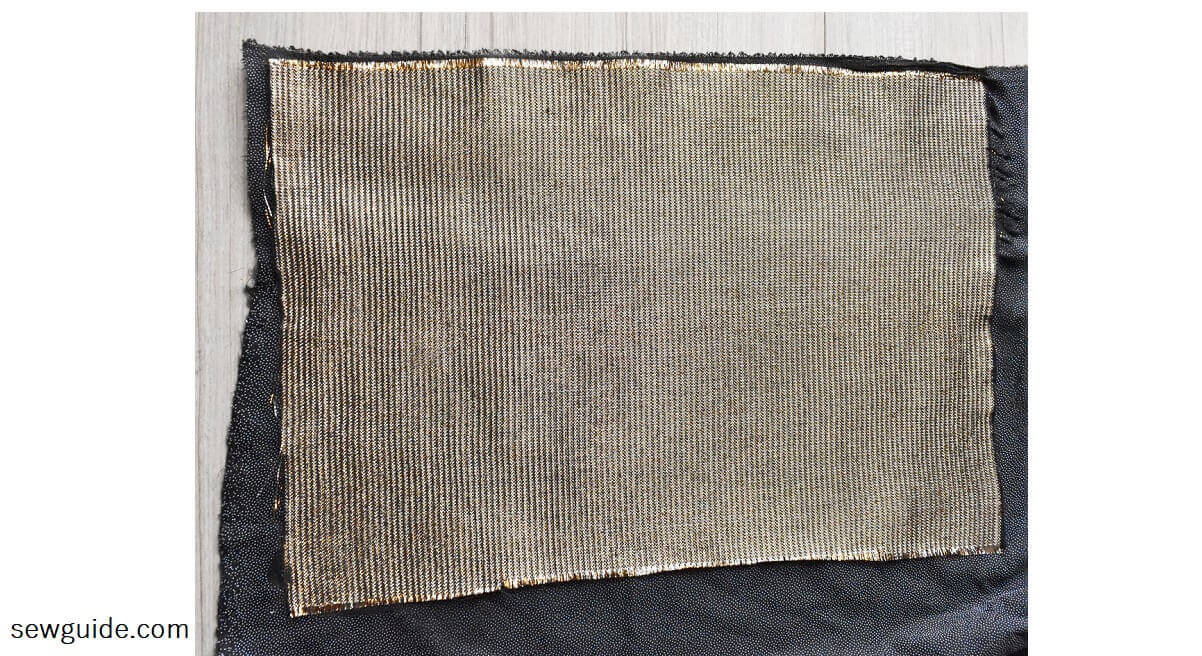
Attach the interfacing to the cut fabric. I didn’t attach interfacing to the outer purse pieces and lives to regret it. You can use a sew-in interfacing to the outer pieces or use a fusible one. I prefer the sew in for the outer pieces and fusible for the lining. Attach the fusible interfacing with pressing
Interfacing is a most important thing in bag/purse making – determines much about how your purse will look eventually.
Related post : How to attach fusible interfacing; Different types of interfacings.
Step 2
Cut out the dart for all the 4 pieces of purse body. You need the dart on either side of all the pieces, so to make it symmetrical, fold and mark and then cut.
Step 3
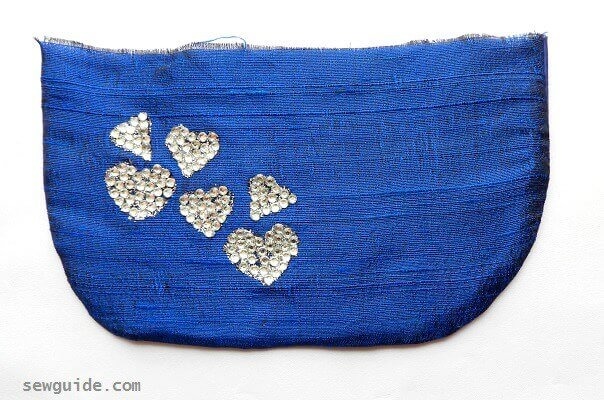
Make the embellishments on the flap piece.
If you are doing an embroidery design, you will have to do this before the fabric is cut after it is marked – otherwise because the fabric piece is small you will have the fabric fraying; you will not able to hoop etc. Lots of trouble. Anticipate and avoid all these.
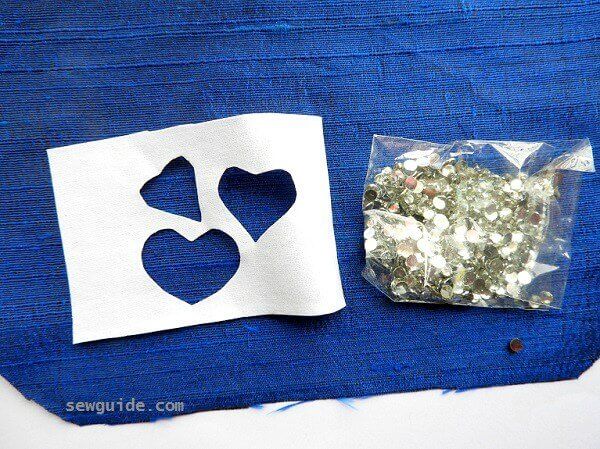
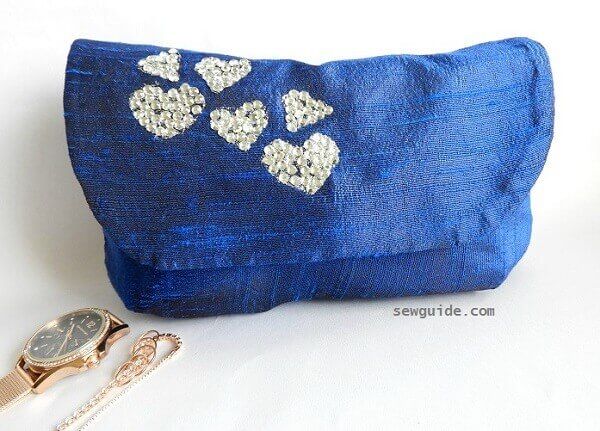
To neatly arrange the rhinestones I cut out a stencil from an interfacing piece. Just mark some hearts freehand, then fold each and cut with scissors so that they are symmetrical in shape

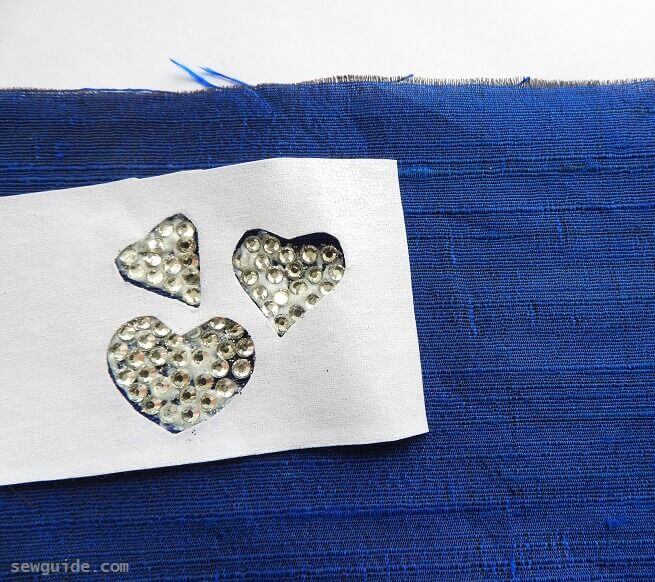
I applied a glitter paint (fabric paint which sparkles) inside the shapes instead of glue and then arranged rhinestones on top all the while keeping the stencil still on the fabric. The glitter paint acted as a strong glue and gave sparkle on areas where the paint was not on. It is beautiful this way.
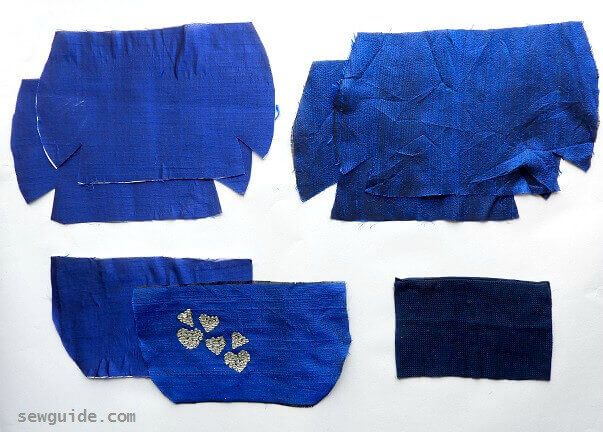
So now I have these pieces cut out for sewing the purse. The small one was for a pocket I intended to attach but did not.
For the pocket, you can cut out a 10 inch by 5 inch piece, fold by half and turn the side edges to the inside and stitch in place on all 3 edges – easy patch pocket inside the purse for the change
Step 4
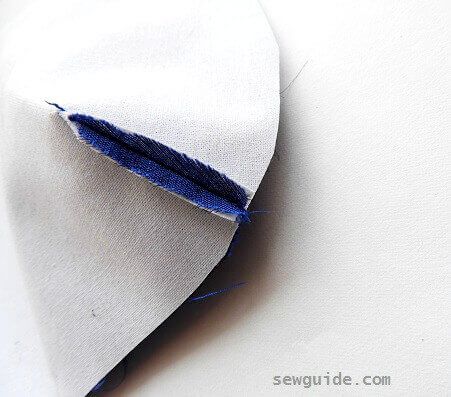
Sew the Dart. Just keep it together (rightsides together) and sew with a 1/8 inch seam allowance
Open up the seam allowance. Make a slit at the top of the dart till the stitching line to fully open the seam allowance. Be careful while doing this, you may cut open the stitching
Step 5
Keep the Lining pieces rightsides together and sew along the edge. (red line indicates stitching line) Leave 2 to 3 inches open at the bottom edge unstitched.
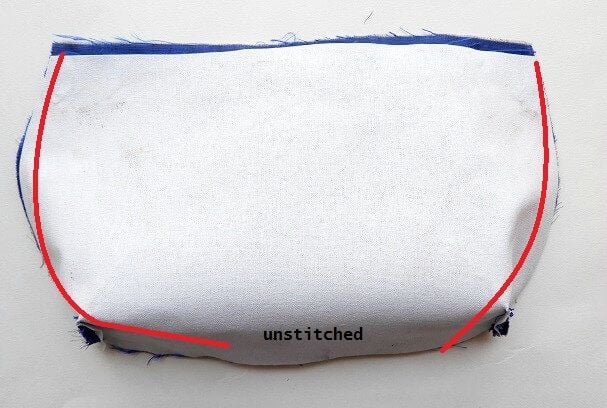
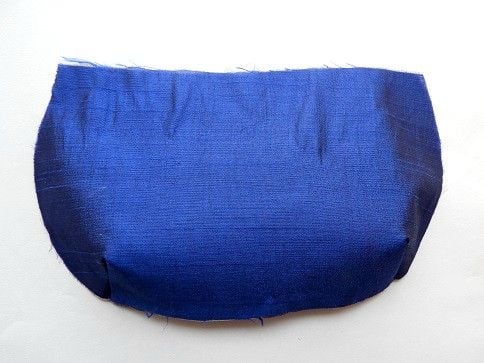
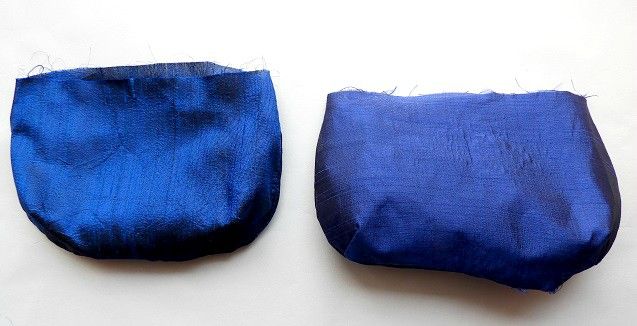
Do the same with the outer purse pieces as well- here you should stitch all along the edge. You will now have two purse body – one outer purse and one inner
Step 6
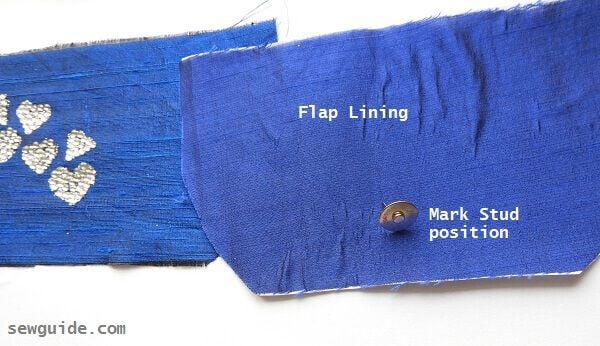
Prepare the flap
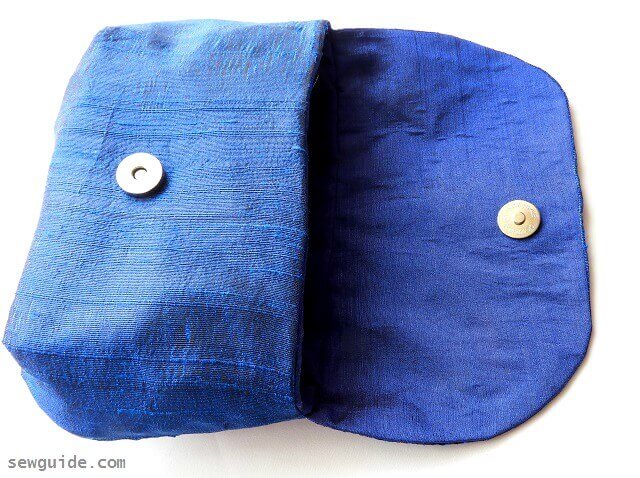
You need to attach the magnetic snap ( magnetic snap has two pieces – the the protruding portion is used for the flap) towards the rightside of the lining piece of the flap.
Remember to keep a piece of interfacing or felt on the back as you attach the magnetic snap – otherwise one or two pulls and your fabric will start to pinch and self destroy.
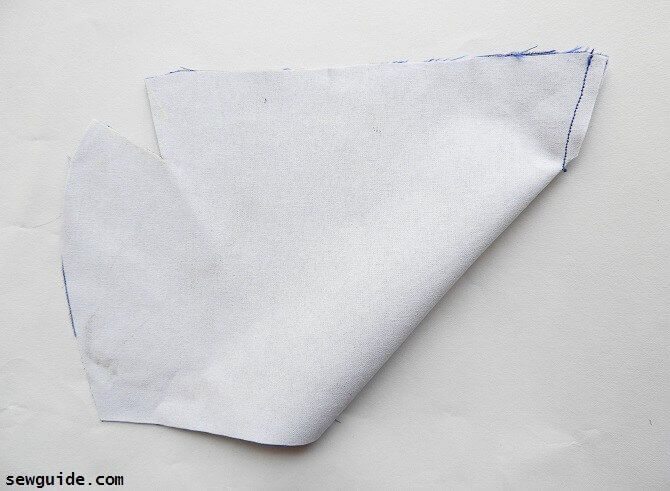
Sew the flap outer piece and flap lining along the curved edge,rightsides together.
Remember to clip the seam allowance all along, or atleast along the curves (this aids in turning the purse smoothly)
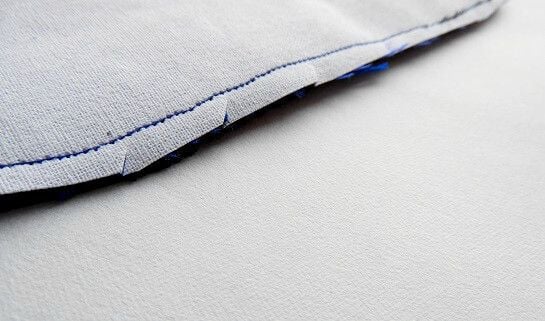
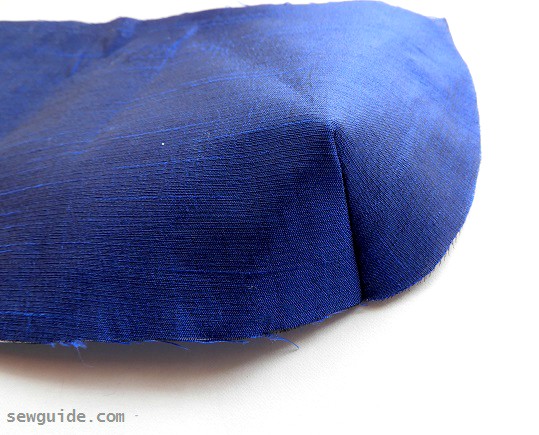
Then turn it rightside out.
Press the flap nicely.
Step 7
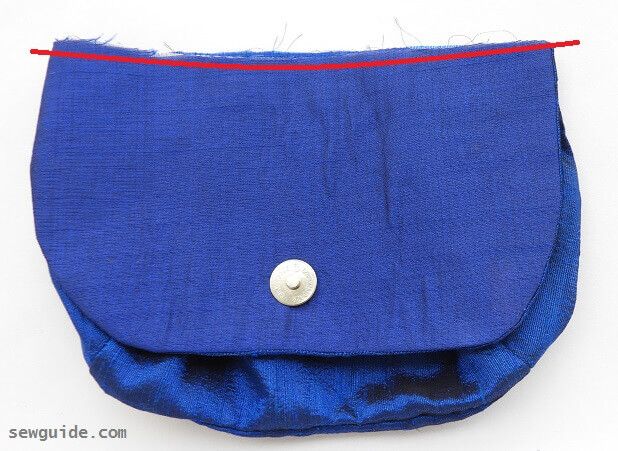
Attach the flap piece to the bag outerpiece backside top edge ( where the flap should be attached). Just sew it together.
Do not bother that you can see the seam and all, as you open the purse. It will all disappear out of sight as you attach the lining later.
Step 8
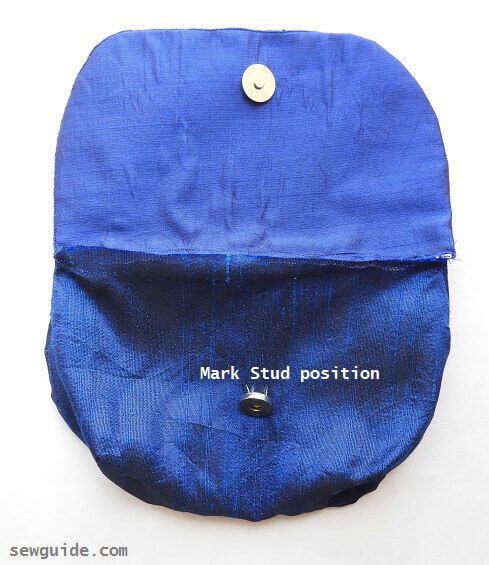
Attach the snap -second piece of the pair, on the front part of your purse (outer). Position it correctly by placing the top snap piece and mark. Make small indentations, make cuts with your seam ripper and attach the snap
Step 9
Keep the outer bag (which is rightside out) inside the lining bag (rightside
Sew along the top edge joining the two bags together. Sew the whole edge. Trim seam allowance.
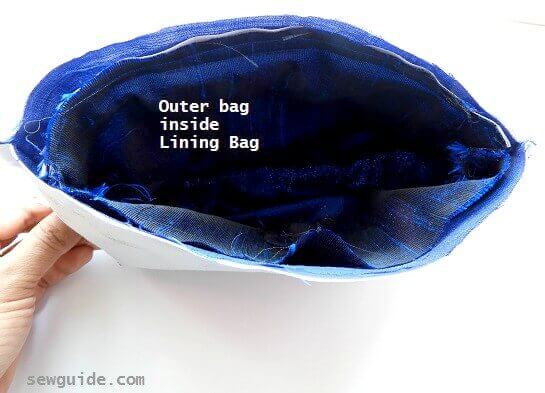
Turn the purse rightside out through the unstitched hole in the lining bag. It is a little messy, depending on the thickness of the interfacing you used – the whole ugly underbelly of the unfinished purse is exposed in this photo but what emerges is your finished purse.
Step 10
Now You have to close the hole with a few hand stitches. or just take the lining bag out of the purse and stitch the gap closed with a few sewing stitches.
I could have added a pocket inside, even made it one with a zip closure – but I hate complicating things. When I am about to make a dozen of these, the less work, more I can make. And now I am ready to go out.
DIY Fold over style Purse (the easiest way) – Method 2
- Cut out one single piece of fabric
Cut out a very thick fabric in the dimension 12 inches by 10 inches or bigger 14 inches by 11 inches. Interface with thick interfacing
- Prepare a zipper
The zipper has to be prepared to match the 11 inch edge. Most metal zippers are 7 inches or so; to make it 11 inches add extra fabric at the edges- this also adds a nice touch to your purse. Fold a fabric piece at the two edges of the zipper and top stitch in place. You may need to sew the zipper teeth together with hand sewing needle and thread before sewing this.
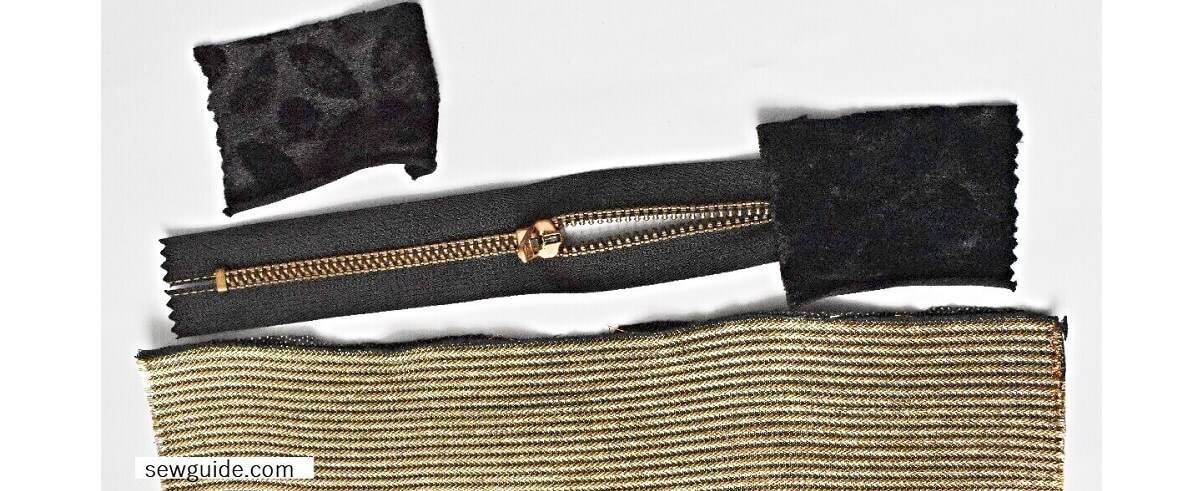
- Sew zipper to one edge
Keep the zipper face down on the edge of the right side up fabric. Sew the edges together.
- Sew the edge of zipper and the purse fabric
Attach a zipper foot on your sewing machine.

- Fold the other side of the fabric up
Now bring the other edge of the fabric over the zipper
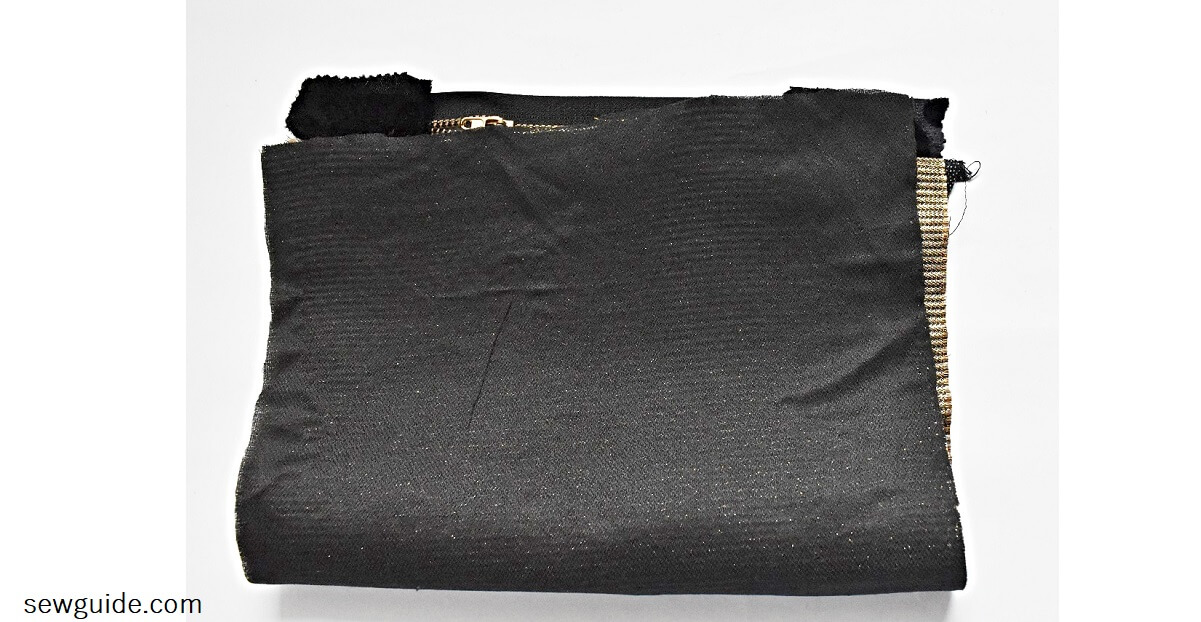
- Sew this in place
The other edge of the fabric is sewn with the zipper edge; You can sew from the other side (zipper side) as I have done in the picture. REMEMBER TO KEEP THE ZIPPER OPEN ATLEAST 2 INCHES.

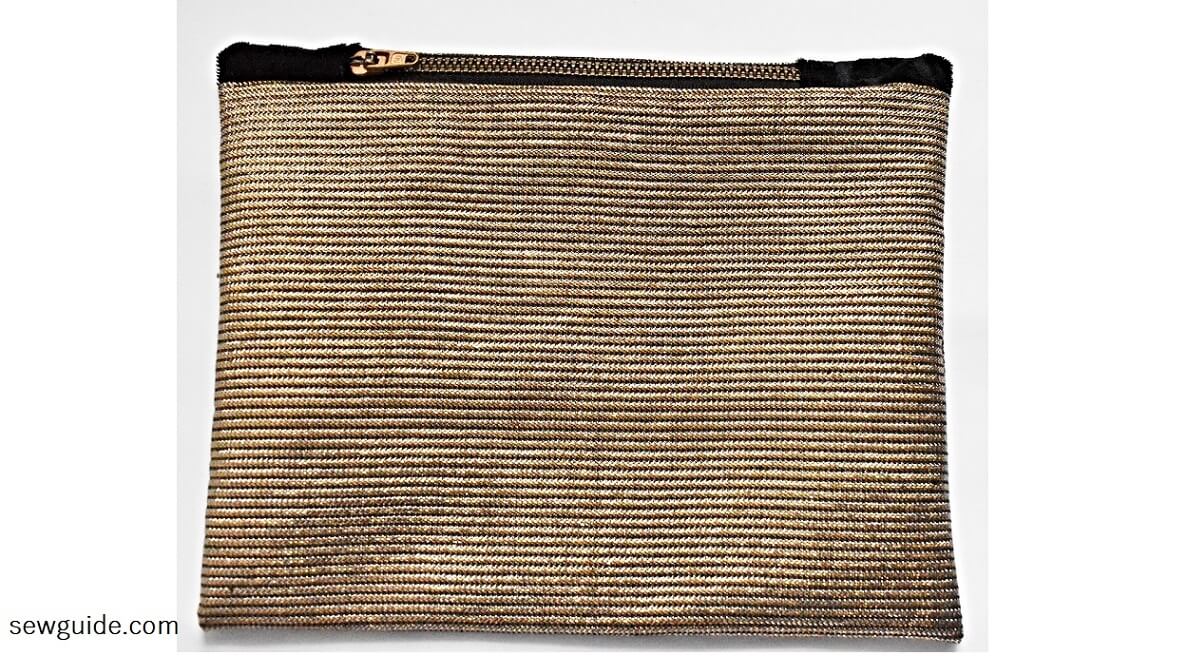
- Sew the side edges of the purse
Sew the side seams; You can finish the inside seam edges with binding or zig zag etc so that it doesnot fray inside.
- Bring the purse rightside out
This is why the zipper is kept open; bring the purse right side out through the open zipper.
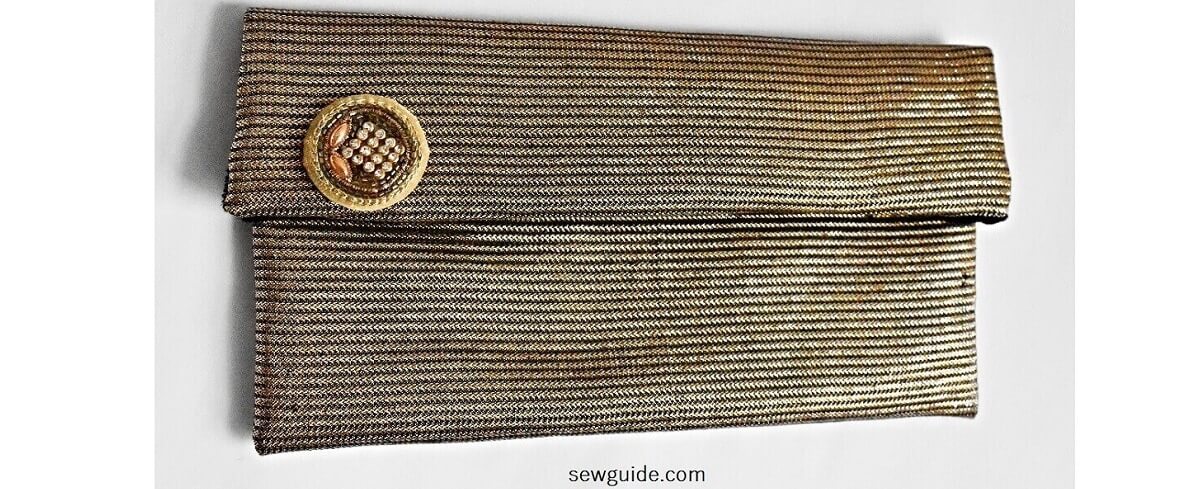
- Fold over and use
You can attach some flowers or buttons on the folded portion if you like fancy.
Related posts: How to sew phone pouches; Make a fold over clutch purse
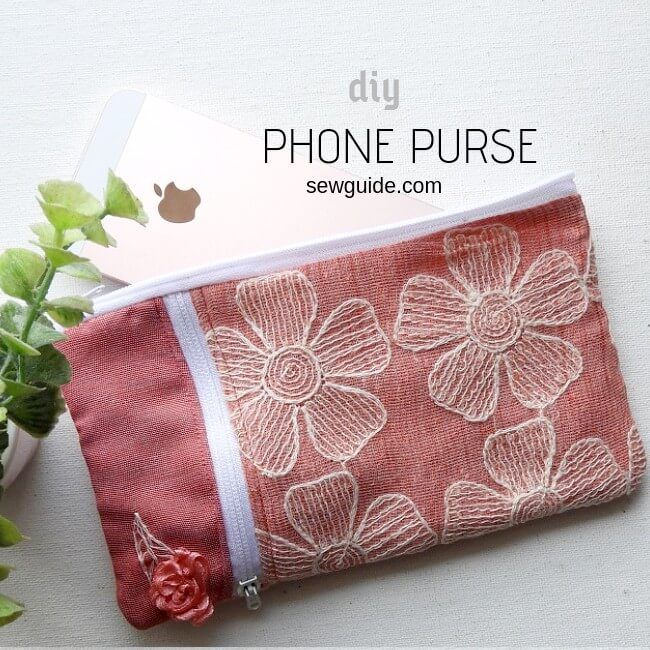
How to sew a phone purse: Super easy tutorial to make a small handmade purse just enough to carry some notes, card and your phone.
It is really good to put at least some small things in it. I love it
I love your instructions as I can re-read them and understand the concept. Thank you for the tutorials.
Thank you Pradnya
Pls send paper pattern
Thanks