
Here are some more additions to the pantry – for the kids. If you have already made the fabric vegetables in this post, you may want to make these fruits. I consider these small fabric piece projects “killing two birds with one stone”. Kids are occupied playing with them and they may even want to make these themselves. Also, you get to do something with the fabric scraps you have been collecting.
So bring on the fabric fruits. Gather a full harvest.
Making Fabric fruits
Making a fabric strawberry
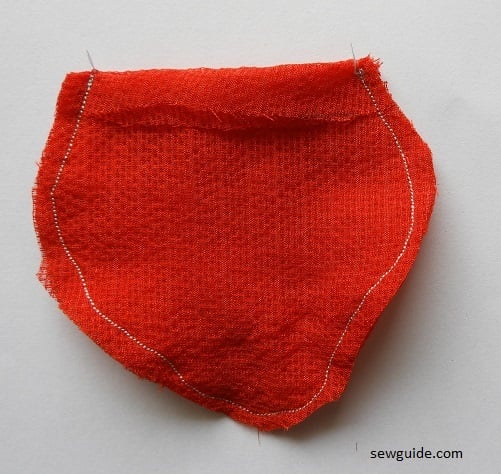
To make a strawberry, cut a dome shaped fabric piece in the following picture.

Now fold the dome shape by the middle right side to the inside and sew the edge together- you can use a hand sewing needle and thread or machine stitch.

Turn the thing rightside out.

Fold the top edge a little to the inside and then make gathering stitch over the folded edge. Do not take off the needle and thread.

Stuff your strawberry with cotton or fabric scraps or polyfill. Gather the thread by pulling the needle.
You can add the sepals on top of your strawberry from felt or green fabric. Stitch in place.
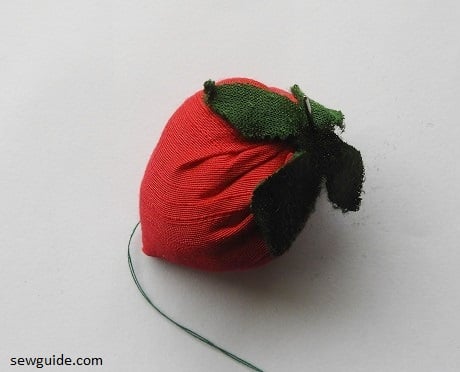
You can make those small seeds seen on the surface of strawberry using embroidery floss and handsewing needle.

Making a fabric Apple
To make a fabric apple, cut out two fabric pieces from red fabric in the shape given below. You also need a really long and thick upholstery needle to make the apple.

Keep the two fabric pieces together rightsides to the inside. Fold the top edge to the outside ( on either side) as in the picture below and stitch along the outer edge. Do not sew the top edge.
Turn the piece rightside out, through the open top edge.

Stuff with whatever you are stuffing it with.

Take a very long needle and thread – the thread has to be real strong or use 4 numbers of sewing thread. Pass through the middle of the apple , one end to the other and then tighten the thread, making the small grooves that an apple has on either side.

Making a fabric Pear
To make a fabric pear, cut out 3 fabric pieces in the following shape.


Join these three fabric pieces one by one.

As you stitch the last pieces to each other leave a 2 inch space near the top edge of the fruit.

Stuff the pear. Add a small piece of brown felt or brown fabric as the stem. Add a leaf or two and stitch the top closed.

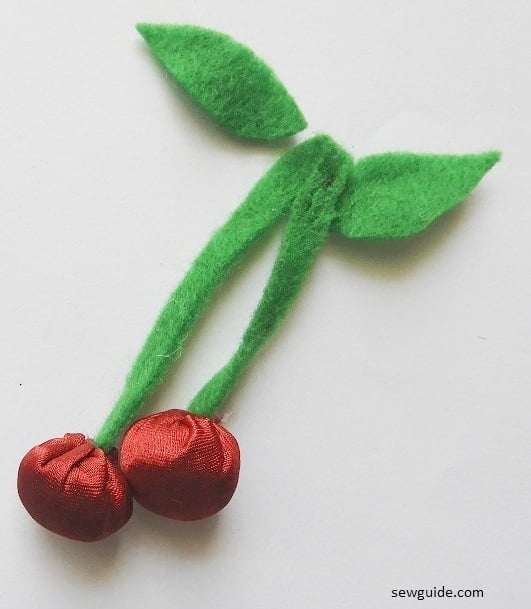
Making a fabric Cherry
To make a fabric cherry, cut out a square fabric piece 2 inch ( for a small cherry) or 3 inch ( I now prefer this size; mine is a little small).
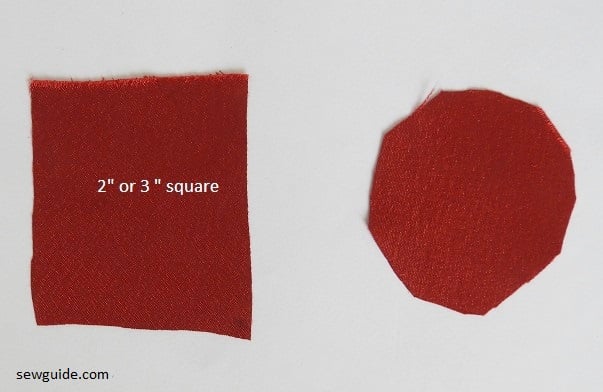
Cut out the corners roughly from this square.

Fold the outer edge a little to the inside and sew running stitch along the edge ( for gathering). Keep the thread and needle without cutting it off.
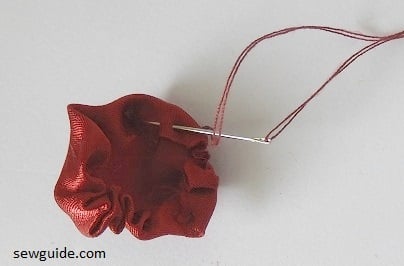
Keep your stuffing inside your fabric. Keep as much as you can. You need to get it round and stuffed. But you should also be able to close the top opening.
Gather the thread. Just before gathering keep a small thin piece of felt or fabric tube (4 inch or so long) inside your cherry as stem. Gather the stitches and stitch the whole thing shut.

Make another cherry and attach on the other end.
Fold the stem by the middle, so that your cherries are facing down. Sew leaves at the top edge.
Related posts : Hand sewing stitches with pictures and names ; Sew easy toys