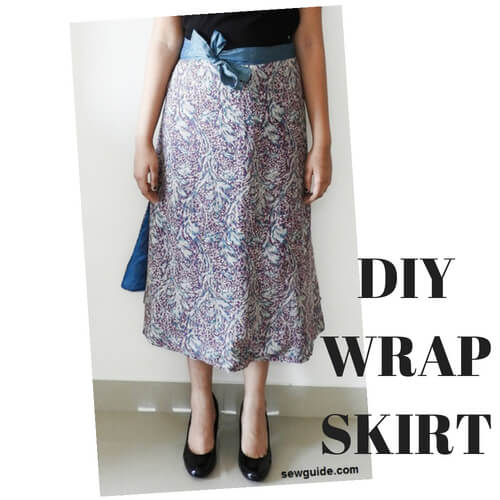
A wrap skirt is a very versatile style to wear. It goes with everything and everywhere. Suitable as a cover-up for the beach and wearable in your office. It is undoubtedly a wonderful addition to your wardrobe – for all year long.
The good news is that it is also one of the most simple and easy to sew of all skirts. So a beginner sewist can easily make this their first sewing project.
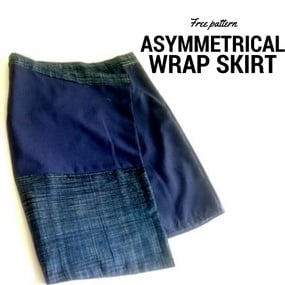
If you are looking for a more fitted version of the wrap skirt try this tutorial to sew an asymmetrical mini wrap skirt.
This long wrap skirt is a flared pattern that fits all equally well. The skirt made from this pattern will fit everyone in the house. In fact, my sister and I exchange ours, and we are definitely not the same size. As it is a wrap-around, it hugs my waist in a way that makes it look slimmer; that is just one of the reasons why I love it.
Simple and easy to sew Wrap around skirt (Free size – Fits all)
This skirt pattern can be made into a reversible one easily. Get yourself 2 skirts, sewing for one, by making this pattern reversible. If you do not have enough cloth for a reversible skirt – do not worry; making it with a single piece of fabric is just as easy. Just hem the sides and the bottom edge.
Fabric choices for a wrap skirt
I will not recommend a particular fabric to sew a wrap skirt. You can sew this skirt in any material, but medium-weight fabrics will drape better. Make one in lace, satin, corduroy, or even denim.
The fabric you choose for stitching up this skirt also depends on the time of the year when you will be wearing it and also the climate of the place where you intend to wear the skirt. When going to a tropical place, choose a lightweight fabric like cotton to make this skirt pattern.
Checkout the types of fabrics you can make this skirt in the post fabric glossary.
You can make this in a dark navy blue twill for a very sophisticated look and attach a golden buckle near the belt; for a very conservative chic look, try it in camel-colored cotton and wear it with a cool white top. In fact, I love neutral-colored wrap skirts like black, charcoal, navy blue, and brown. They can be paired with tops in almost all colors. Printed fabric with fun colors will add playfulness to your attire. A denim one can be worn every day like you would jeans. Other options include wool crepe and poplin.
Maybe a bling one like this.
Or a leather one like this
Or a double shaded one
This skirt can be worn with a variety of tops – even over your bikini. A wrap skirt comes with many many options to style it.
To secure the wrapped edges of the skirt, this wrap skirt pattern has a wide belt you can wrap around your waist and tie. You can alter the pattern to include a buckle to the tie, a velcro closure, or even a
button closure. A hook and eye also works.
You can attach any trim ( like lace) to the side hems, and it will enhance the whole look of your wrap skirt. Another option is to do piping. You can add a patch pocket in the front if you want it. Follow the directions here to sew patch pockets.
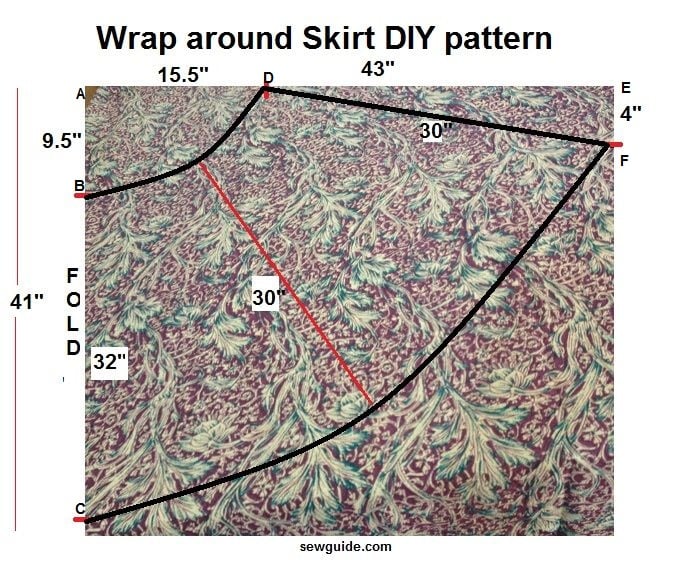
Make a DIY WRAP SKIRT PATTERN

Take a piece of fabric of your choice with these dimensions Width = 41 inches; Length = 86 inches.
Fold it along half of the length so that the fabric piece is placed in 2 layers of, 41 inches wide and 43 inches long. Start marking on the fabric ( You can cut away the marking lines).
From the top left corner A, start marking 9.5 inches down to B, and from A, mark 15.5 inches to the right at D ( This is the waist part). Mark down 4 inches from the upper right corner at E. From the folded side, from the 9.5-inch mark at B, mark down 32 inches at C. From the right side, from the 15.5-inch mark, 30 inches to F. Join in a curved line to C. (You can measure the midpoint of D-B to the bottom edge approximately at 30 inches). Cut away everything outside B-D-F-C. Open up the fabric piece. This is your skirt piece.
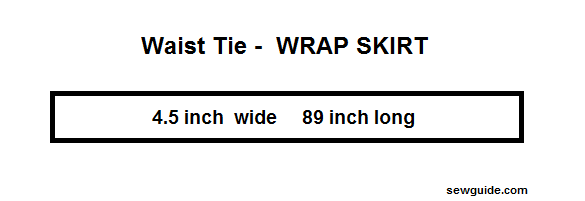
For the waist tie, you need a long piece of fabric about 4.5 inches wide ( take this more if you want a wider belt) and 89-90 inches long. You will get a belt of about 1.75 inches after you fold up a 1/2 inch seam allowance.
Sewing the piece wrap-around skirt
Step 1.
Sew the side hems and the bottom hem. Make a baby hem ( narrow hem)
Step 2
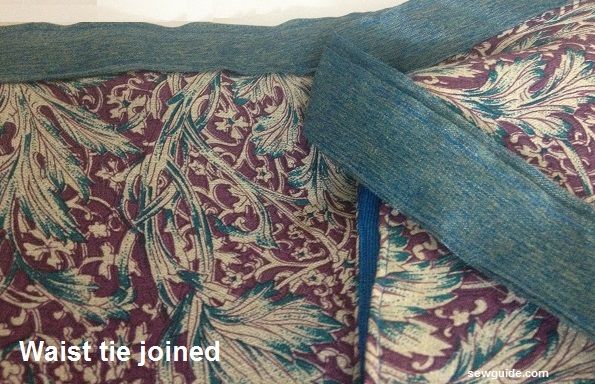
Attach the waistband
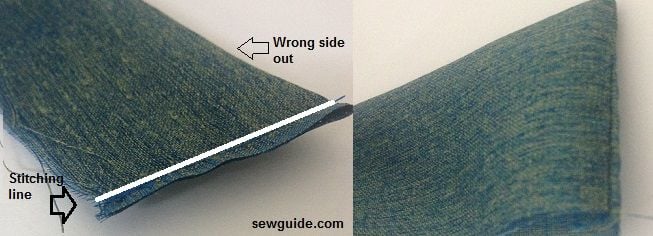
Finish the side edge of the waist tie first. Sew the edges with the waist tie piece folded so that the right sides are together. Sew the edges and trim away. When you turn them inside out, you have neat side edges.
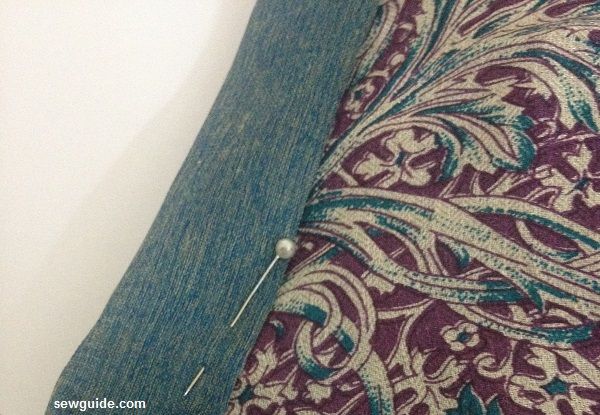
Fold the waistband piece fully by half lengthwise. Press. Fold the long edges 1/2 inch inside—Mark the center. Align the waist tie from the center of the skirt piece to get the tie equally long on both sides. Insert the skirt top edge into the waistband.
Top stitch all four sides of the waistband, including the tie portion.
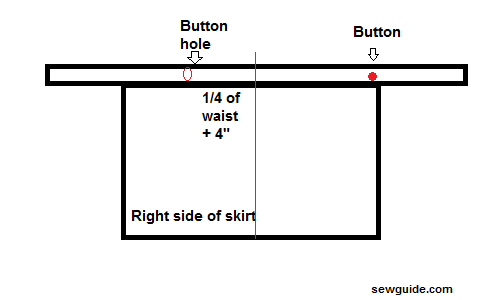
Buttonhole and button placement (Optional): You can make a button hole or an eyelet on the belt and insert the tie through them for a neat look ( It somewhat reduces bulk around the waist and prevents the skirt from coming loose ‘nightmare’).
Checkout the post on making a buttonhole with a sewing machine or making the buttonhole by hand sewing for more details
To mark the buttonhole, divide your waist circumference ( where you tie the skirt) by 4. Add 4 inches to this.
From the center fold of the waist tie, mark this as the buttonhole placement to the left side (i.e., if you are tying the skirt, as I have explained below, bringing the right side corner of the skirt to the left side of the body first).
Stitch a button to the top right side corner of the skirt on the waist tie.
How to sew a reversible wrap around skirt
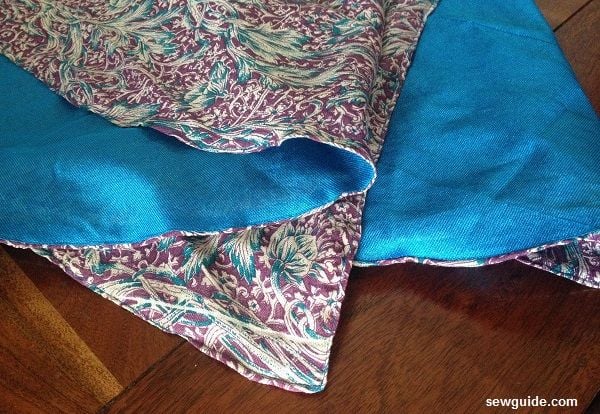
To sew a reversible wrap skirt you have to cut two of the above pattern.
Sew the two pattern pieces right sides together along the sides and bottom edge. Do not sew the waist edge. Bring the skirt inside out. Press the edges.
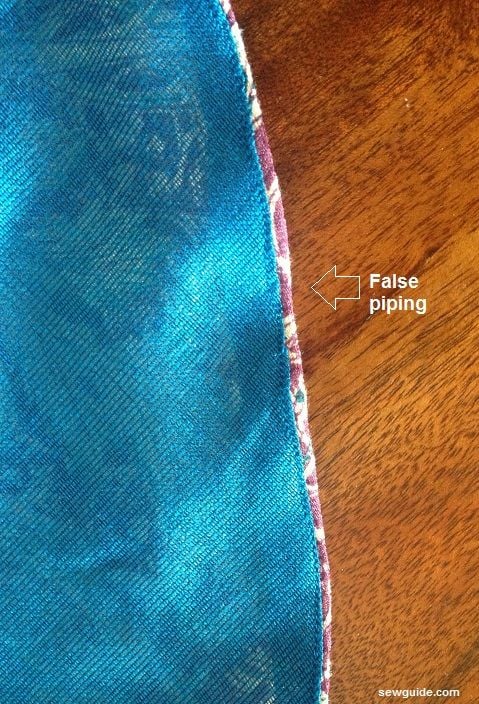
I have made false piping by keeping one of the sides a little to the outside when topstitching the sides and bottom edge. Just a teeny weeny bit, and I have instant piping. As I pressed the printed fabric outside, it made striking piping for the solid fabric.
The skirt piece is ready. Now you just need to attach it to the waistband.
How to wear the wrap skirt
Hold the skirt open behind you with both your hands holding the top corners of the skirt.
Bring the right side of the skirt to your body. Insert the tie through the buttonhole you have made in the waistband if you have made one. ( If you have not it does not matter just go to the next step, making sure the tie is above the skirt).
Now bring the left side of the skirt over your body, wrapping the ties around the backside of your body.
Now you have the two ties at the left side. Tie it together in a bow.
See, you are wearing your wrap skirt in less than an hour.
Related posts: