A peplum top is a top with a circular flared overskirt attached to its empire waistline.

The best thing about a peplum top is that it is a suitable style for almost every body shape. If you have a tiny waist this style can accentuate it; if you have a waistline you would like to hide you can do that too with clever placement of its waistline in the proper place. The flared hem can hide a multitude of figure differences like a wide hip and big stomach. So, what is not to love.
FABRIC FOR SEWING THE PEPLUM TOP
To make this top you will be making a basic top and then attach the peplum part to its bottom edge. You need about one meter for the sleeveless bodice part and same yardage extra for underlining and 20-30 inch square fabric for the peplum part (depending on the length of the peplum you want, of course).
If you want the peplum to stand stiff you will have to take such a fabric that it has enough body to stand stiff. A lace peplum top is a classic look and very popular nowadays.You can add layers of the peplum skirt cut in different lengths for a different and very attractive effect.
Step 1
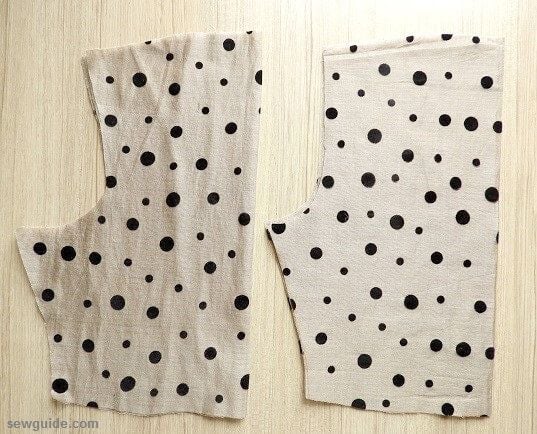
Cut out the pattern pieces
You can draft front and back bodice patterns as per the pattern given here for the basic bodice pattern. Draft it so that the waistline is at the point where you feel it is most flattering for you. The correct position of the waistline is important as a viewer’s eye is naturally drawn to the waistline – so if you want to get eyeballs to your thin natural waistline ensure the peplum waistline is there.Check out this post on the different types of waistlines
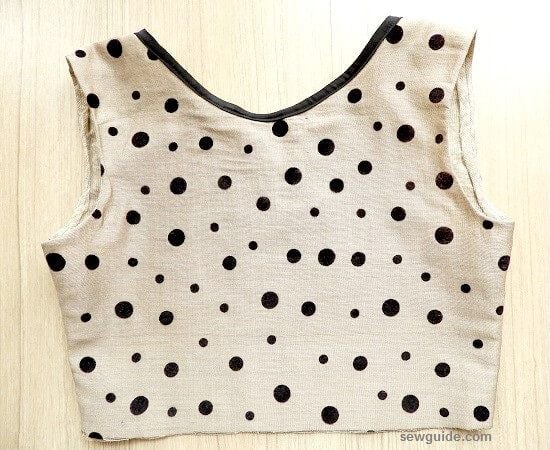
Cut Back and front patterns. Give the neckline you want. I have used a wide boat neckline, which is 1/2 inch or so higher than the back neckline.
If you want to add underlining, use the same pattern and keep the fabrics together treating both as one
Step 2
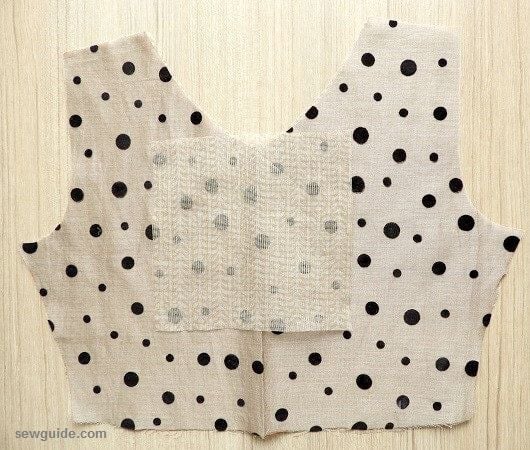
Make centre opening for back piece
Take the back pattern piece. You need a facing piece for the opening for the back center. Finish the edges of this facing piece
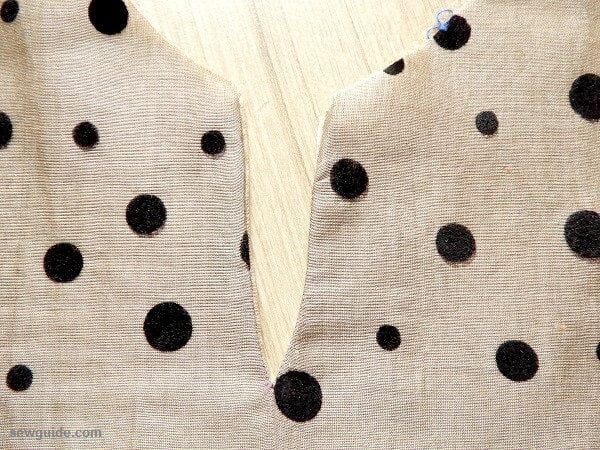
Mark the opening on the facing piece. Mark two lines 1/4 inch to either side of the opening marking tapering to the line as it reaches the end as in the picture below. Keep the facing on the Center back and pin in place.
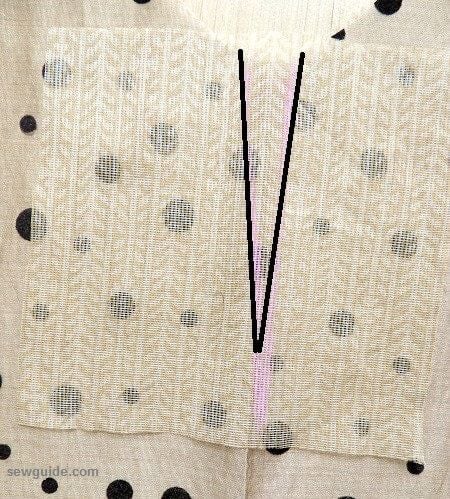
Stitch through the lines you have made, ensuring that the stitching length decreases as it comes to the tip and you pivot the fabric keeping the needle on the fabric.
Cut through the middle line till the tip carefully ensuring you donot cut the stitching at all. Clip the seam allowance every 1/2 inch. Turn to the other side. Stitch in place if you want to. Press anyways.
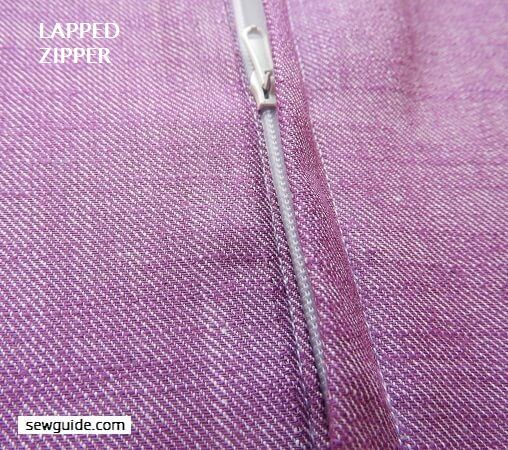
If you want to you can add a zippered opening on the back – a lapped zipper would work well. Check out the tutorial to sew a lapped zipper here.
Step 3
Bind the front neckline.
Cut out 1-inch wide bias tape for binding in the neck edges. If you want the binding to appear in the front stitch from the back. If not stitch from the front and bring to the back. You may not want the stitching to show on the front in this case; then hand stitch the binding in place.

Step 4
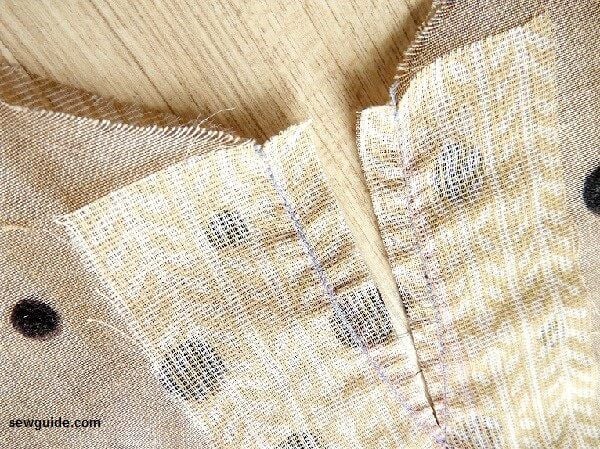
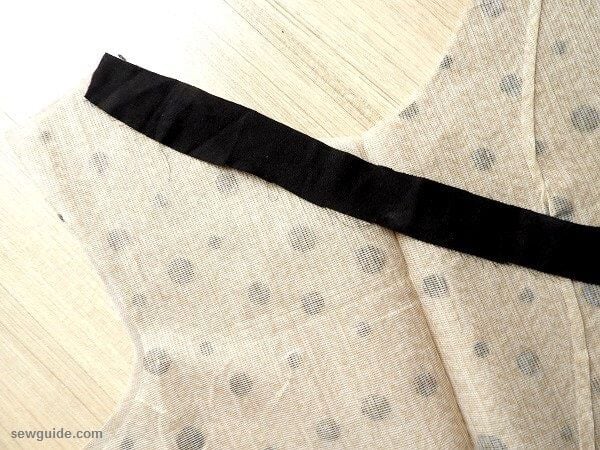
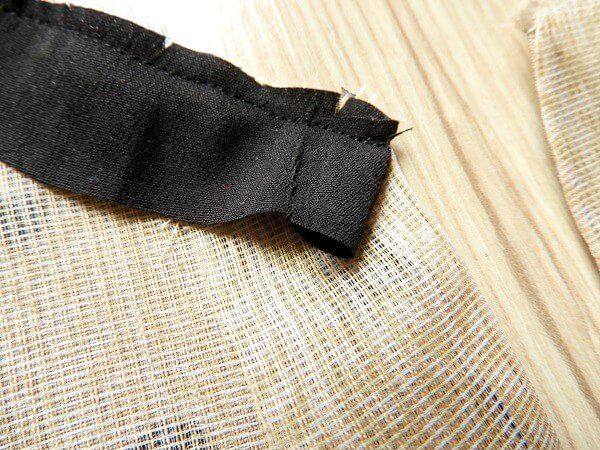
Bind the back neckline.
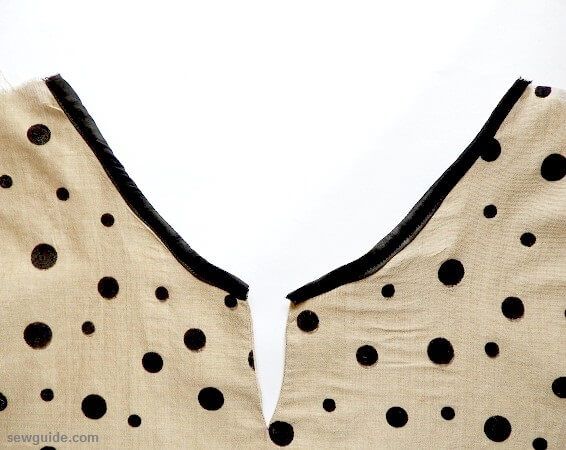
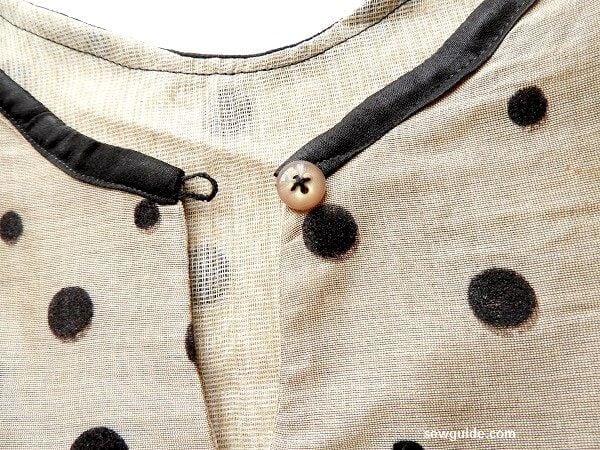
For the back pattern you need two bias tapes on either side of the opening. Cut it 1/2 inch or so longer than the neck edge and turn the edge to the inside as in the picture below to get a neat edge near the opening
Step 5
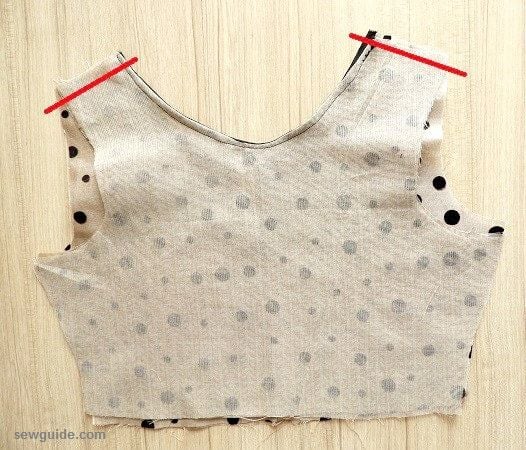
Join shoulder seam.
Keep the two pieces right sides together and stitch the shoulder seams
Step 6
Bind armholes.
Bind the armholes with more bias tapes. You may have to join the bias tapes to get the length
Step 7
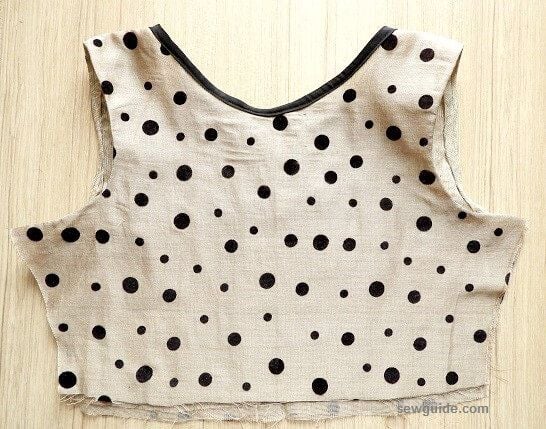
Join the side seam
Step 8
Sew button for back opening
Now sew a button and a thread bar for the button
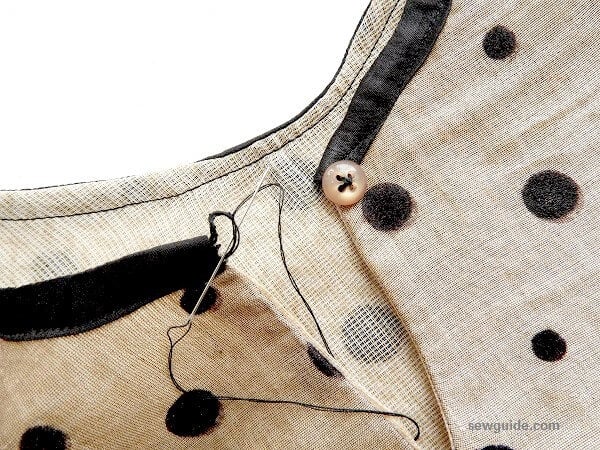
Sewing a thread bar is easy. Make two loops and then make blanket stitches over the loop, very closely.

Measure the bottom edge of your top – the full circumference.
Step 9
Make peplum skirt.
Take the fabric you have reserved for the peplum skirt ; fold it in half first and then in half again
Determine how much you have to cut from the corner for the waist opening
Calculate A = (The bottom edge of the top divided by 6.28) minus 1/2 inch
If you want a gathered peplum skirt, formula changes to this
A = {(The bottom edge of the top * 2 ) divided by 6.28} minus 1/2 inch
You multiply the bottom edge by 1.5 or 2 so that you can get gathers
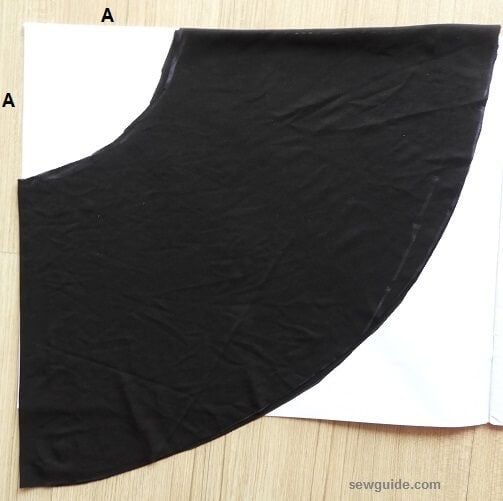
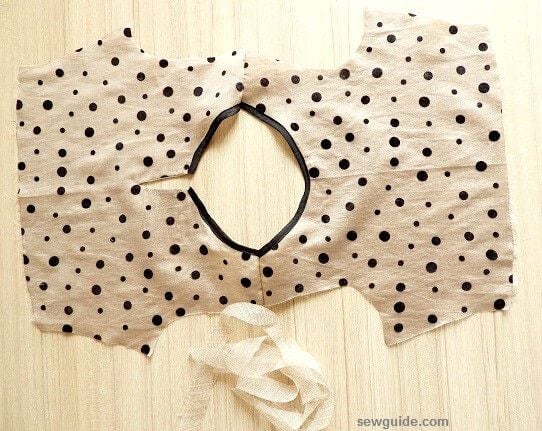
Decide on the peplum skirt length and then mark it equidistant from the waist marking. Cut it out. It will be a circle with a hole in the middle.
Step 10
Join skirt and top
Keep the skirt and the top edges right sides together and stitch with a 1/2 inch seam allowance. Hem the skirt bottom edge using a baby hem technique or use a hemmer foot to make a rolled hem

thanks for this tutorial.
How to cut the peplum I did not understand
It easy and I can put u through perfectly well
Pls I still don’t understand how to make Aline skirt I have been trying since
Hi Victoria
Have you tried these tutorials : Make an Aline skirt ; Make easy elastic waist skirt (easiest)
Wow! Easy to understand
Very explicit. Tankiu
Wao? Thanks a lot
Awesome, thank you. I got it.
Wow! Thank you very much for this tutorial, it was interesting.