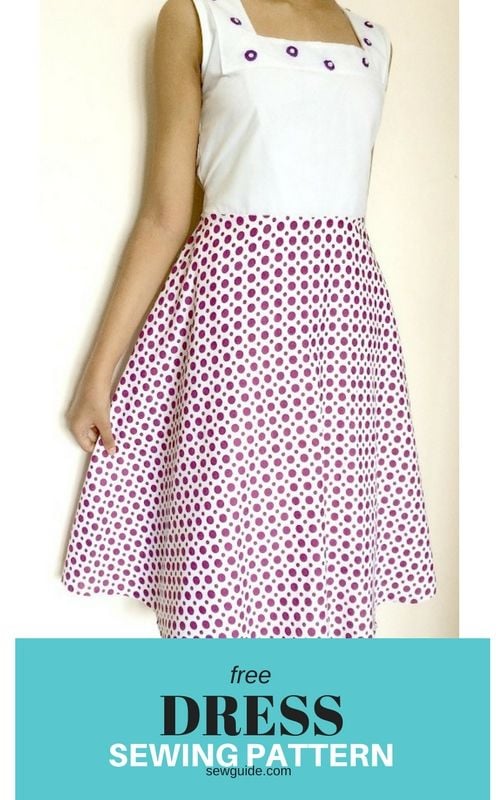
This is a simple dress with an embroidered yoke and fitted waist, flared skirt. The dress has waist ties and a square neck. You can change the neckline ( Checkout drafting other necklines here) or add sleeves ( Checkout how to draft sleeves here) or skip the yoke/ facing to the outside or add embroidery details
If you would like a different style of dress check out the pattern to make a sundress

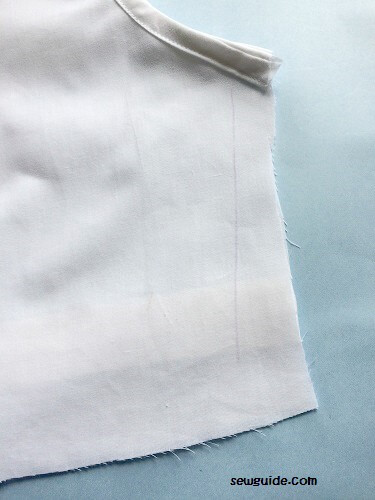
Step 1
Cut out the pattern fabric pieces for the bodice
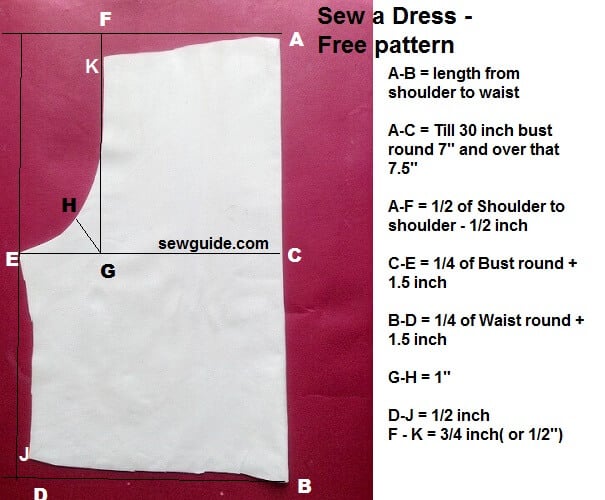
Front and back bodice pieces of this dress pattern are the same ( except for the neck which we will finish later). So keep two fabric pieces for the bodice rightsides together on fold and mark the pattern as below
A-B = length from shoulder to waist
A-C = This is the bust line / armhole line. Till 30 inch bust round take this as 7″ and over that 7.5″
A-F = 1/2 of Shoulder to shoulder minus 1/2 inch. Mark straight down from F to the line C-E at G
Mark H diagonally from G so that it is 1″
C-E = 1/4 of Bust round + 1.5 inch
B-D = 1/4 of Waist round + 1.5 inch
Mark up from D to J ; D-J = 1/2 inch
Give a shoulder slope to the shoulder ; Mark down from F ; F – K = 3/4 inch
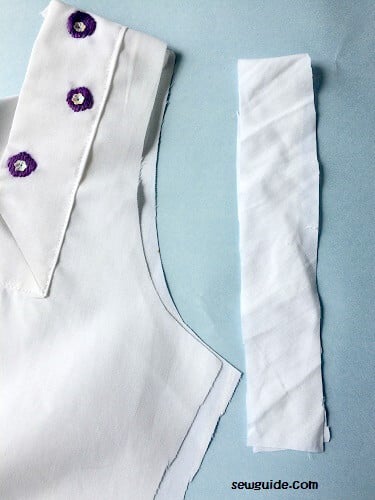
Step 2 Make the front neck yoke /facing
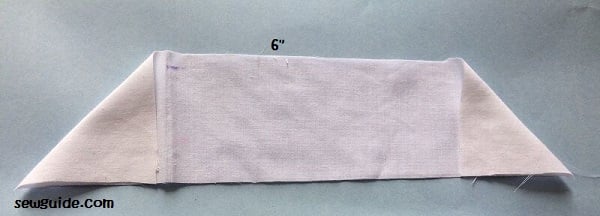
You need 3 pieces of fabric strips for this ( each 2.5 inch wide and 11 inches long)
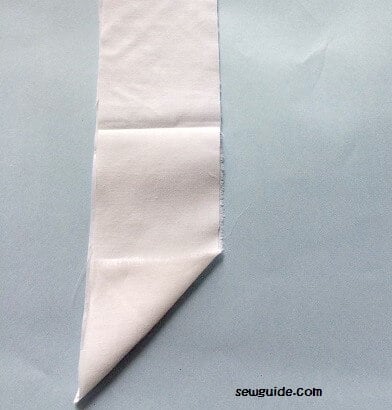
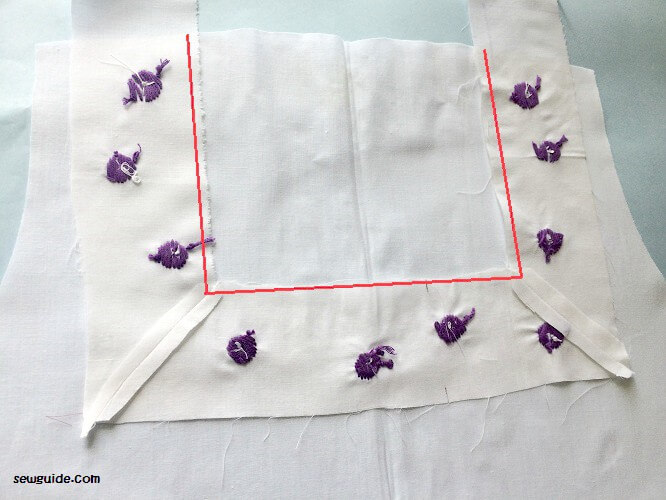
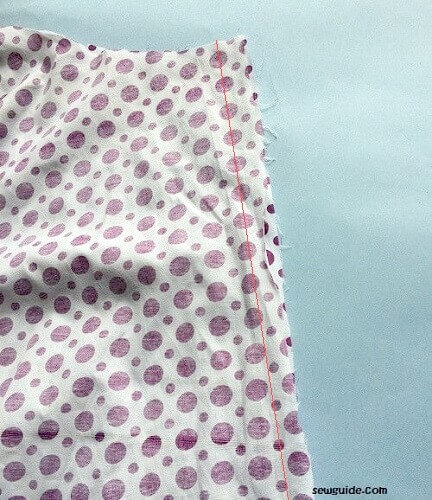
1. Fold one of the strip as shown below leaving 6 inches on top. ( This is for a 6 inch neck opening ; if you have a bust round of more than 32 inches you can take this as 7 inches ). Fingerpress the folds in place. There will be a line on the fold ( fold line). Open it now
Mark 1/4 inch above the folded line ( the red line in the diagram below). Cut through the red lines
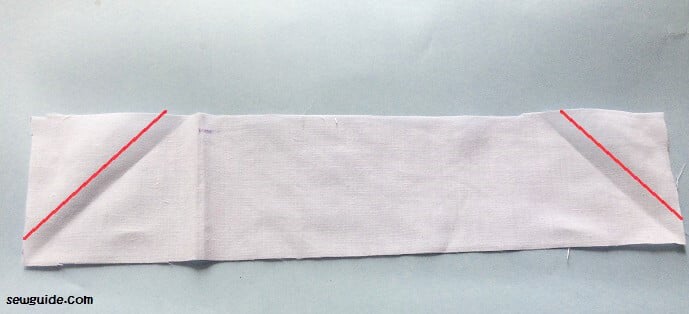
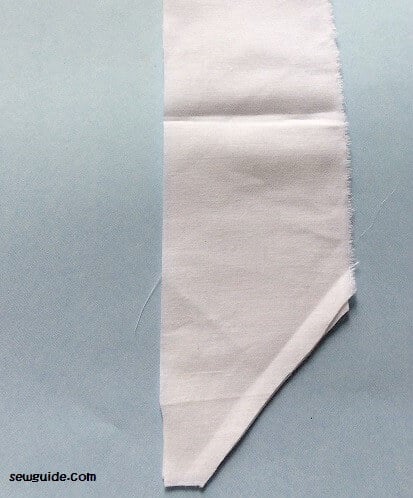
Take the other two fabric strips. Keep them rightsides together. Fold the bottom edge as below
Mark 1/4 inch above ( more than) the foldline and cut it out
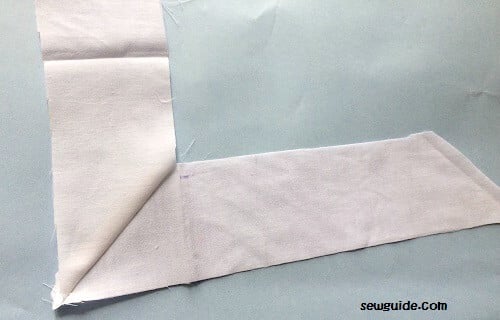
Take two of the strips – the one with the two sides cut out ( this is for the middle piece) and the other with the one side cut out.
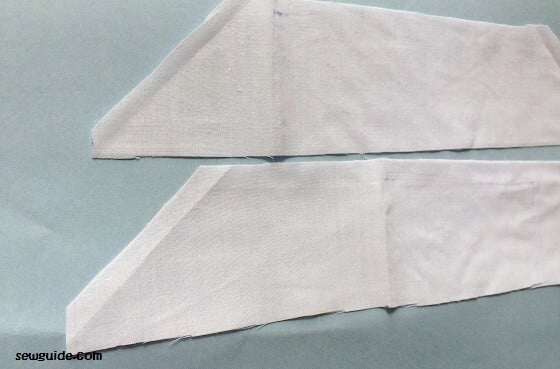
Stack them together, rightsides together. Stitch through the folding line.
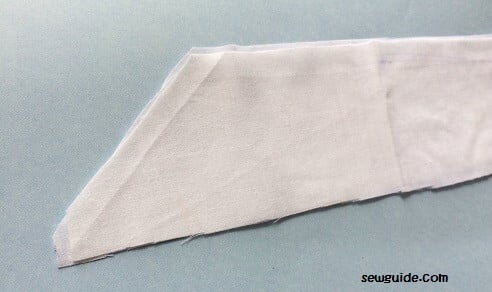
When you open it it will look like this.
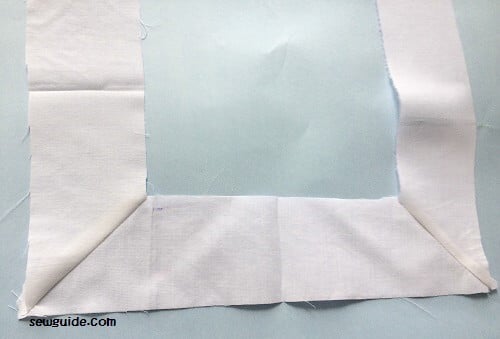
Do the same for the other side as well. Y ou have the neck facing piece for the dress
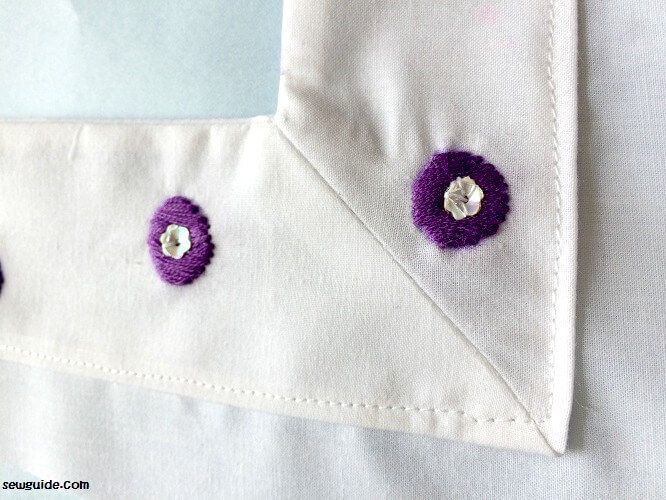
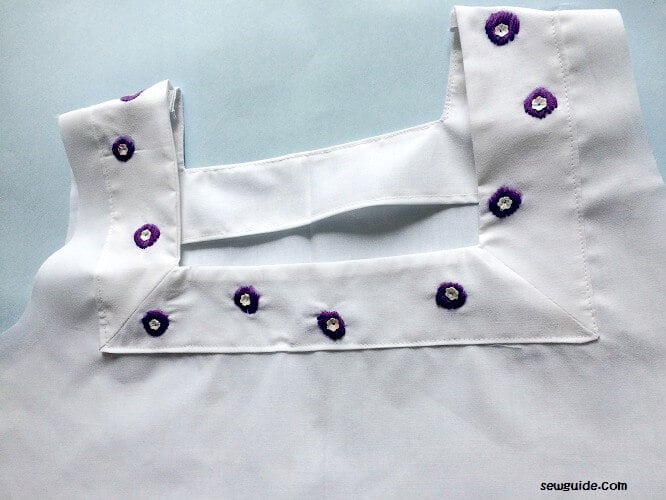
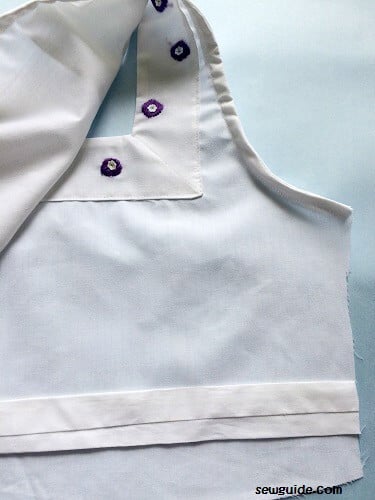
Step 2. Embroidery
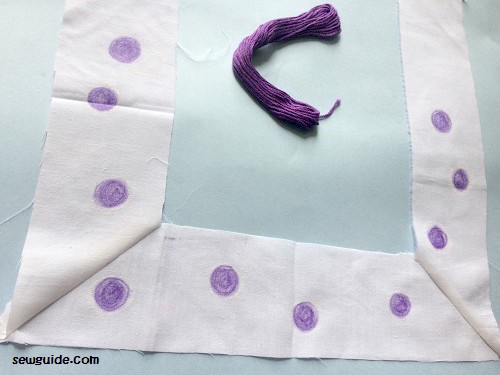
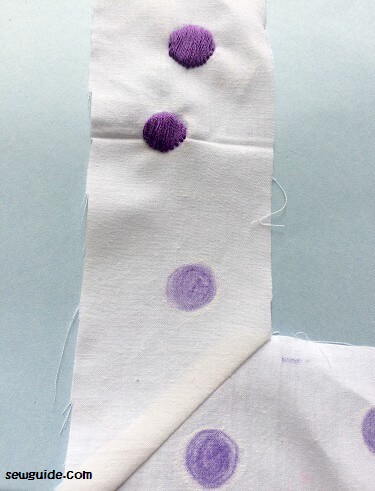
You can mark the patterns now. If you are particular about keeping the fabric in a loop you could embroider before the fabric strip is cut out. Now I have no choice – I have already cut out the pieces. I made simple polka dots to match the skirt piece.
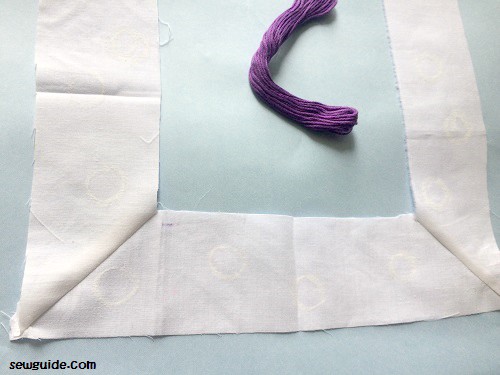
I marked the dots with purple crayon and heat set it by ironing over it after keeping a paper towel in between the design and the iron. This heat setting is very important.
I decided to do this ( colouring) because I hate the blank spaces you can see in between satin stitches when you are embroidering on white / light coloured fabric with dark thread.
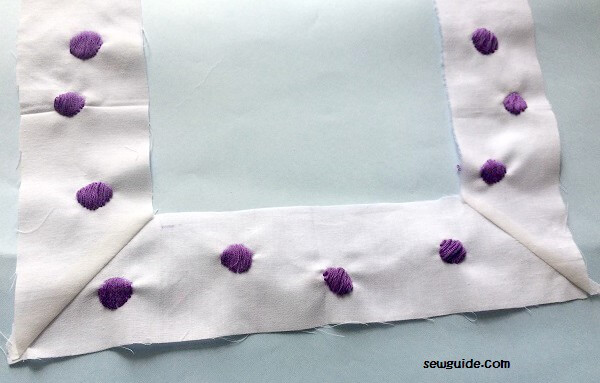
Satin stitched polka dots
Done
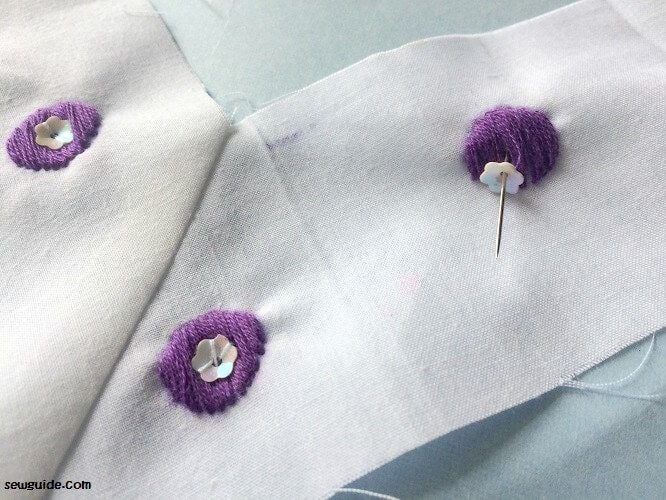
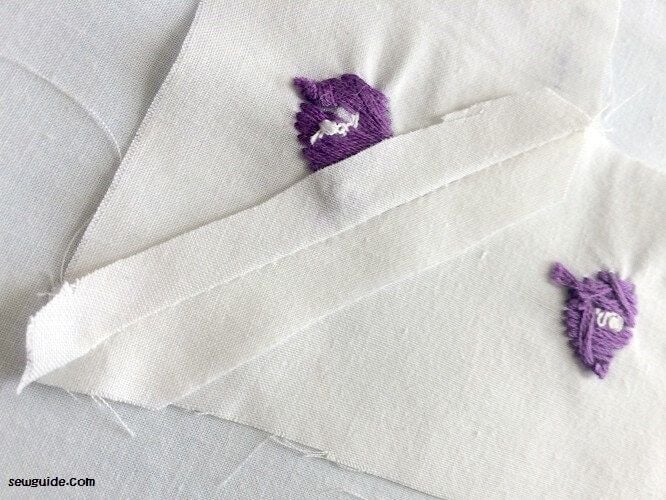
The polka dots ended up looking slightly bland so decided to add some sequins.
Do press open the seams of the joining
Step 3
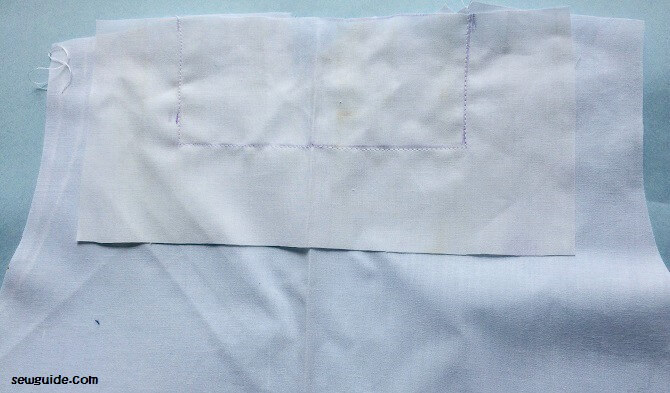
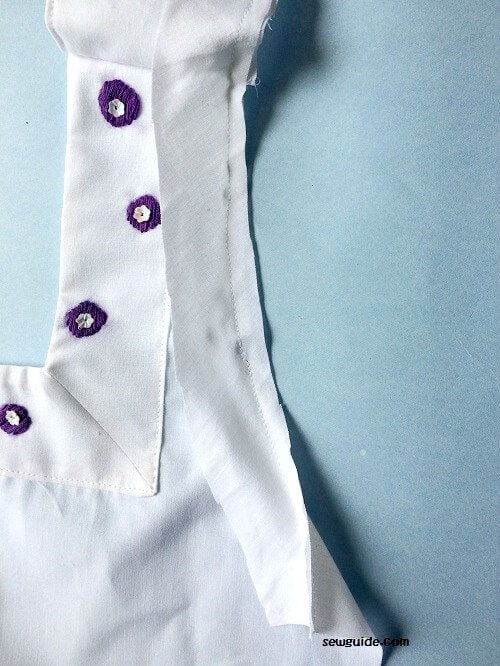
Join the neck and facing
Keep the facing right side down on the back side of the front bodice pattern piece. Pin in place. (Ensure that the neck depth you want is kept. I would take a neckdepth of 6 inch – 6.5 inch diagonally down from the neckwidth. Checkout your favourite dress for what suits you) . Stitch in place with a 1/4 of less seam allowance.
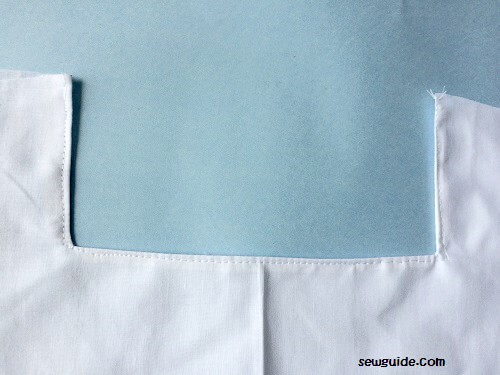
Cut the inside part out . Clip the seam allowance every 2 inch or so making sure that you are not cutting the stitching line. Do clip the corners diagonally till the stitching line – very important for smooth turning.
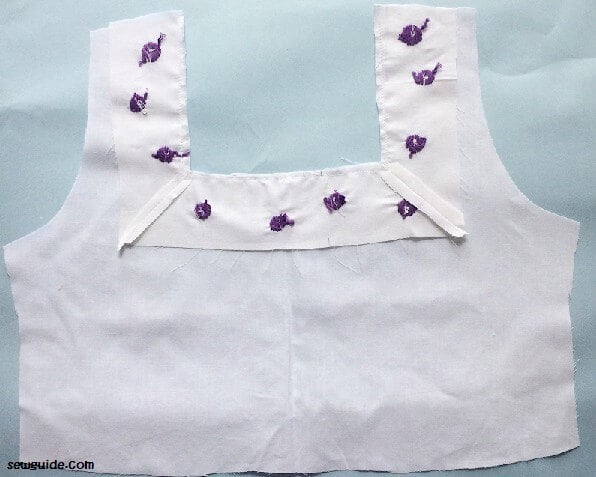
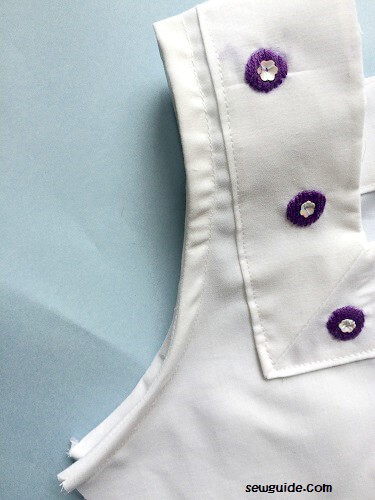
Turn the facing to the rightside of the bodice
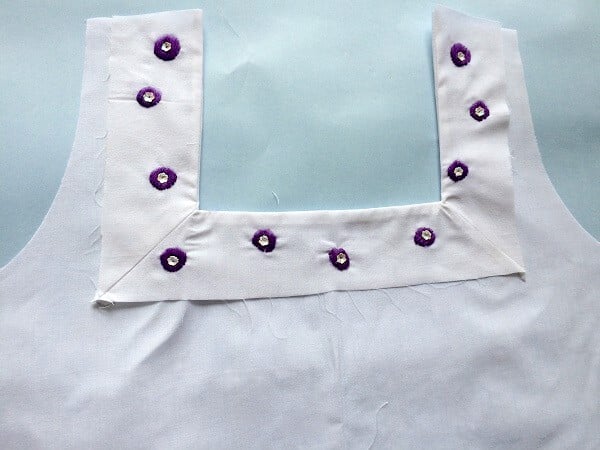
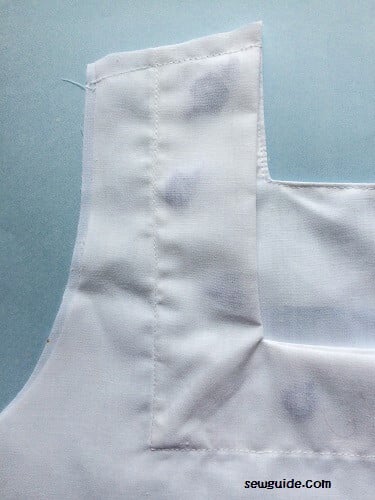
Turn under the side edges and top stitch in place carefully
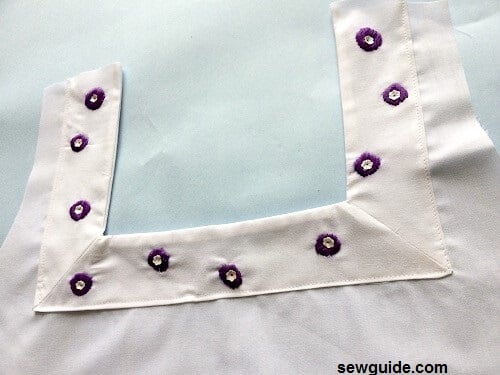
Pivot with the needle in the fabric when you reach the corners – so that you donot miss stitch.
Step 5.
Make the back neckline bodice facing

Keep the facing fabric ( 10 inches wide and 4.5 -5 inches long) on the right side of the back bodice. You should have marked the back neck on the facing piece as detailed earlier
Align the center of the two pieces. Stitch along the marking. Cut the inside with a 1/4 inch seam allowance
Clip the seam allowance. Clip corner seam allowance diagonally. Turn to the other side and stitch in place.
Step 6
Join the shoulder seams of the front and back bodice
Step 7
Armhole binding strips -2 pieces – 1.5 inch wide and 20 inch long bias strips.
Take the bias strips. Bind the armholes with it.
Keep it on the armhole line and sew along the edge.
Turn the binding to the other side. Stitch in place
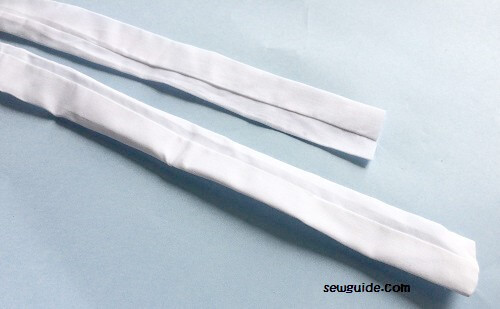
Step 7 Prepare the waist ties
Cut 2 fabric strips for the ties – 2.5 or 3 inches wide and 30 inches long
Make a tube by sewing the long edges of the fabric pieces together. Pin a safety pin inside near the short edge . Sew the short edge of one edge together as well ( remember to align the seam to the middle so that one side has no seam line )
Now with the help of the safety pin turn the tube inside out.Tada , two waist ties with seam neatly turned to the wrong side
Step 8
Place the two bodices – front and back right sides together to stitch the side seam. Keep the waist tie sandwiched between the side seams of the bodices 1/2 inch up from the bottom edge as below.
Stitch the side seams with a 1/2 inch seam allowance. Do this for the other side as well
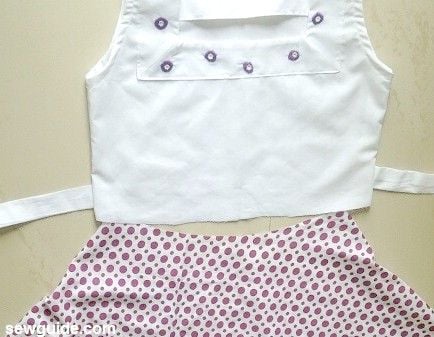
The bodice is ready. Now to attach the bodice to the skirt

Step 8 Prepare the skirt.
Cut out the skirt piece as per the pattern below
Skirt pattern for the dress
The skirt is cut as a circle skirt pattern. You need a fabric which is atleast 45 inches wide. Take the fabric for the skirt, fold by half
Mark the details from one corner on the folded edge as the diagram below.
Measure the bottom edge of the bodice- the whole round( donot add the seam allowance) ; For me it is 30 inch

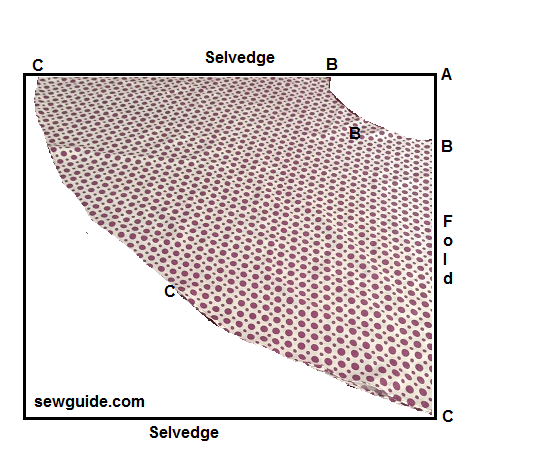
Fold the skirt fabric by half and lay t on your cutting table, selvedge over selvedge. Mark A-B on the folded skirt fabric piece such that A-B = X divided by 3.14. For me this 9.5 (30/3.14)
I mark A- B atleast 3 places from the corner . You will get a curve. Mark this curve. This is the waist edge
From B mark down to whatever height you want for the skirt ( ie from waist to what is the height you want the dress to end at ) ; donot forget to add hem allowance and waist seam allowance. Add this to the height. Mark this height from B to C.
Mark this in a curve as well.
Cut it out. You have a large skirt piece with two side edges.
Keep the skirt side edges together, rightsides in. Sew the long edges of the skirt together.
Hem the skirt bottom edge. A baby hem/ rolled hem edge is best for this flared skirt. Check out the tutorial to use a hemmer foot to make this hem.
Step 9
Keep the skirt piece right side out inside the bodice right side in. with the skirt seam on the back. ( however you do it, just make sure the right sides of the skirt and bodice are together.) Stitch the edges at the waist together. Turn rightside out. The dress is ready.

Wear it with a petticoat skirt for fullness or a half slip or a chemise. Checkout the tutorial for a petticoat skirt here and the half slip pattern here and chemise pattern here
Related posts

Thanks for this, Sarina
So great
Thanks so much
Thanks for your step-by-step instruction on how to measure perfectly.
Do you need a sewing pattern in order to sew a dress?
Hi
I am not sure about your question. You mean paper patterns?. There are people who do not have access to paper patterns or printers to print them . For them drafting patterns on the fabric works very well.
I appreciate you guys for the good work
Thank you very much I learn a lot
Thanks Taqueeme
you are a life saver thank you
Hi Bertha
Thank you
Hi,
Your article on dress making was really helpful please.
HEY , THANK YOU SO VERY MUCH. WATCHING THE TUTORIALS I FELT LIKE A PRO.
Thanks for the tutorial. You makes things easy.
Thank so much for this detailed guide. It really helped me. I just want to ask shouldt the skirt waist seam allowance be added when measuring the waist edge?
Hi Mercy
thank you, I did ok without adding any seam allowance – tried twice.Please do try on a muslin if you have doubt. 🙂