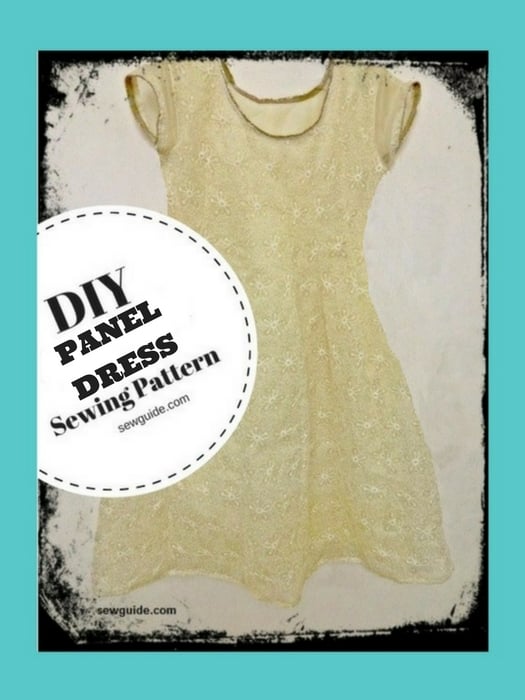
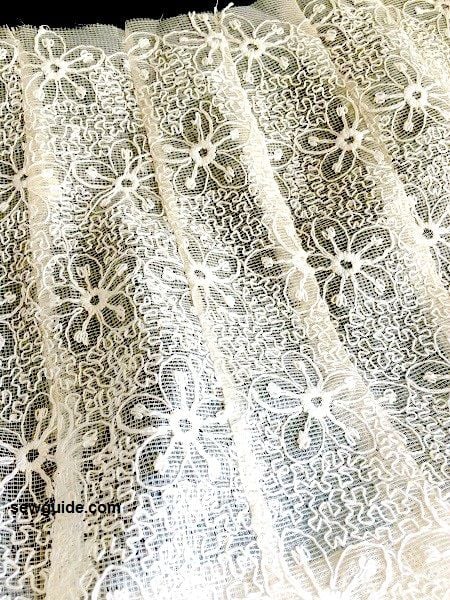
A panel dress is, as the name suggests, a dress made of many panels of fabric stitched together. The advantage of a panel dress is the flair the panels give to the hem. You can have a nicely flared dress that will drape and falls beautifully, especially when sewn in a flowy drapey fabric like chiffon or crepe. I have sewn this one in a cotton net fabric with embroidery; perhaps not the best choice for this style. A very flowy fabric would do true justice to this dress.

Step 1
You need about 3.5 meters of cloth to make a flared dress 40 inches long ( This will give you about 20+ panels for front bodice and back bodice. ( 10 panels * 2 inch would give you a stitched fabric panel of 20 inches – so 10 panels would be right till a bust round of 36 inch ; you need more panels for increased sizes ; just do the maths)
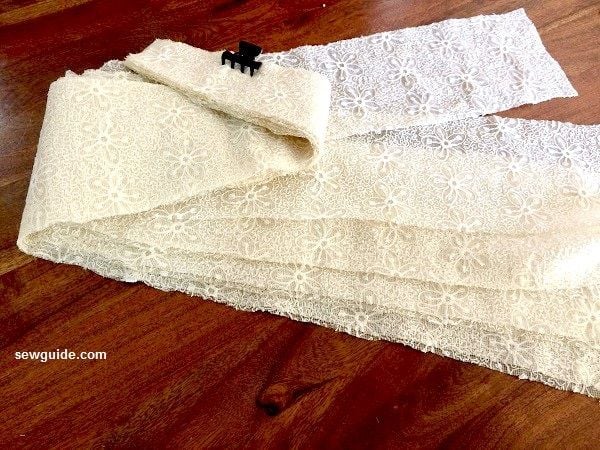
How to cut the fabric – I took the length of the dress I wanted and added 2 inches . Cut this length from a 45 inch wide cloth. Now fold this length by 3 1/2 inches, ensuring each fold will have two sides on either side.
LINING – If you are lining the dress, you need more fabric. To cut the lining – you do not have to sew the lining the same way by sewing panels together. Just keep the lining on top of the stitched panels after the bodice is cut to your size and trace the outline, and cut the lining.
In fact you do not need to cut the lining with as much flare as the outer fabric; as it is sewn separately, you can reduce the flare of the lining considerably – make sure that it is at least 4-6 inches more than a hip round at the hem; more if it is longer and has walking ease.
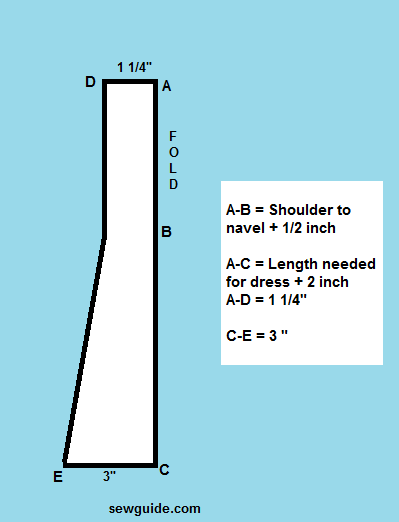
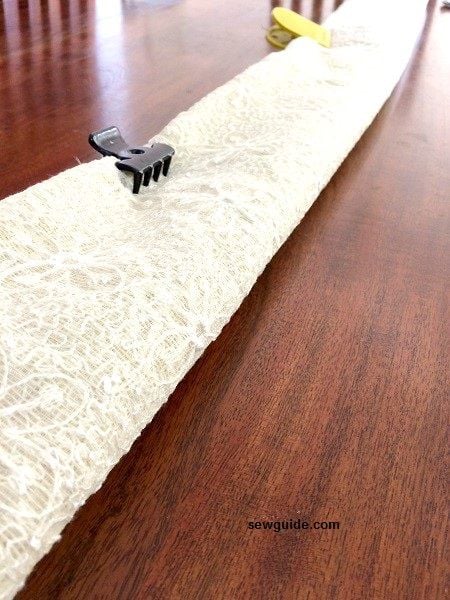
Place the folds in place with a clip. Cut out the pattern pieces. Remember the fold on one side for each piece. When opened, the pieces will measure 2.5 inches on top and six at the bottom.
I have twenty panel pieces
Step 2
Zig-zag the seam edges individually of all the pieces. This is optional, of course, but highly recommended, especially if you have a fabric that frays.
Sew these pieces together 10 each with a 1/4 inch seam allowance. One sewed panel is for the front bodice and the second for the back bodice. . Press the seams open after every seam is joined. This will make sure that the joints look nice.
Step 3
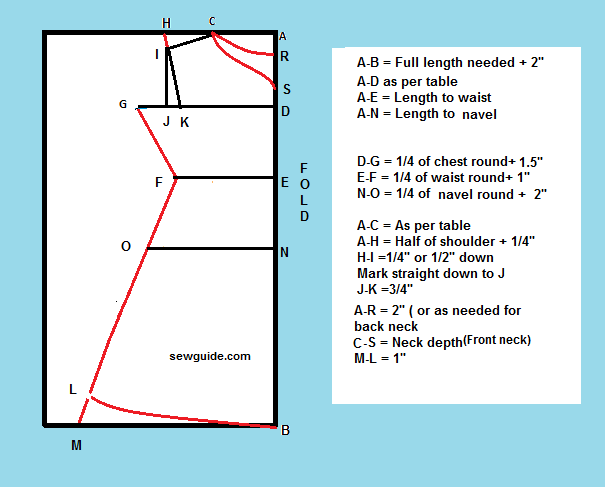
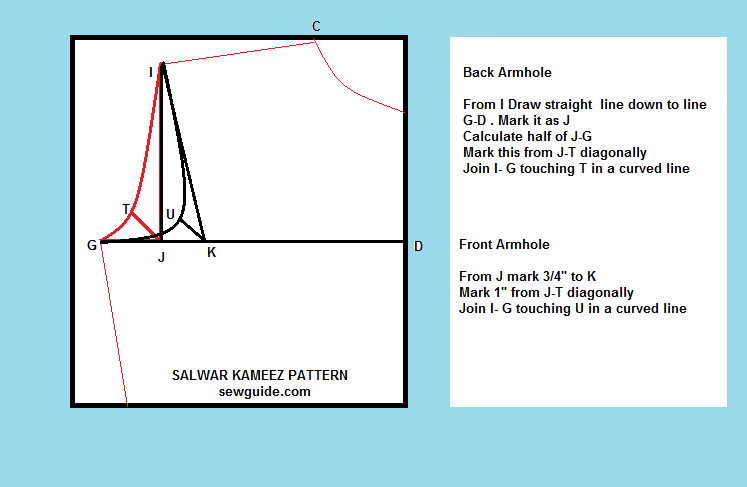
Mark the following pattern on each of the pieces. Remember, one panel is the front bodice, and the next is the back bodice. Fold by the center and mark the following bodice pattern. These diagram markings are the same for everything else except the neckline and the arm line. Those are different for the front and back.
Remember that necklines are to be marked on the facing piece, not on the bodice pieces.
Cut out the pieces.
Step 4
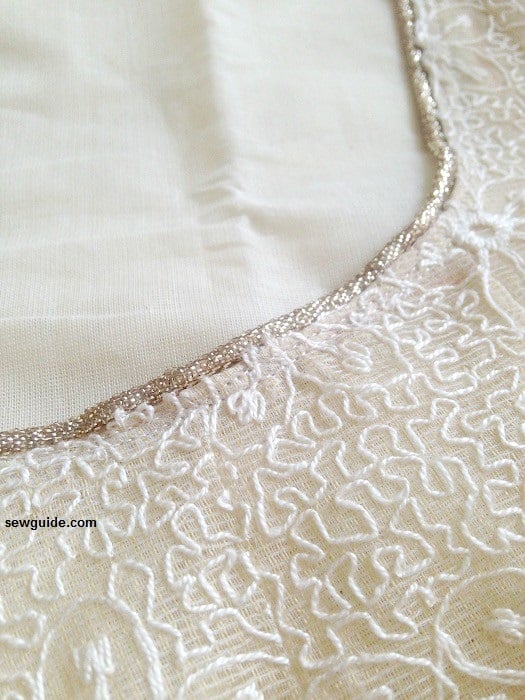
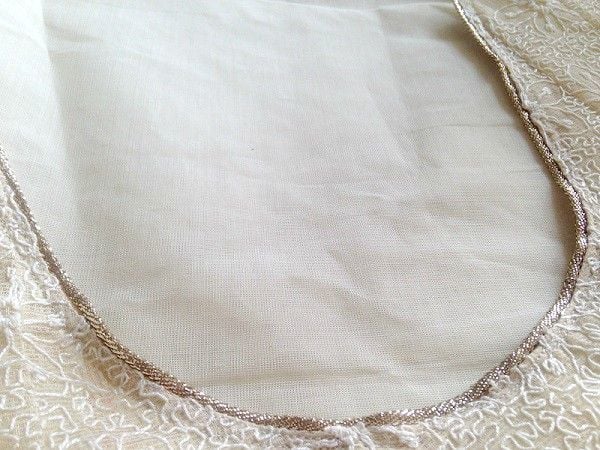
Make facing for the neckline. Sew the neckline . Checkout this post on how to sew the neckline with facing or this post for different ways to draft necklines. I lined the bodice as the fabric is sheer. I am treating the main cloth and lining as one piece and basted them together at the armline before sewing the neck facing.
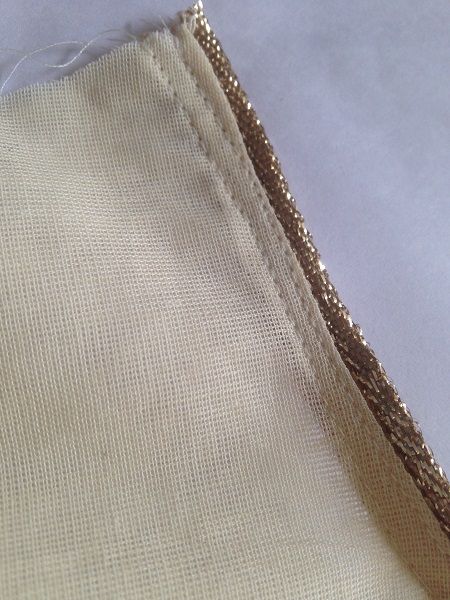
I have added a piping to the neckline. Sew the readymade piping to the neckline after the facing is completed with two stitching lines.
Step 5
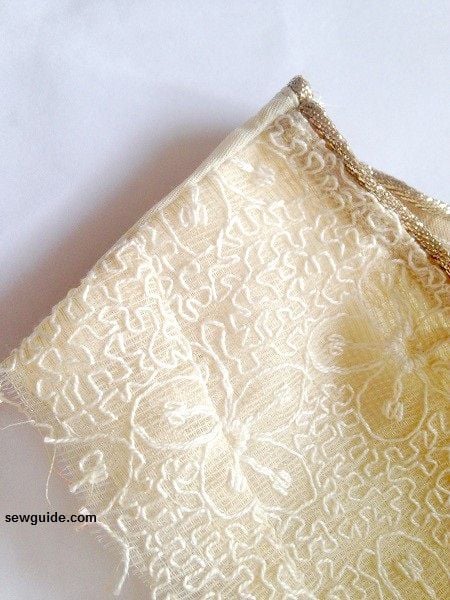
Cut out the sleeve piece. Checkout this post on drafting sleeves. I chose to make a very small sleeve. See how the armline is almost touching the hem of the sleeves
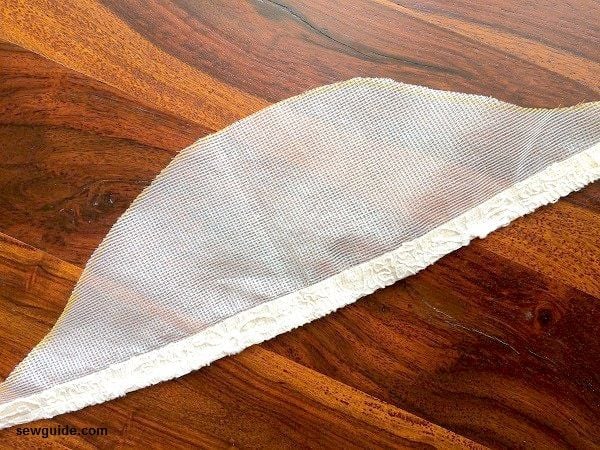
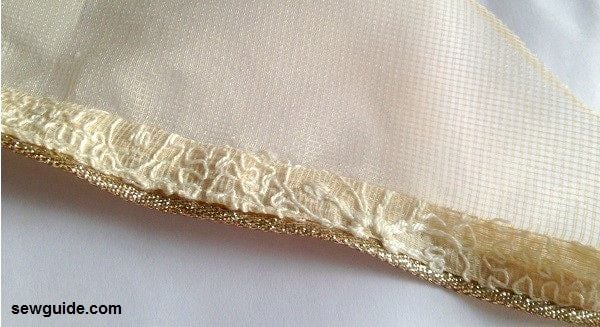
Gave a little border and a piping sewn to the hem
Step 6
Joined the shoulders with a 1/2 inch seam allowance
Step 6
Join the sleeves to the arm line – to join, keep the sleeve piece right side down on the bodice arm line, which is placed right side up ( ie, right sides are together).
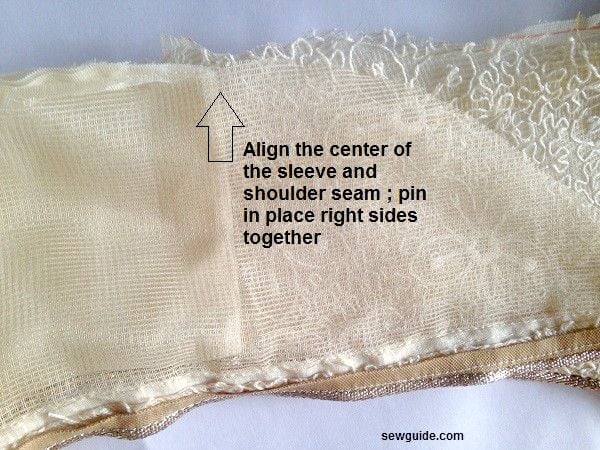 Ensure that center of the sleeve is on the shoulder seam. Start sewing from the shoulder seam to both directions. This way, the sleeve will be correctly aligned.
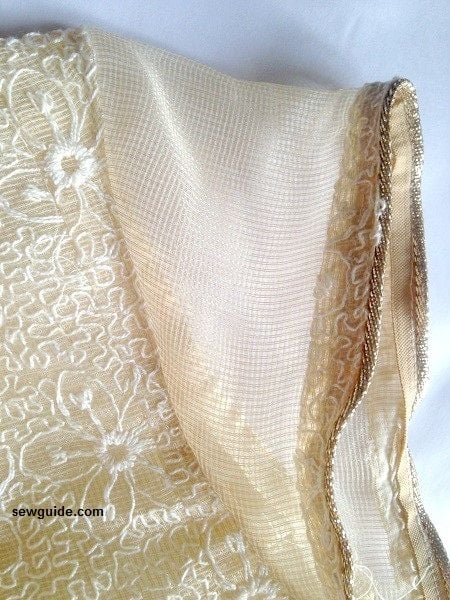
Sew the side seam of the sleeves.
Step 7
Now you have to Join the side seams of the dress. You will have to stitch the side seams of the lining and the main dress separately for better drape.
Turn the dress inside out. Bring the lining to one side and the outer fabric to another side of the neckline. Now join the side seams of the lining and the main fabric on both sides. Turn the dress right side out now. You will find that the lining seam allowances will be nicely inside and separate.
Step 8
Finish the hem of the lining and the main fabric. You can add piping here, also. I have not. Just turn under 1/4 inch twice and stitch.
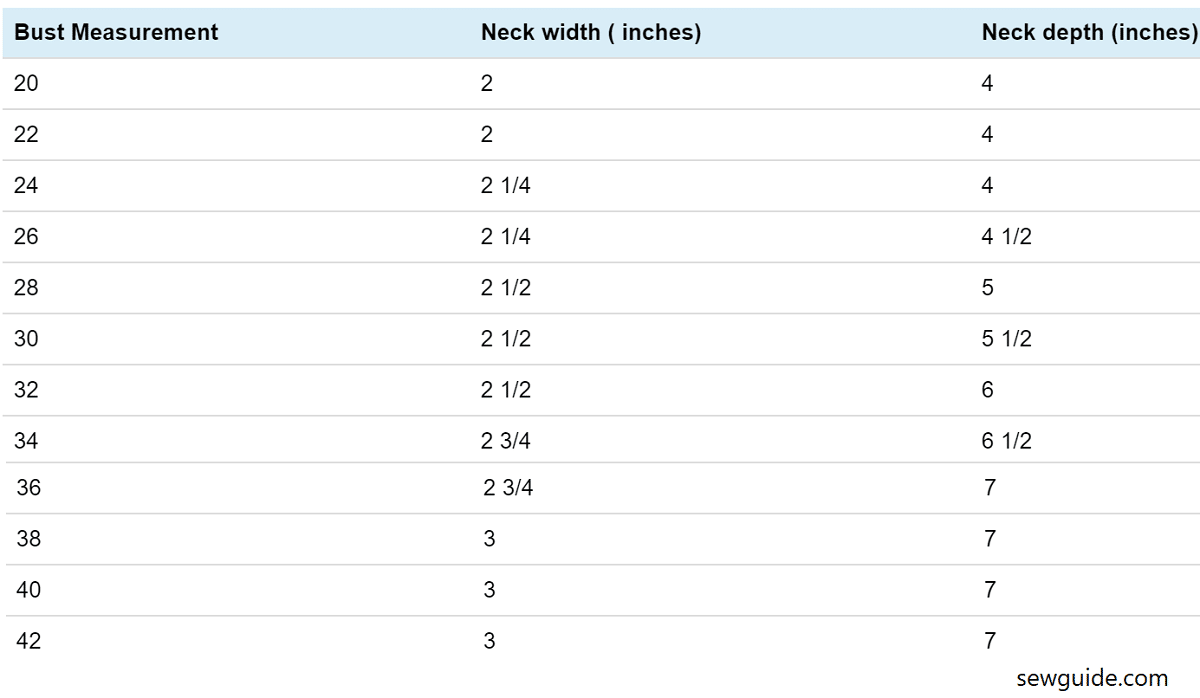
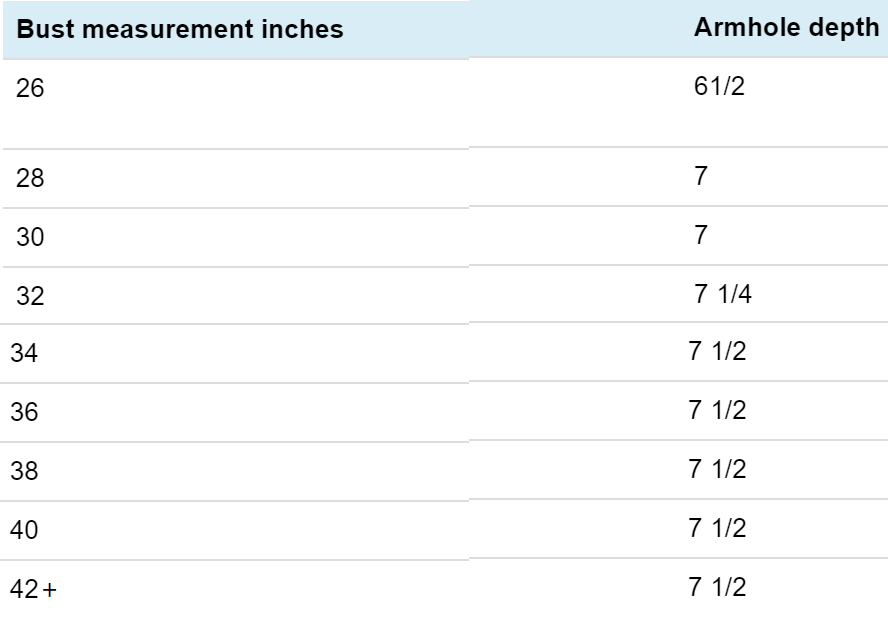
Checkout the neck depth, neck width and armhole table according to your bust round measurement
Related posts