
To make this cross over top you need a regular bodice as well as an overlapping cross over overlay. You can make this overlay in a sheer fabric or contrast coloured fabric or the same as the main bodice decorated with trims ( as I have done with a lace trim).The overlay is slightly gathered in the bottom edge with a piece of elastic.
Step 1 Cut out the pattern pieces
Pattern for the crossover top – bodice
Measure bust round, waist round and hip round and the waist length and hip length from the shoulder. More details on body measurements
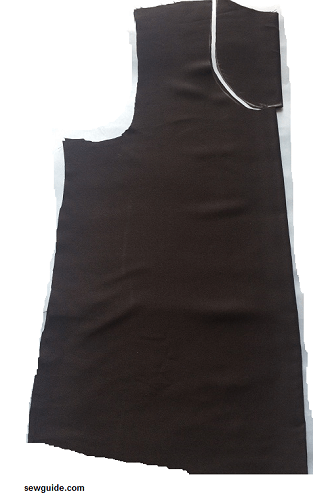
Keep two fabric pieces right sides together. Fold by half. Start marking on the wrong side of the top side ( which is now on top)
Mark the measurements as per the pattern below

Cut out the back neckline on both the pieces. Remove one bodice piece (inside one) Mark the front neckline on the next and cut that one.
First make a line parallel to the top edge 7.5inch from the top edge. This is the bust line
Mark the bustline – 1/2 of bust round + 1.5″
Mark the waist line 1/2 of waist round + 2″
Mark the hip line 1/2 of hip round + 2″
Mark K-E as the neck width – 3.5″
Mark E-L as the front neck depth – Mark this 6.5 ” Draw a neckline rounded
Mark the back neck depth – From the top edge down K-M 3″
Mark the half of shoulder to shoulder length at K-F
Mark down from F 1″
Mark the shoulder line E-G on this line E-G = 3″
Mark straight down from F to the line C-D meeting at Q
Go up 3/4 inch to P diagonally
Make a slight curved armholeline C-P-G
A-J = Mark this up from the bottom edge 1″
OVERLAY / CROSSOVER
This is made on the same pattern . Open the front bodice pattern (yellow line in the below pattern diagram). Keep 2 fabric pieces ( for the overlay) right sides together. Mark the armholes same. Make G-E tthe shoulder seams 1″ longer . Mark down from neck width E to S diagonally . Mark up 1″ from S to I for a slight curve.
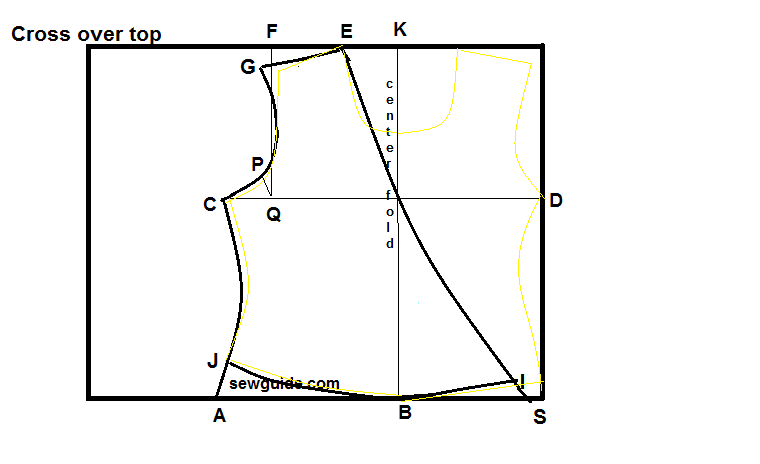
Cut out E-G-C-J-B-S-E. You will have 2 pieces of the overlay like this – ensure that both are mirror images – one for left side and other for right side
Step 2
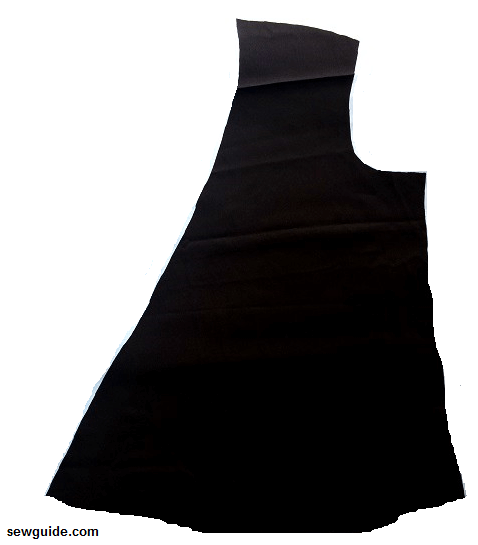
You have to first prepare the bodice pieces – bind the armlines and necklines of the both bodices – front and back.
Cut out bias binding strips to bind the neckline and armholes of the front and back bodices. Bind the armholes and necklines with these strips. For more details on bindng chckout the post on bias binding
Step 3
Use Bias binding to finish the hem of the back bodice
Step 4
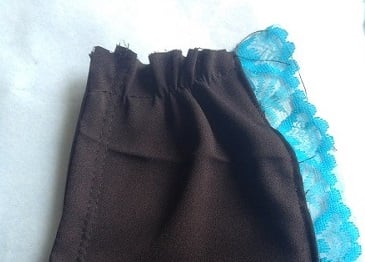
Finish the slanting edges of the overlay pieces.
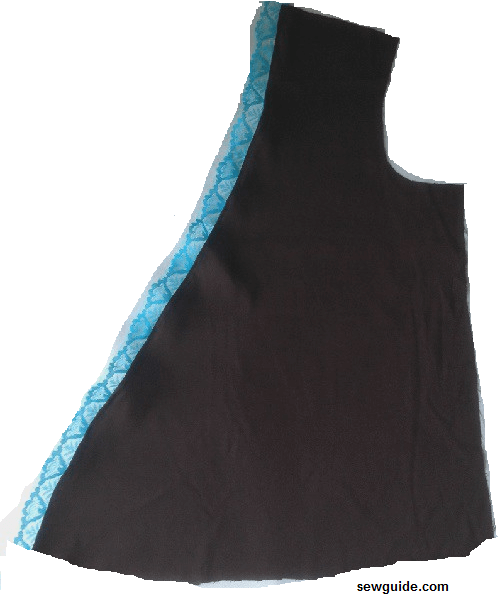
I have attached lace . You can simply turn under the edges. If the fabric doesnot fray you can leave them as it is as well.
Step 5
Bind the armholes of the overlay piece
Step 6
Gather the shoulder edges of the two pieces slightly to match the bodice, with basting stitches
Step 7
Keep the overlay pieces on top of the front bodice.
Now keep the back bodice right side down on the overlay piece . Pin in place on the shoulder .
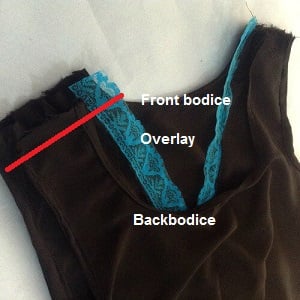
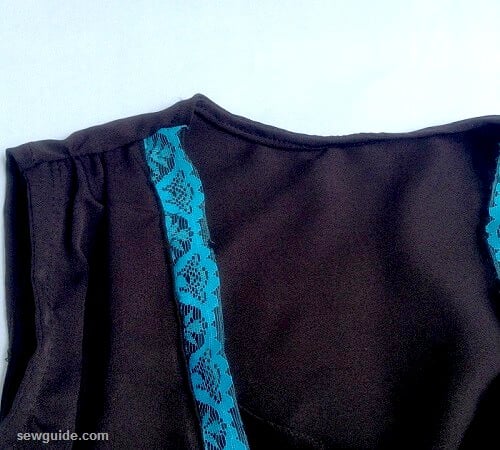
Stitch the shoulder seams
Step 8
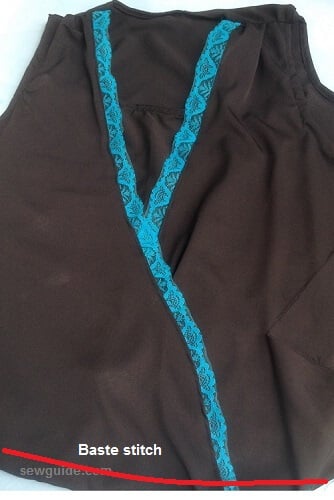
Now we have to Join the front bodice bottom edge to the overlay pieces.
Baste the overlay pieces together ( not the bodice; only overlay pieces) at the bottom edge. Use hand stitching to do this.
Turn the front of the bodice inside out keeping the overlay piece and the front bodice right sides together. The back bodice will come between this, but keep it aside. We donot want this stitched. Pin together the front bodice and overlay piece rightsides together. Stitch in place with a 1/4 inch seam allowance
(When you stitch this way the whole bottom edge will be enclosed )
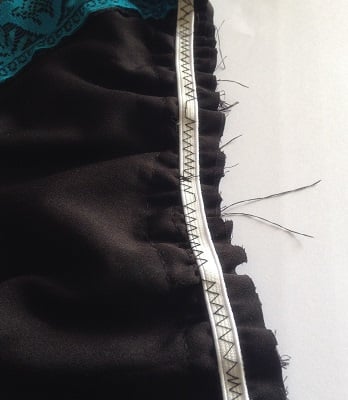
Take a piece of elastic – 1/4 inch wide about 9 inches long. Keep the elastic to the seam you have just made
Pin the center of the elastic so that it is on the center of the bodice bottom edge. Pin in place at the middle. Stretch to the sides as far as the elastic will go. Now stitch the elastic to the edge stretching the elastic with a zig zag stitch. This will gather the front bodice hem a little.
Turn the whole top rightside out. The seam and elastic will be enclosed between
Step 9
Join the side seams of the top (back bodice and front bodice together with the overlay treated as one – right sides together)
Related posts

Thank you. I would like to know how to make a cross over bodice and the lower part to be cut into an almost A line to mid buttock with 3/4 sleeves. Can you help me with a pattern for that please
Great stuff