
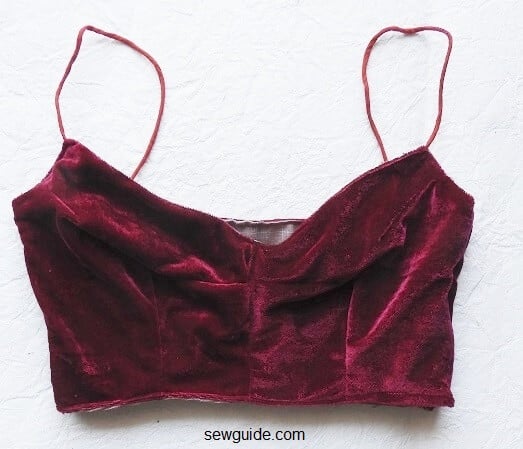
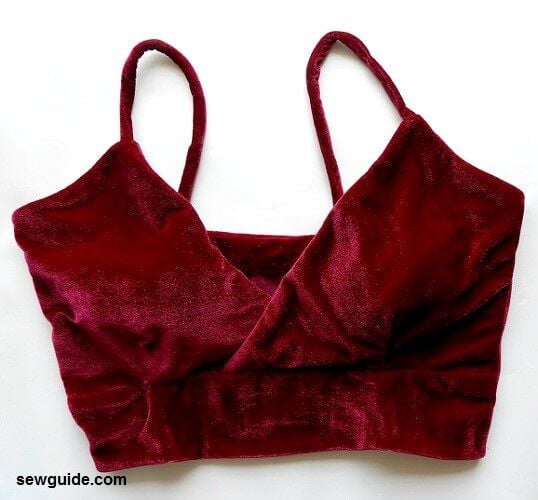
Bralette Tops are all the rage across online stores -It is a daring but at the same time cute outfit. A very fashionable alternative to the simple t-shirts and tops and modest blouses- steering a little bit out of your comfort zone, but one which can turn you instantly into a fashionista.
There are many types of bralette tops – one with straps, strapless bralettes, lace bralettes, shirred bralettes, halter neck ones. You can wear it with trousers, shorts, skirts, jeans.
Here is a very easy pattern to make a simple bralette yourself
How to make a Bralette top
Method 1 – making a bralette top from a non-stretchy fabric
To make a bralette top with a non stretchy fabric you will need to use a side seam zipper, to get it along your body properly, fitting you snugly.
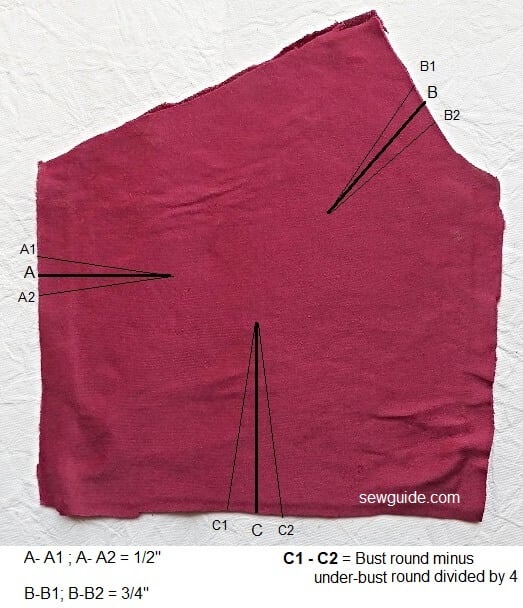
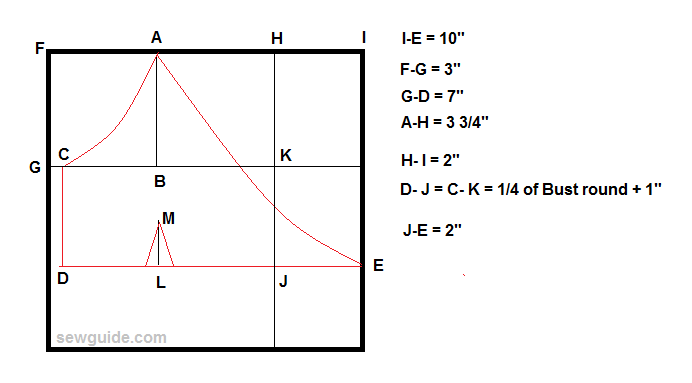
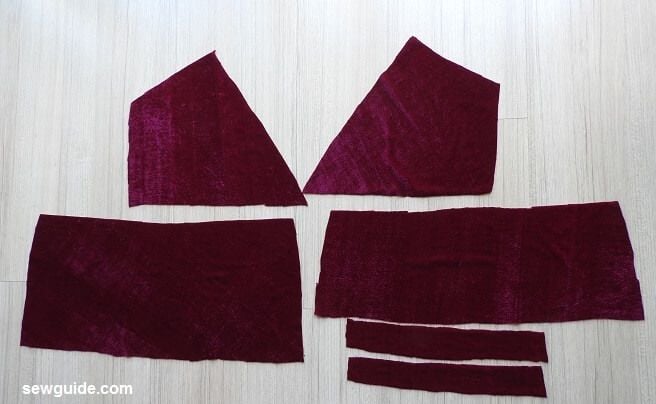
You need to cut out two fabric of the following dimension from outer fabric and two from lining fabric.
Keep the fabric pieces rightsides together to cut so that you get mirrored pieces.
Cut from lining.
Mark the darts on all the four pieces. Ensure that dart positions are on exact positions.
Sew the darts on all 4 pieces. Check out this post on sewing darts.
Join the pieces by the middle. So that you get one outer front piece and one lining piece.
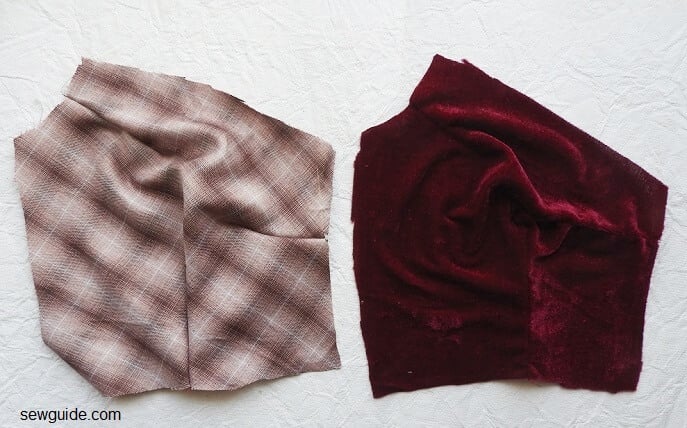
Cut out the back pieces – fold the fabric for outer and lining and cut as in the picture below.
When you open it up your outer and lining pieces will look like this. 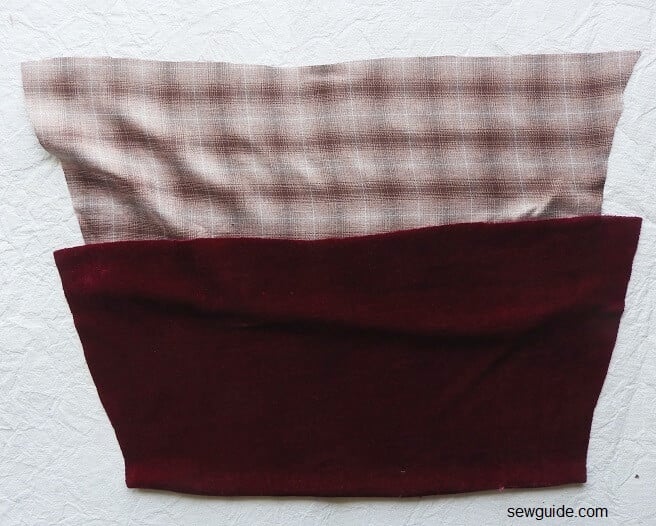
Calculate how much strap length you need. Take that measure plus 1 inch extra – you can make fabric tubes following the tutorial here.
I have cut two straps which are 11 1/2 inch long .
Keep the tubes sandwiched between the outer fabric and the lining fabric. Place the fabric tubes on top of the outer fabric as in the picture below. Keep the lining on top of this, effectively sandwiching the fabric tube in between. (No photo for this, sorry)
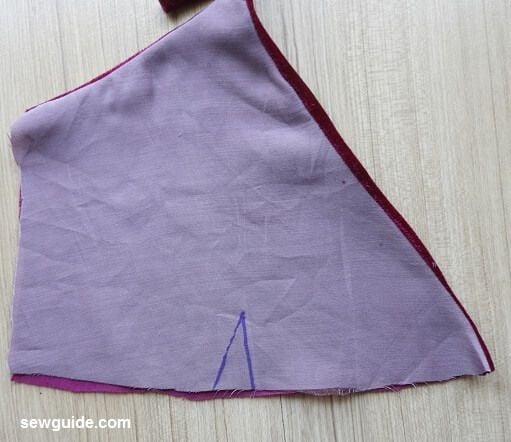
When you sew the top edge (do not sew the side seams) together and then turn the whole thing rightside out, the front bodice will look like this.
Now sandwich the other end of the tubes between the two back bodice pieces kept rightsides to the inside.
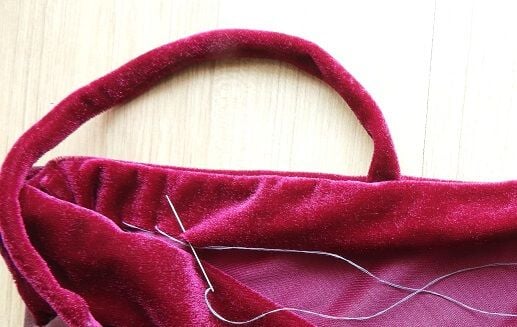
Sew the top edge. You will get the straps attached like this.
You need to finish the bottom edges of the two pieces now. Either you can bind with a fabric piece or just turn under the edges to the inside and top stitch. I pressed the edges to the inside, pinned and then top stitched.
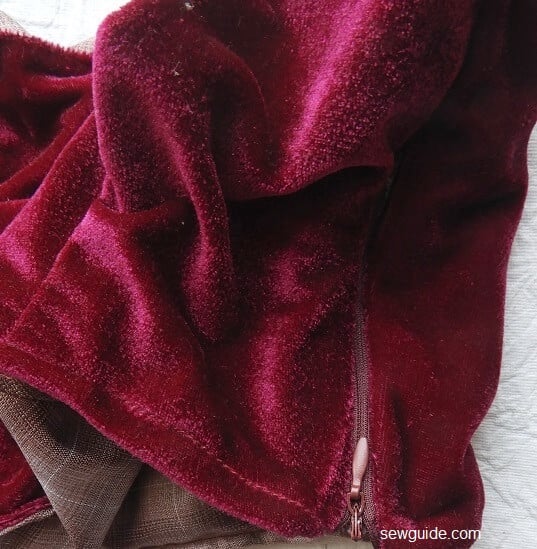
Join one of the side edges fully; on the other side just sew the top 1 inch. The rest is for attaching a zipper. An invisible zipper is preferred.
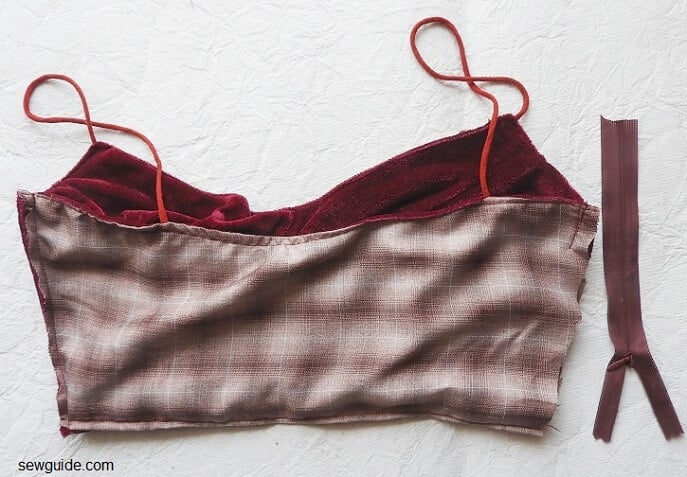
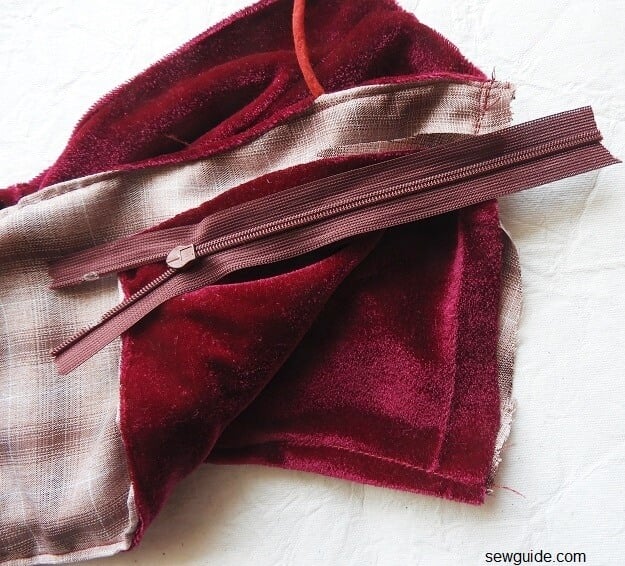
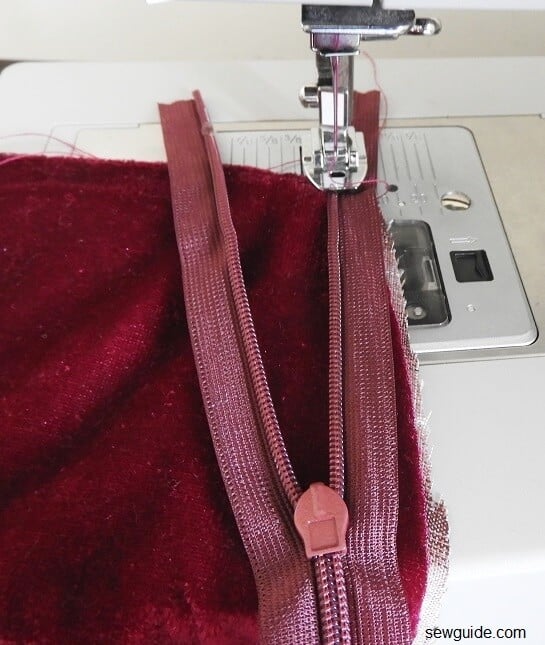
You can follow the tutorial for sewing invisible zipper here.
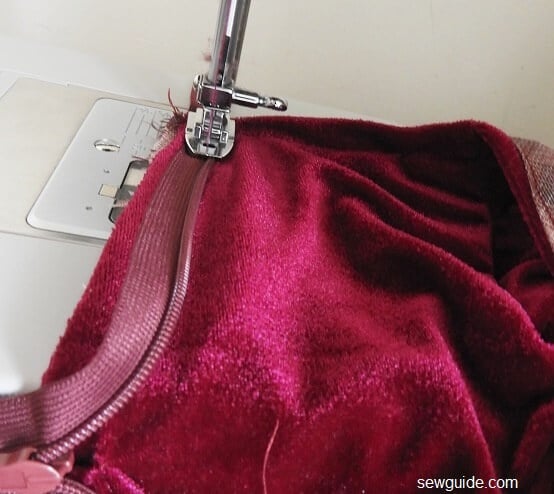
Turn the zipper ends to the inside and hand stitch in place. Try it on you.
Method 2 – with stretch fabric
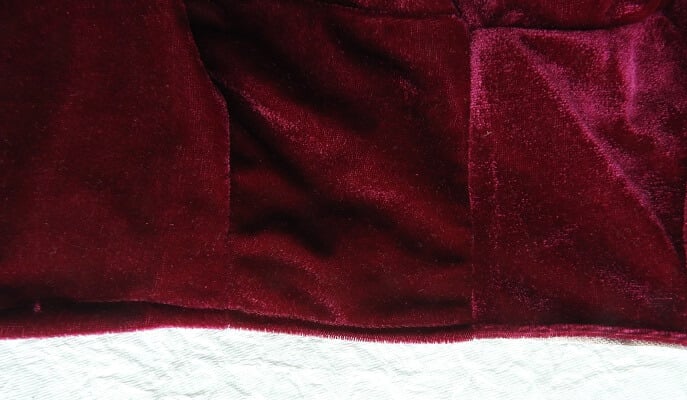
You can use a stretch velvet to make this bralette. Make a muslin first to see how it fits and make necessary alterations. As it is a figure hugging outfit there will be alterations.
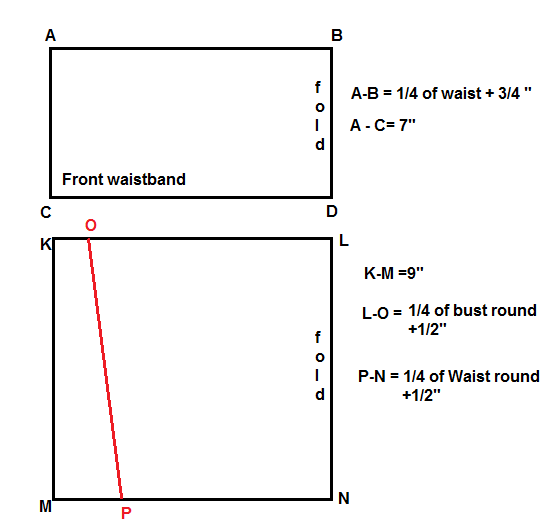
Pattern for the bralette bodice
Cut out the front waistband and the back bodice as per the pattern given below. The first picture is the front waistband (to be cut on fold) and the next one is the back bodice (the red line is the cutting line) -this too to be cut on fold.
Cut out the pattern pieces.
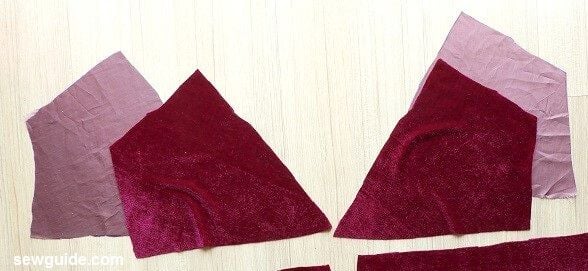
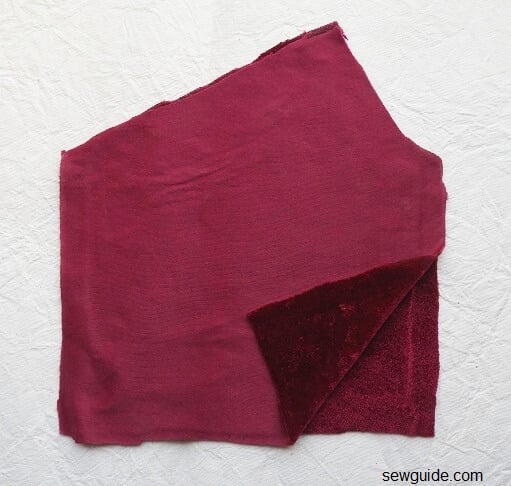
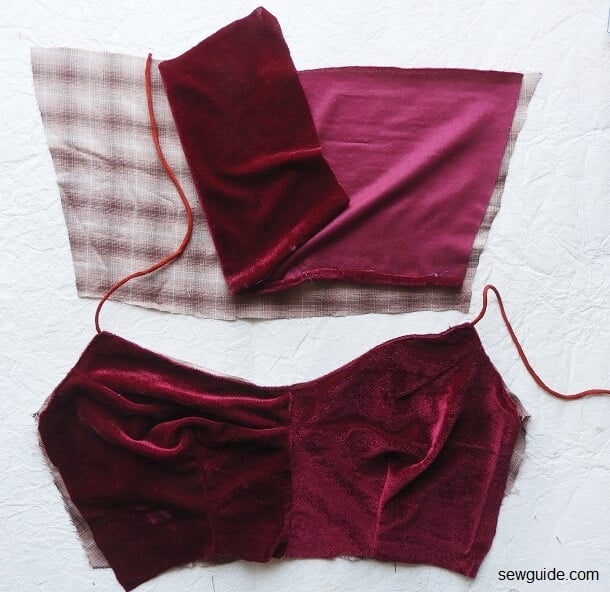
You also need to cut lining pieces for the top pieces
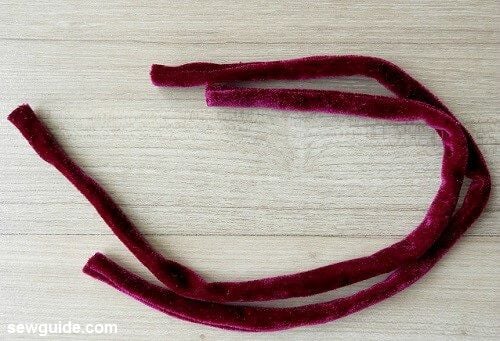
Make two straps for your bralette- you can cut 1.5 inch wide fabric strips which are 11 inches long (cut on the bias so that they stretch even more) to make the straps – check out the post on making fabric tubes to see how to make this
Mark the darts on the bodice pieces including the lining . Dart width = bust round – waist round divided by 4
The length of the darts should be the measure from just under the bust to the point just under your bust apex.
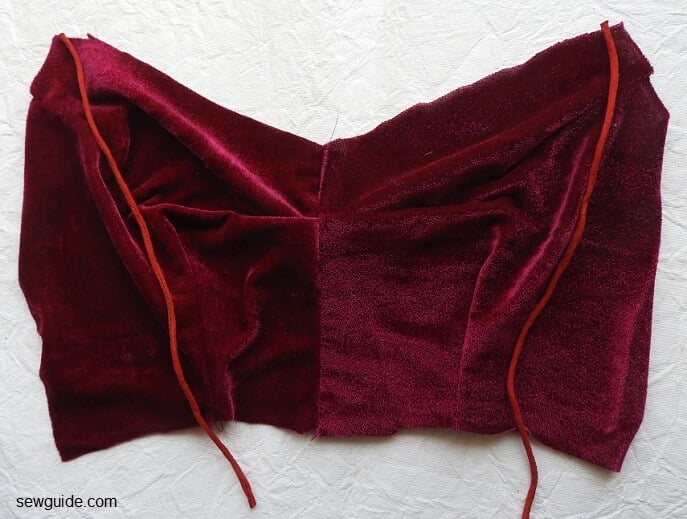
Sew the darts of the bodice pieces first ( though the picture shows differently – I sew the darts after the bodice was stitched up – but that is not the correct way)
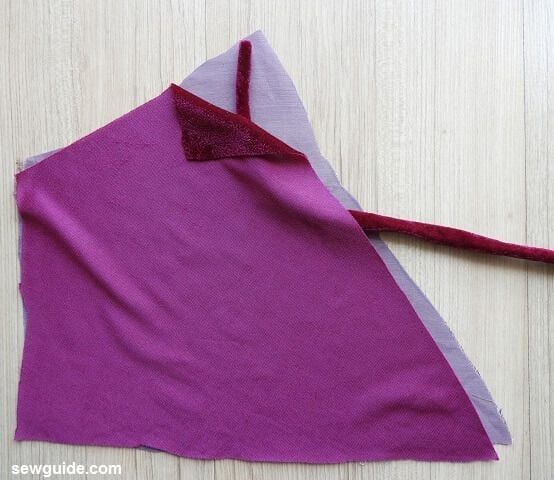
Keep the strap inbetween the bodice piees and stitch along the three edges. Make double anchoring stitches across the strap
After you have prepared the two bodice pieces these are to be joined to the front waistband, slightly overlapping. You will need to pin in place and then stitch
Remember to clip the seam allowance and trim wherever necessary.
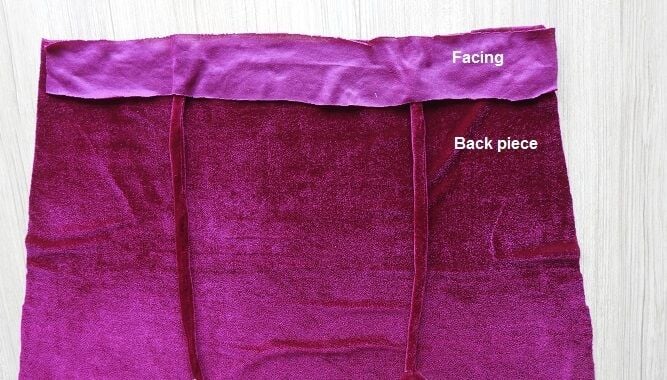
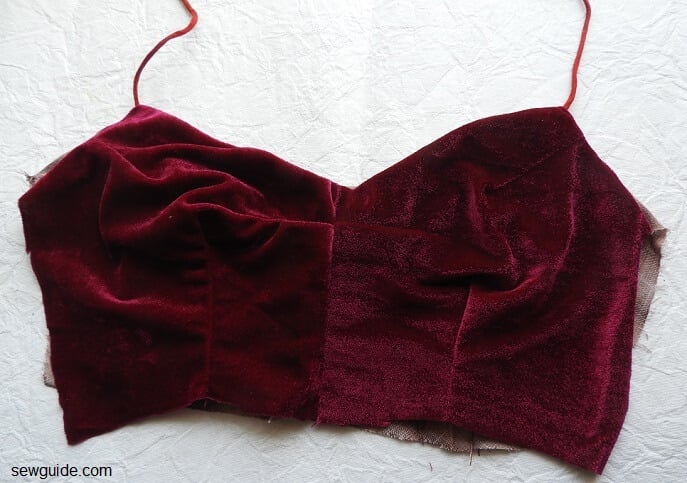
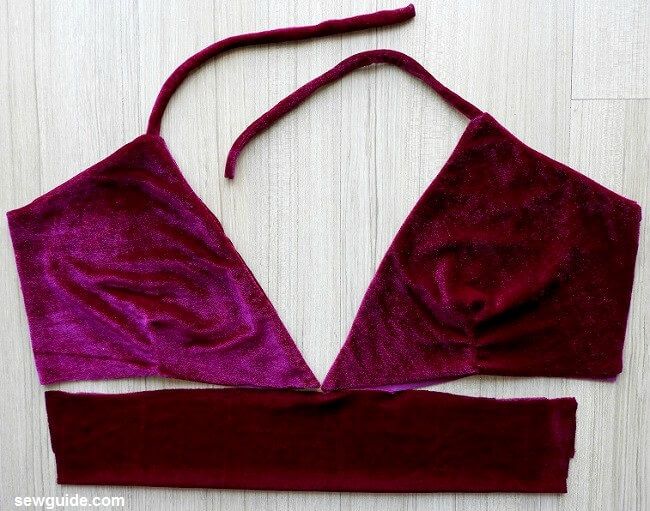
Take a piece of fabric 2 inches wide for facing the top edge of the back pieces. Sandwich the other ends of strap between the back piece and the facing and stitch in place. Keep the straps 3.5 inches apart in the middle of the back bodice
Fold the facing to the back of the back piece and using a hand sewing needle nd thread stitch it there in place with tiny hand stitches. Hem the bottom edge of the back piece as well.
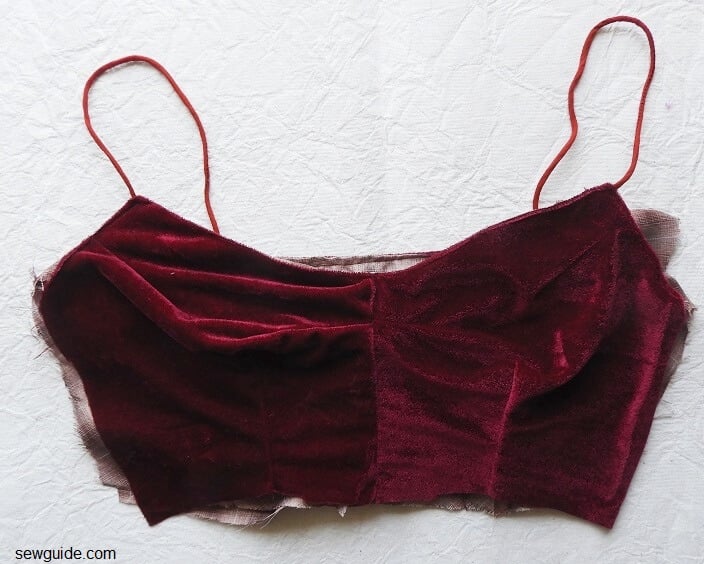
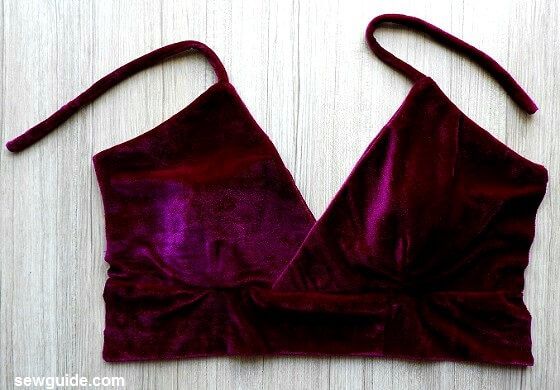
Sew the side seams of the bralette. If you are sewing with a non stretchy fabric you will have to add a zip.
Here is another way to make the bodice
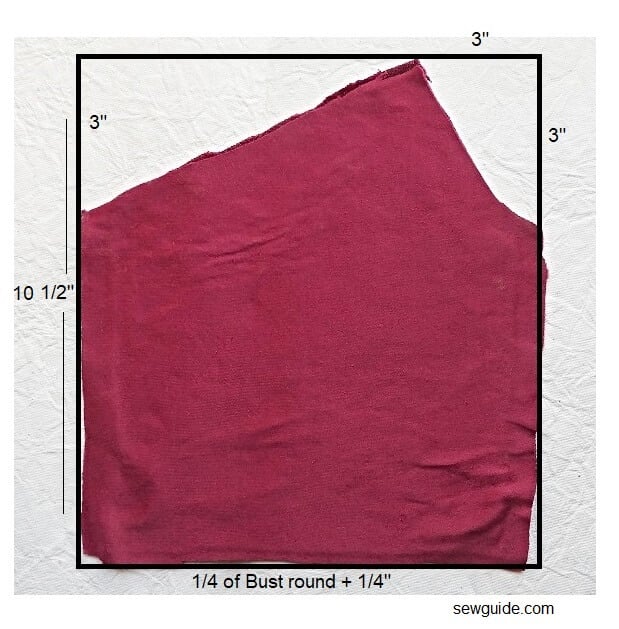
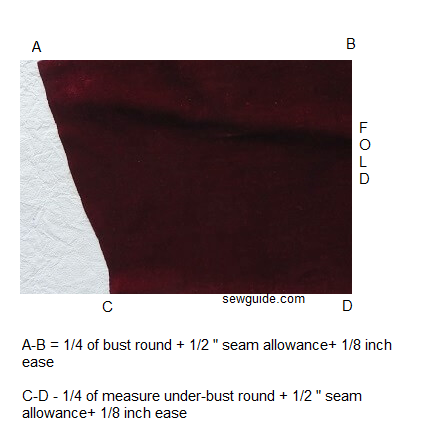
Measure around your bust. Calculate 1/4 of the bust round
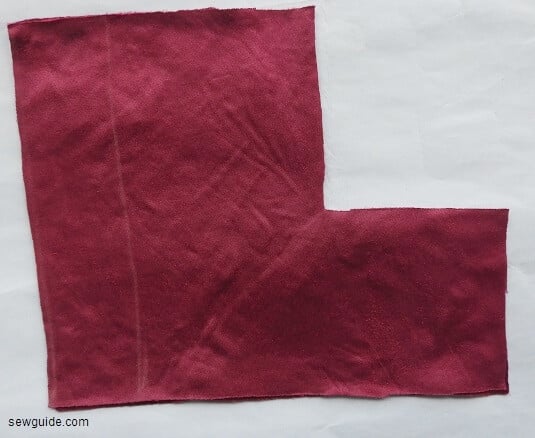
Cut out 2 fabric pieces of the following dimension
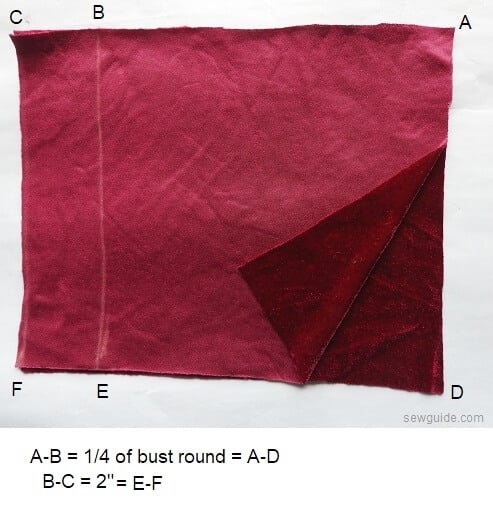
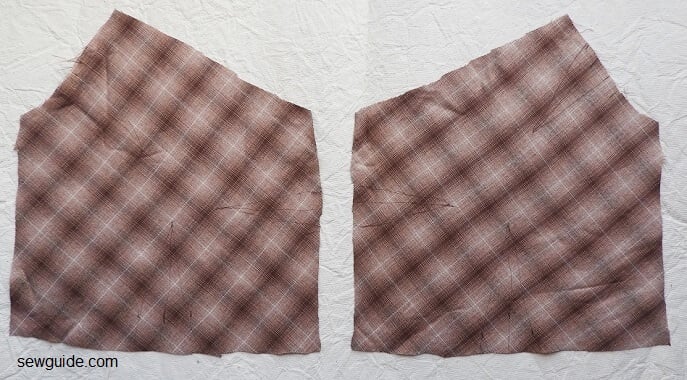
Keep the 2 fabric pieces right sides to the inside and keep in front of you

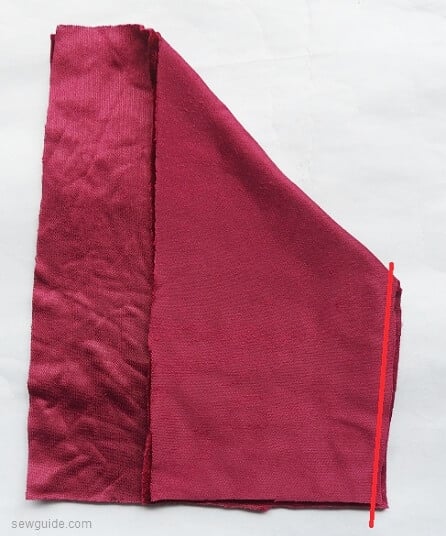
Fold the fabric diagonally leaving the 2 inches extra you have marked to one side
Now again fold the diagonal area as in the picture below

Mark this and then cut it out.
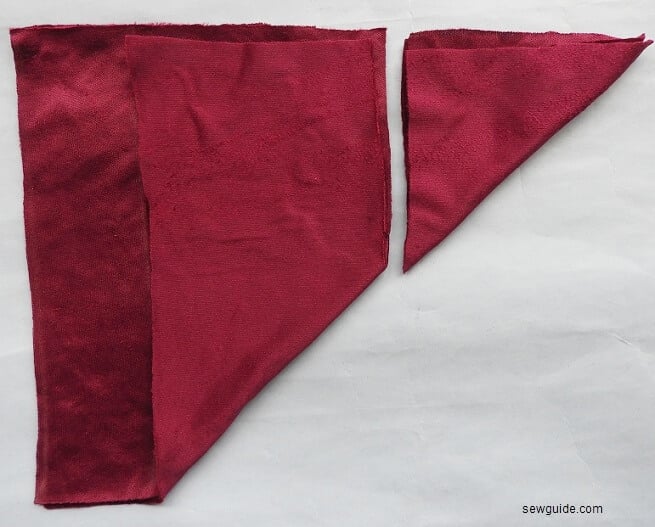
This your dart.
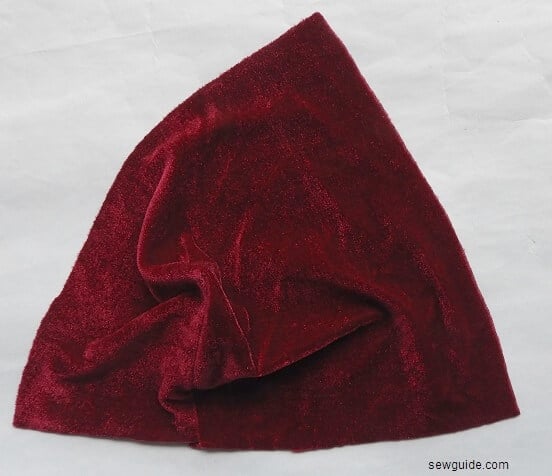
You have to stitch the dart closed.
Now do the same with the other piece too.
Related posts : Different names for bras ; How to sew a string bikini top
what an amazing explanation!
Thank you very much.
Can you send me the measurement clearly please? I am new Fashion designer.
nice cool
Wow!
The illustations looks so simple
But I’m kinda confused
I don’t know how to make the dart
Method one needs more explaining. I’m left with two pieces and no clue how to move forward into making them a shirt
The illustrations are so simple and easy.
I’ll give it a try
Very good
i will try it thanks alot
I will try it thanks a lot
the best I’ve seen so far!
Your patterns are always good and easy to follow.
Thanks for your help
best sewing website ever. much love from Nigeria
Thank you so much; love from here too : )
muchas gracias por la información
Excellent
Thanks Prasanna
Hey!
Thank you so much it helped me alot. Your pattern are really isy. Love from India.
thanks for copious reading information,sorry that i didn’t save but loving it.A wonderful season to you ,best for 2019. Thanks.
Hi
Thanks for the wishes – same to you too
The measurement are not clear
It doesn’t say a thing about bust measurements the waist etc etc very blur