A sleeveless camisole top is a wonderful option for all those looking for a casual fun simple top to wear with their jeans, pants and shorts or even skirts
2 sewing tutorials for the camisole top
Method 1
Step 1
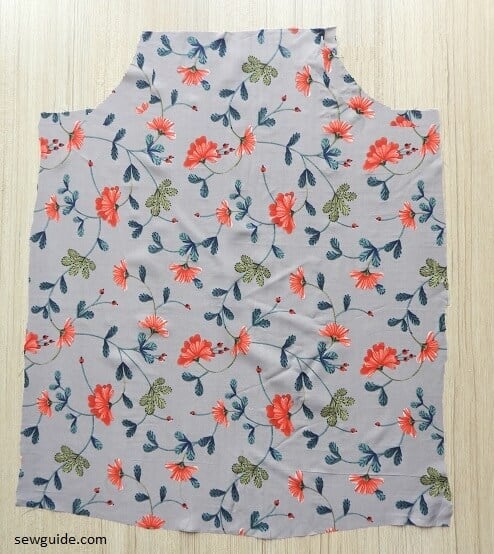
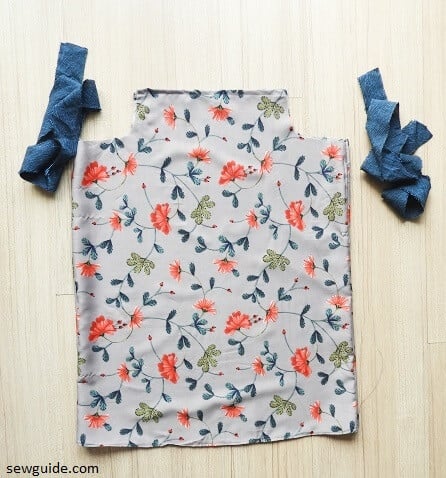
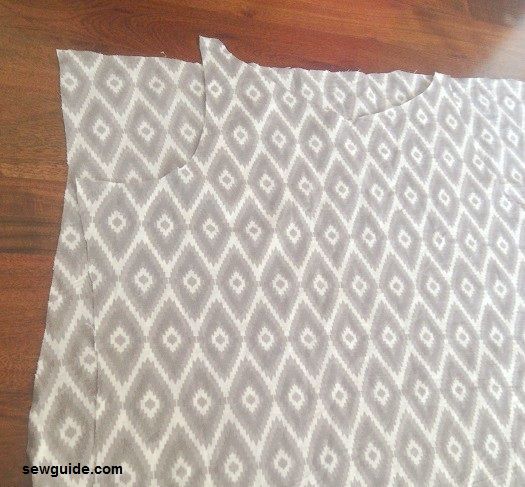
Cut out the pattern as per the picture below for front and back bodices.
Opened up you get two fabric pieces like this.
Step 2
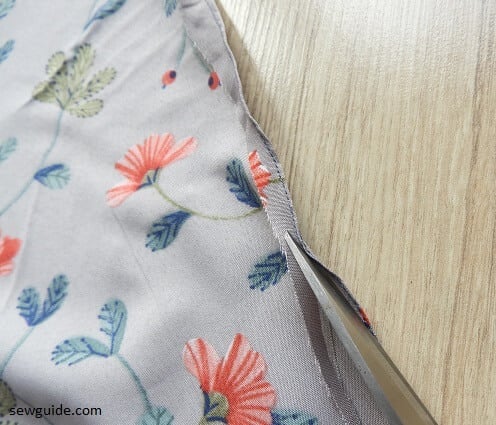
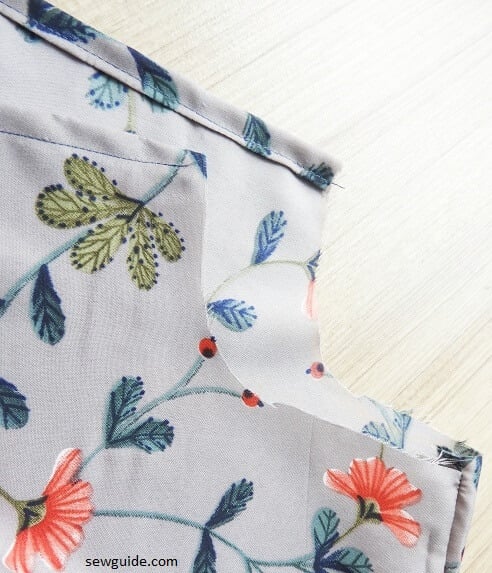
Sew the hem of both the pieces. Because it has a curved edge, you need a narrow edge.
To sew this, Fold the edge 1/4 inches to the inside. Sew along the edge.
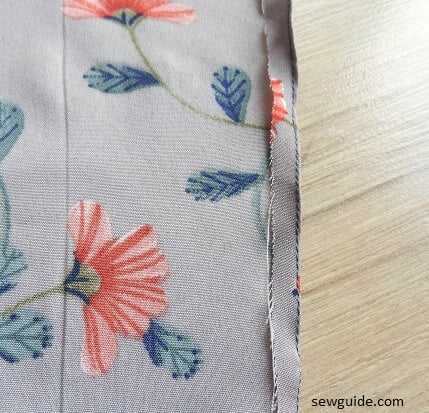
Cut away the extra allowance.
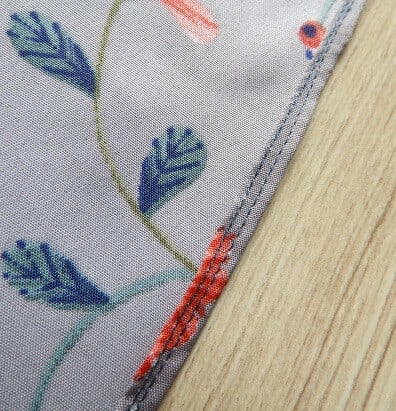
Fold the edge to the inside once again and stitch in place.
Step 3
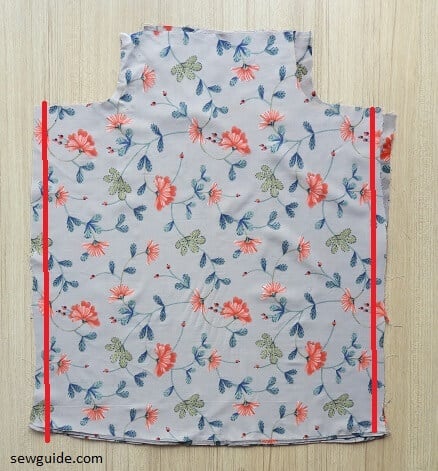
Keep the two fabric pieces together, right sides to the inside and sew the side seams.
Step 4
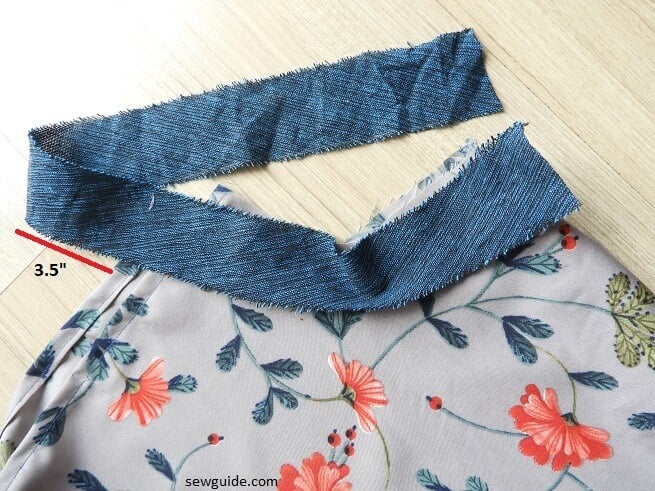
Cut bias tapes – this is for making shoulder straps.
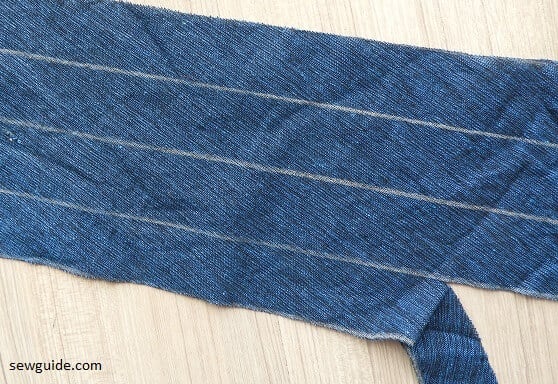
Measure along the armhole on one side – double this and add 3.5 inches. Now double this measure and add 1/2 inch edge allowance. This is the length you need for the bias tape for one side shoulder strap. You need 2 pieces like this.
Step 5
Sew the top edge. Turn under the top edge 1/4 inch twice to the inside and stitch in place
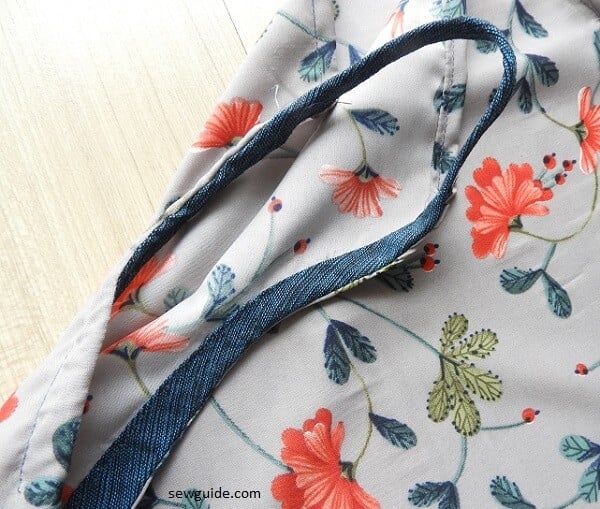
Step 6
Keep the bias tape along the armhole edge and stitch the bias tape in place binding the edge. Ensure that the top 3.5 inches is intact folded.
Turn the binding to the inside and sew in place. Sew the top strap.
Method 2
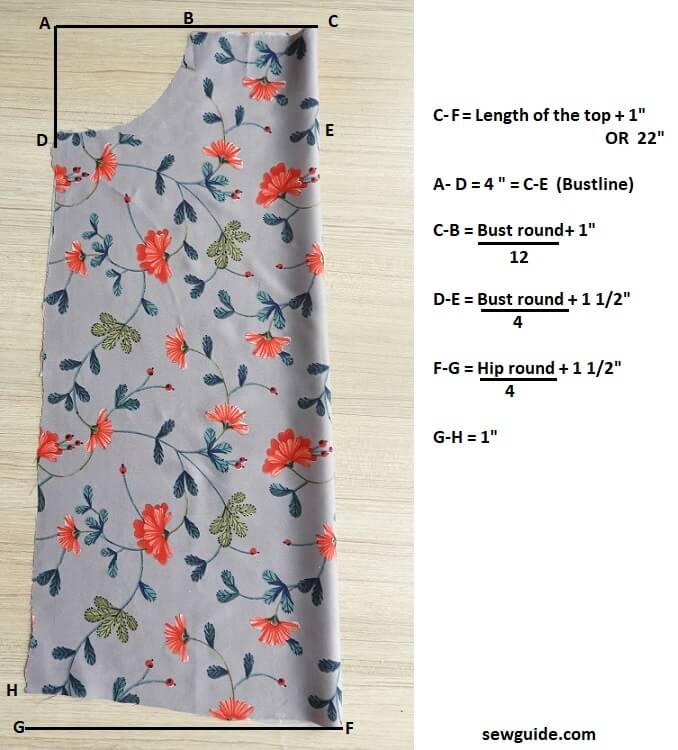
To make this top, make a paper pattern on a folded paper; open it up and keep it on the bias grain of the fabric and cut it out.
Pattern for the Camisole top- front
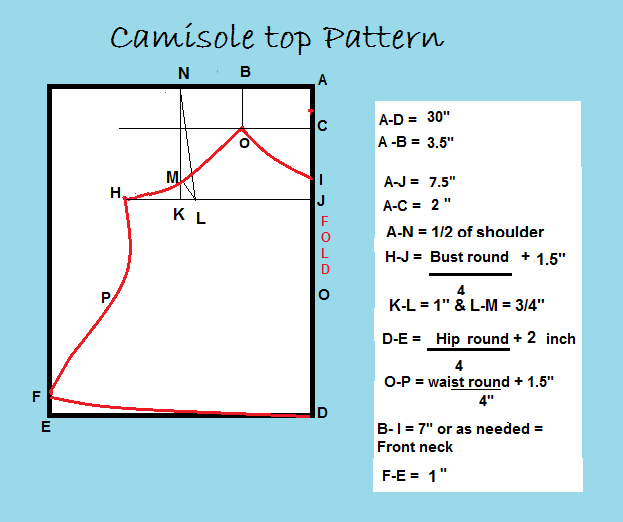
The height of the top I have here is 30 inch.
This is marked as A-D
A-B is the neck width – 3.5″ ( I have increased this a little more to make it a boat shape in my top)
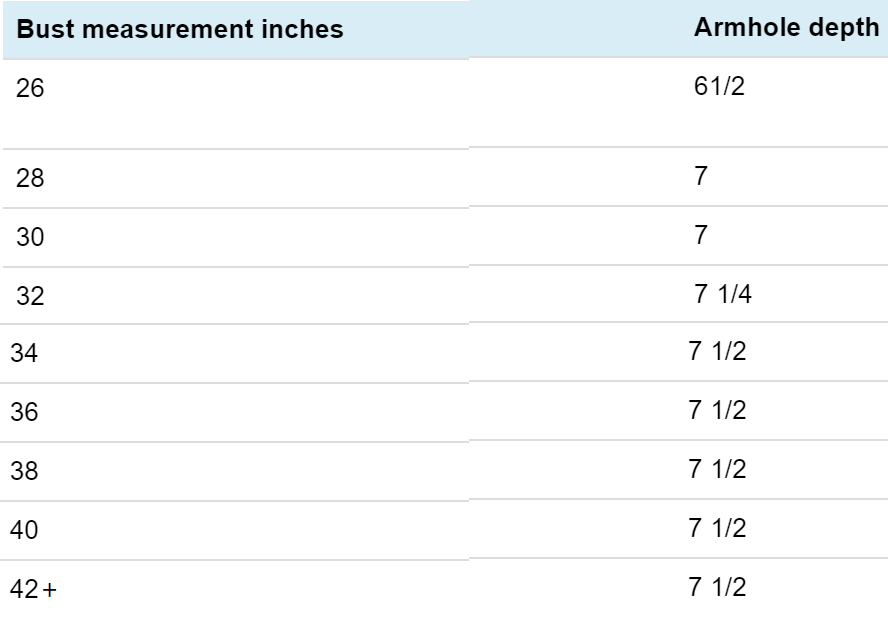
Mark the armhole depth as 7.5″ or as per the table
Mark C 3.5 inch down from A. From C mark 3.5 inch inside to O.
Mark A-N – 1/2 of the shoulder ( half of the measure from one shoulder to the other).Mark straight down from N to K on the line J-H ( at armhole depth)Mark 1″ from K to L. Mark 3/4 inch diagonally from L to M. Mark the armhole line touching the M from H to O
Mark B-I as the neck depth 6 -7″ ( This is also individual preference)
Shoulder strap for top
Measure the distance from H- B. Add the armhole depth ( as per the table) to this ;add 1/2 inch to this ; this is the length of biastape you need for each armhole for the shoulder strap.Ie if the measure from H-B is 10 inch ; when I add armhole depth for me at 7 inch as per the table below and then add another 1/2 inch seam allowance it will be 17.5″- I will cut 2 straps like this.
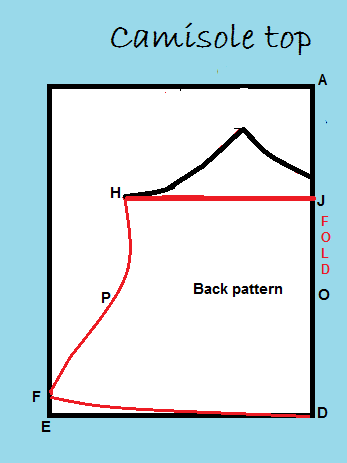
Back pattern for the camisole top
The back pattern is a copy of the front pattern except the top portion will be cut off.You just need J-H -F-D-J.
Step 1
Bodices – Cut out fabric pieces from the paper pattern.
Bias tapes – Cut the bias tapes as well. You need 2 shoulder straps ( as per the measure given above) and an extra piece bias tape for the front neck.
Facing for back pattern – you need a piece of facing for the back piece top edge . A piece of fabric strip of width 4 inch and length the width of the back pattern top edge would do as this facing
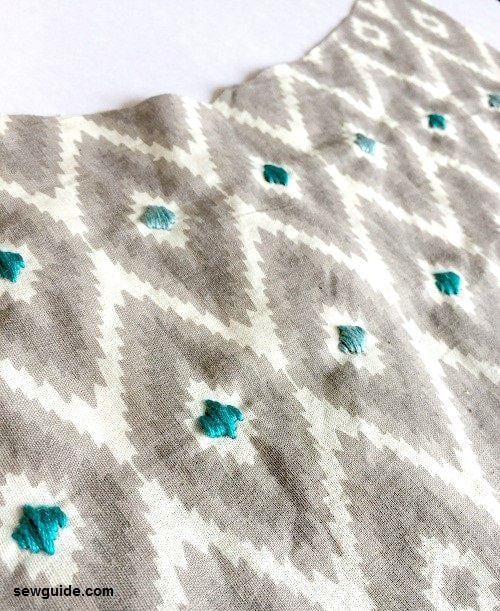
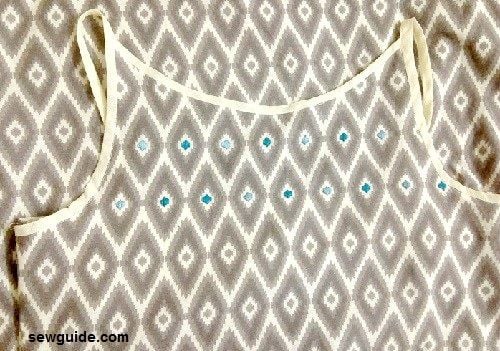
I also did some small embroidery on the front bodice. Just used 6 strands of embroidery thread to fill in the pattern
Step 2
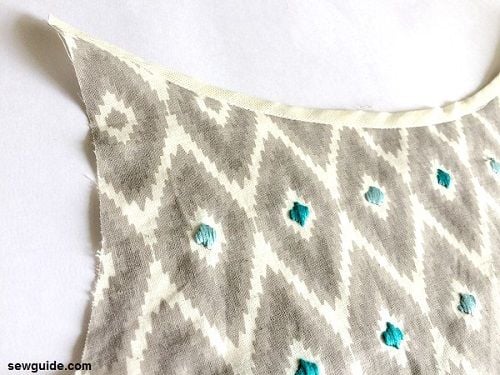
Bias bind the front neck
Step 3
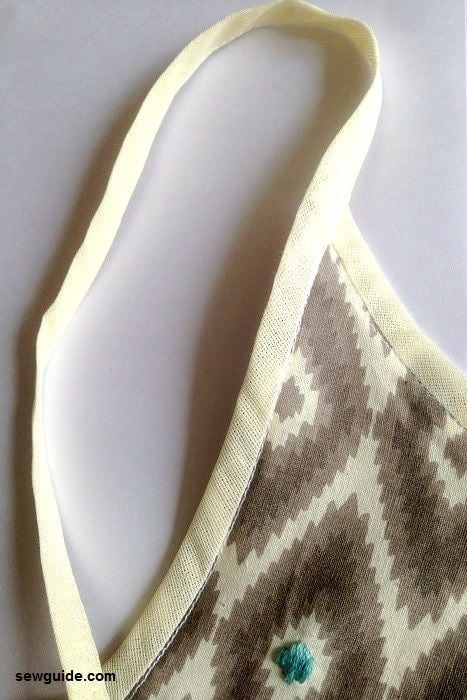
Bias bind the armhole. Complete the shoulder strap.Do this for both armholes
Step 4
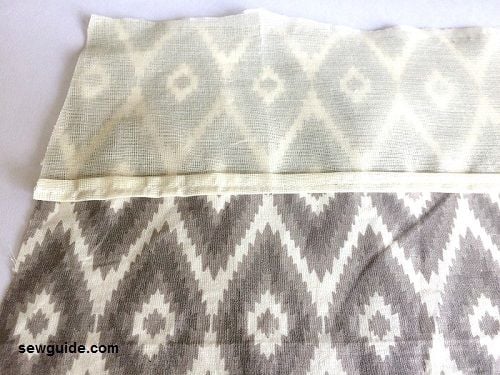
Finish the edges of the back facing piece. Keep it rightside down on the back bodice piece top edges together. Pin in place.
Fold the back piece by 4 . Mark the fold from both the edges – this is where the straps will be joined
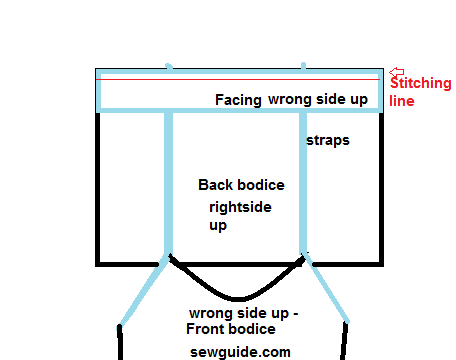
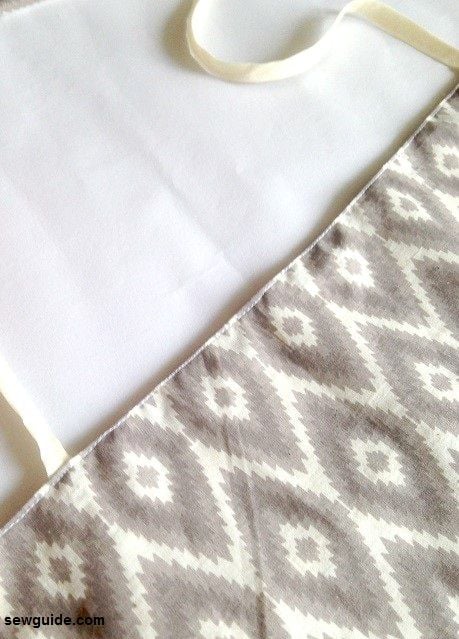
Insert the straps in between the facing and the back pieces which are kept right sides together. Stitch the top edge ( with the straps sandwiched between the facing and the back bodice piece)Make two lines of stitches so that straps are securely stitches in place
Step 5
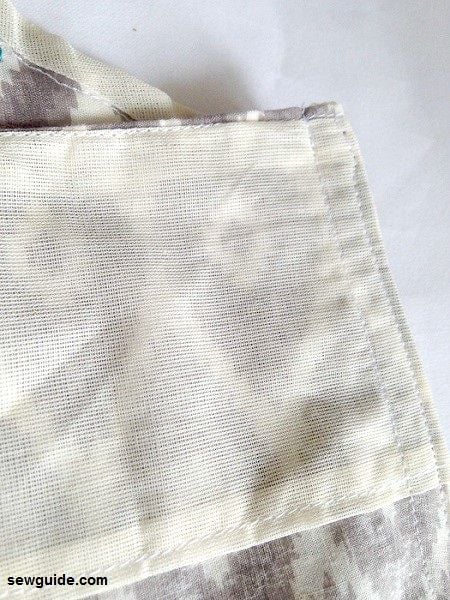
Top stitch the facing of the back top edge in place
Step 6
Sew the sideseams. I hid the edges by turning them inside and stitching. Checkout more edge finishing techniques here
Step 7
Sew the hem by turning under. Blindstitch or make a facing or simply turn under the hem and stitch with sewing machine
If you want real shape give darts near the waist.
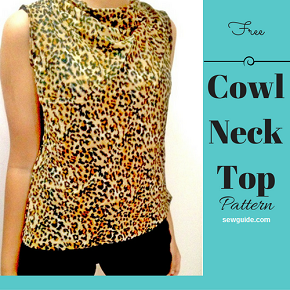
Related posts : How to make cowl neck top
Hi – this is great! For pattern one, how much fabric do I need if I would like 38″ bust? thank you!
You are simply the best. I will keep coming back to you because of your great content.
Thank you for your guidance. The dress turned out really well. ☺️
Wow❤