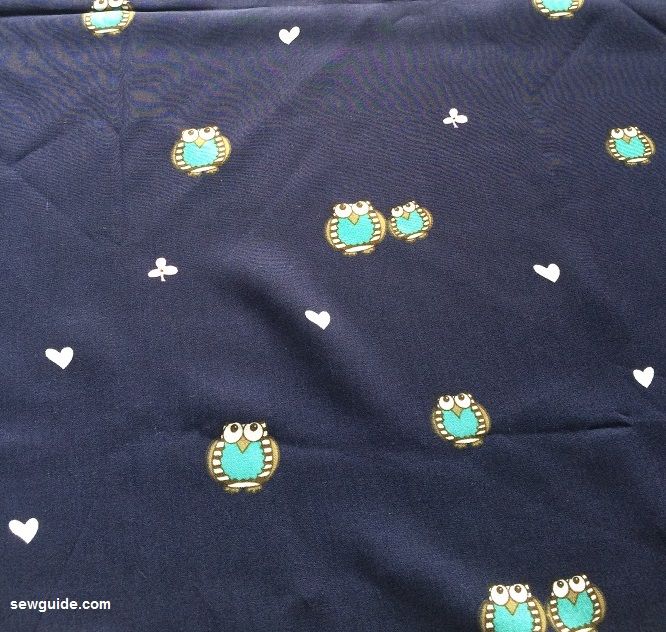
This is my favorite top to sew as a top for the pajama pants. It can make a great top you can wear outside as well if you make it in fancy cloth. I had some lovely owl-printed soft cotton fabric just right for a pajama top. And lovely trim to match it.
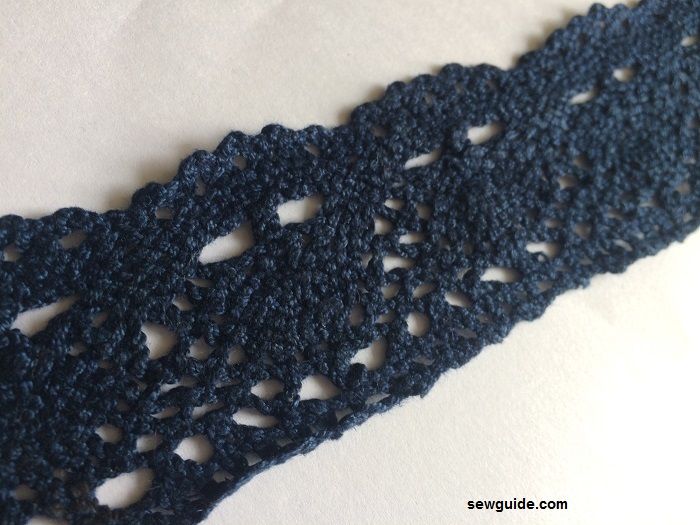
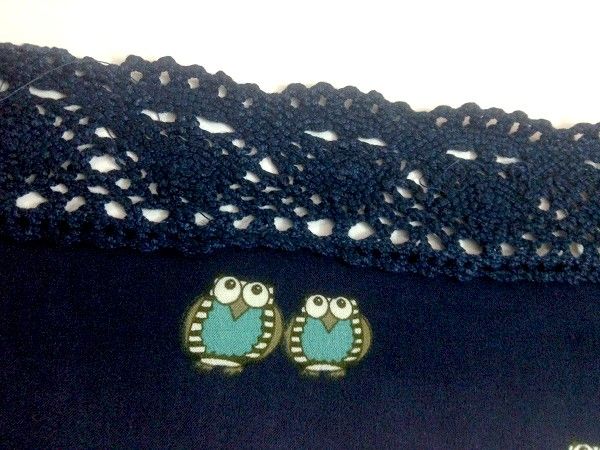
The lace trim piece with scalloped edge framing the neckline
Step 1
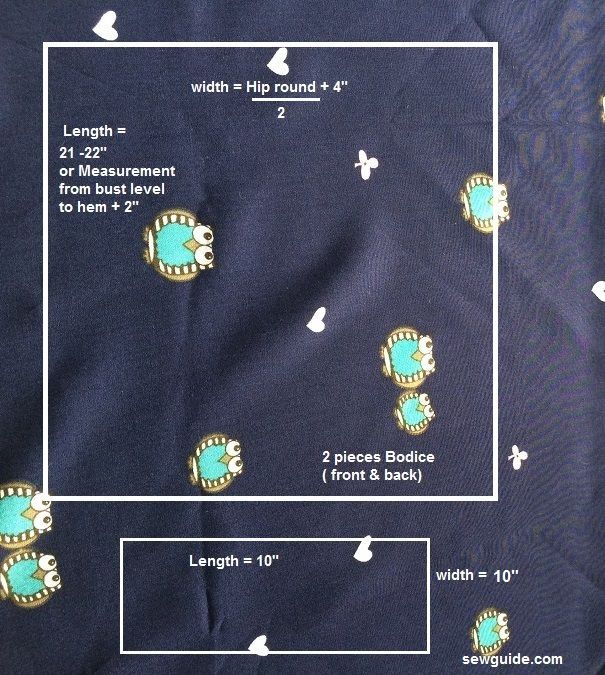
Cut out 4 pieces of pattern from the fabric – two bodice pieces and two shoulder straps as per the picture given below.
Fold the shoulder strap pieces by the middle so that you get a 5″ wide piece. Because of this fold you will get a double layered shoulder strap with the neat folded edge near your neck. Press the fold in place with an iron
I also cut out the 1 inch lace trim- 2 pieces to the length of bust round /2 + 4 inches
Step 2
The below given picture is the stitching sequence for the top.
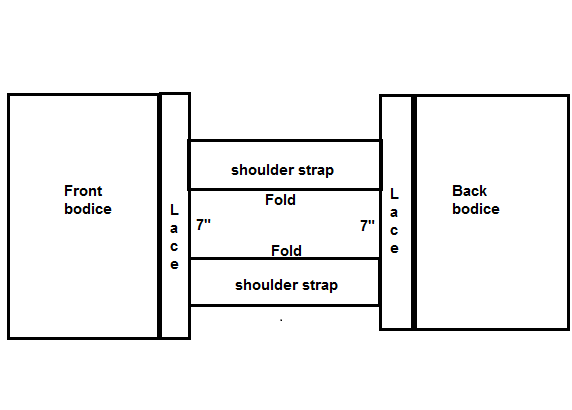
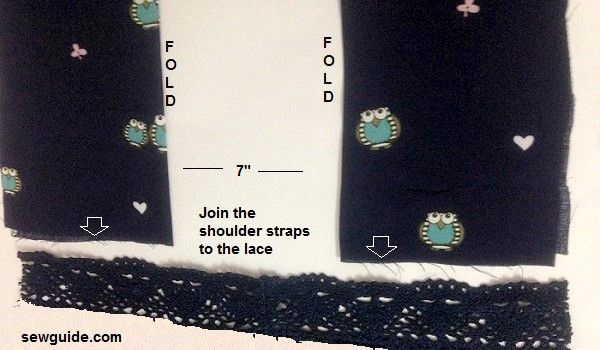
Join the shoulder straps to the lace trim so that there is a 7 inch gap in between ; Do the same for the back as well
Step 3
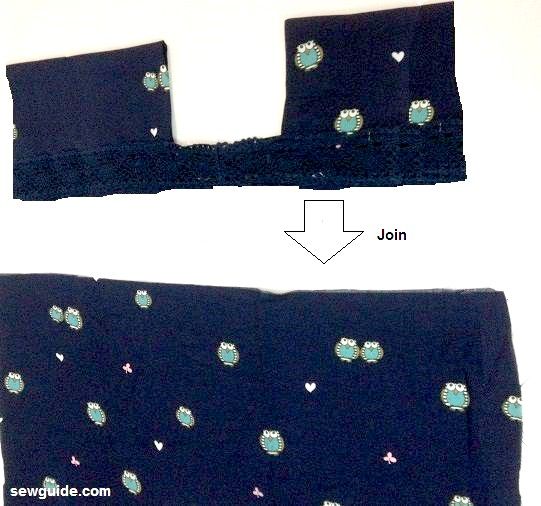
Join the shoulder straps and lace piece to the main bodice pieces ( back and front) .
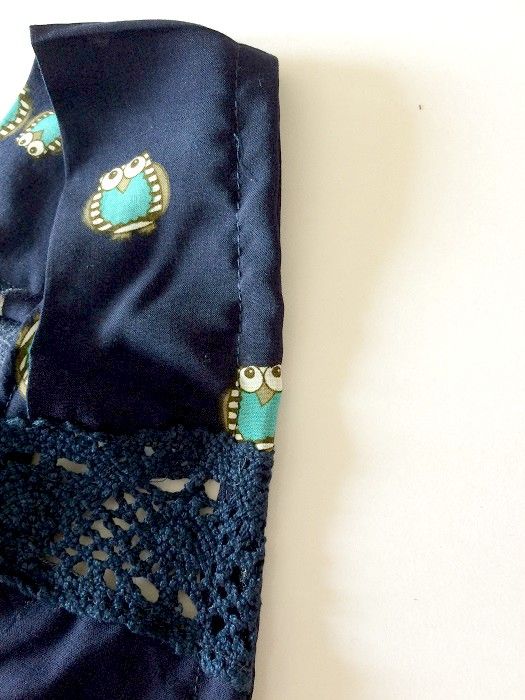
When stitching the lace trim as my lace trim has a scalloped edge I pressed the top edge 1/2 inch inside and pushed the edge under the lace trim and top stitched the lace trim to the bodice ; if your lace has a straight edge you can keep them rightsides together and join.
See how the seam allowance is not visible through the lace trim ; that is because I pressed the top edge by 1/2 inch and top stitched.
Step 4
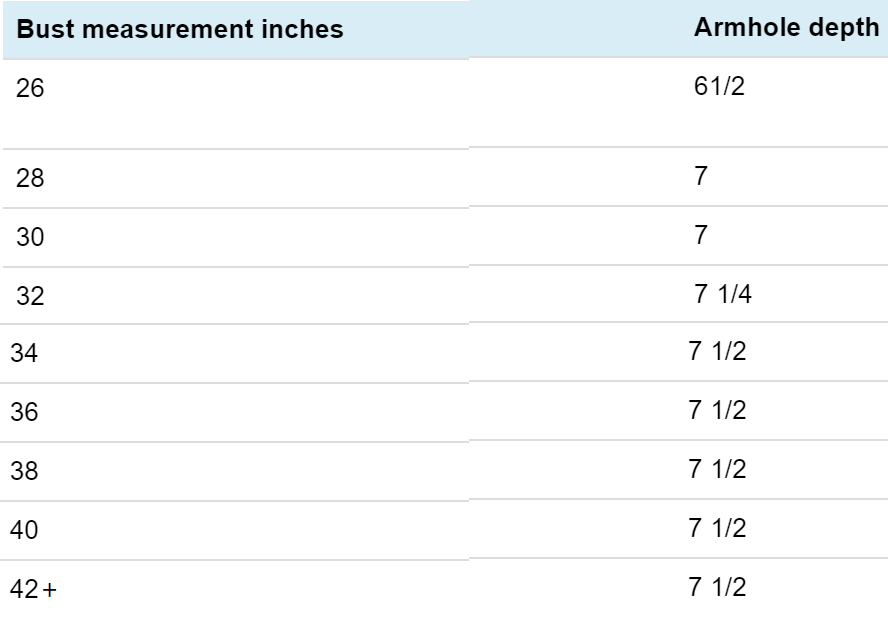
Cut the armhole as well as the side shape as per the diagram.Mark A-C (armhole depth) as per the table given below. You can also reduce the width of the strap given in the pattern below. A strap width of 3 inch would be ideal.
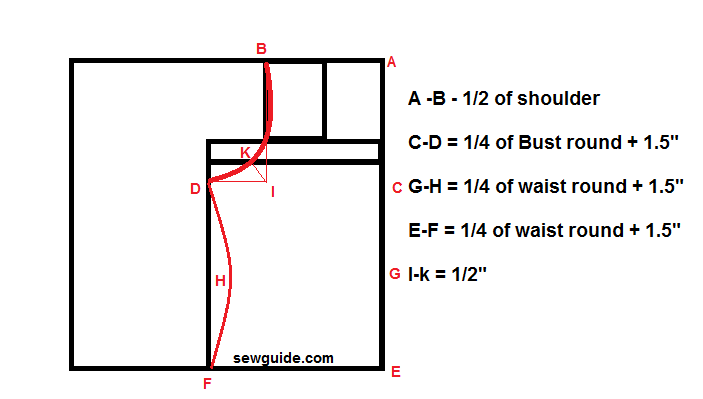
You can skip the waist shape altogether if you want a loose top.
Step 5
Bias bind the armhole with a bias tape
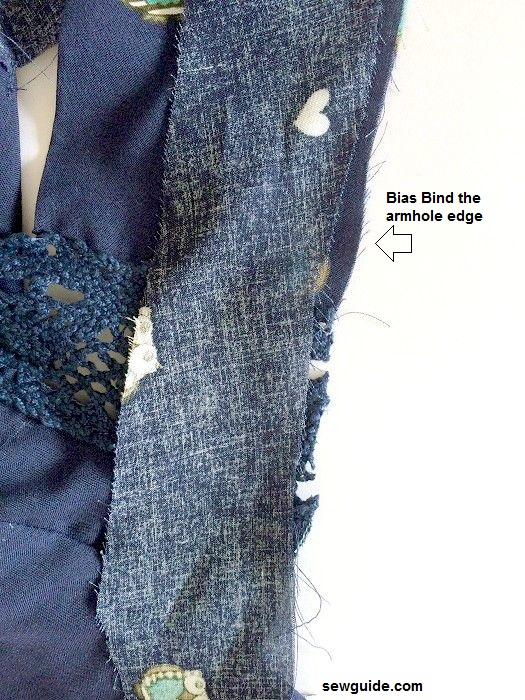
Bias binding done.
Step 6 Join the sides and finish the hem with a turned under edge. If you really want sleeves you can add any of the easy sleeves in this post.