This is a pattern and sewing tutorial to make a simple drop shouldered top with frill sleeves.
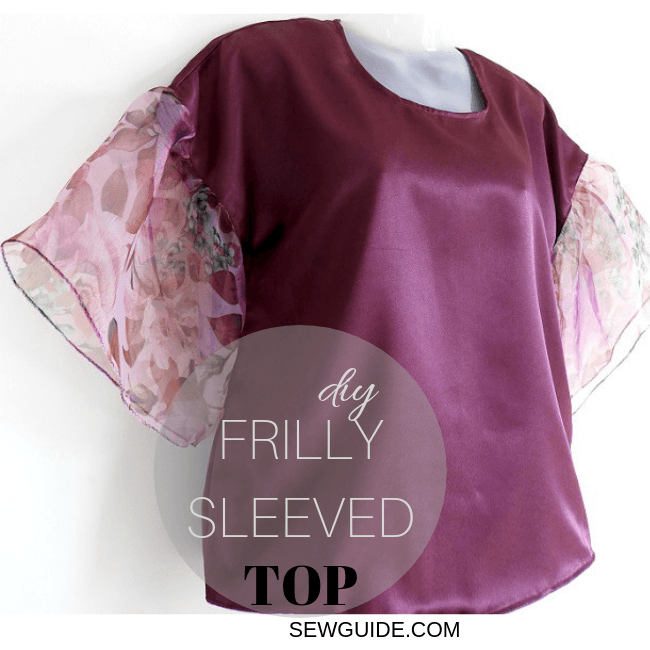
You need about 1 1/2 meters of fabric for the top and half meter cloth for the sleeves (depending on the length you want for the sleeves). The frill sleeves can be of the same fabric as the cloth or lace or a matching/contrasting colored fabric
Steps to sew the drop shoulder top
Step 1
Cut 2 fabric pieces of length 27 inches. Fold one of them by the middle and mark the pattern for the back bodice.Cut it out.
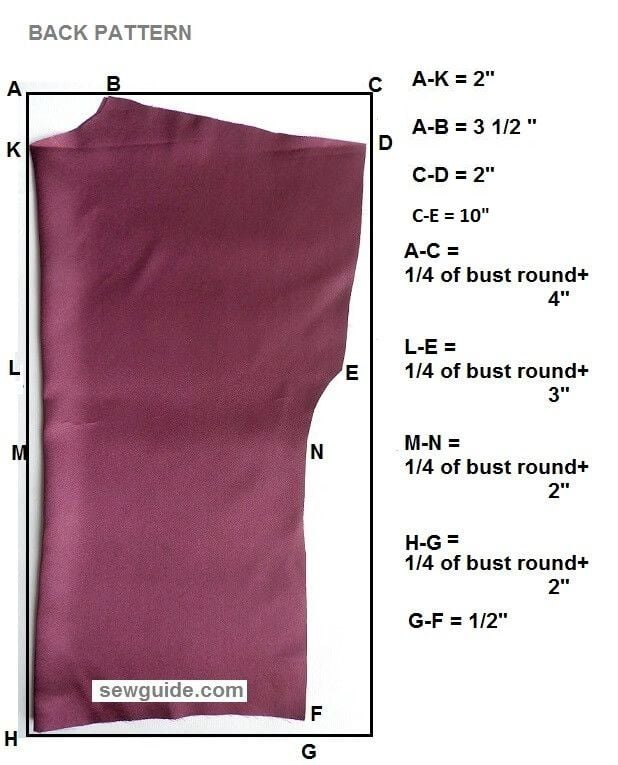
Step 2
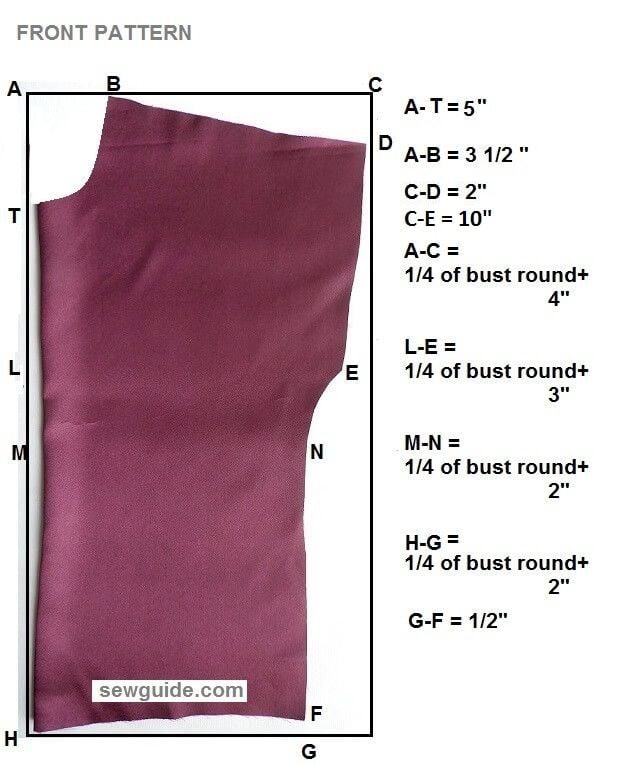
Mark the pattern for the front bodice on the other fabric piece (folded by half)
Step 3
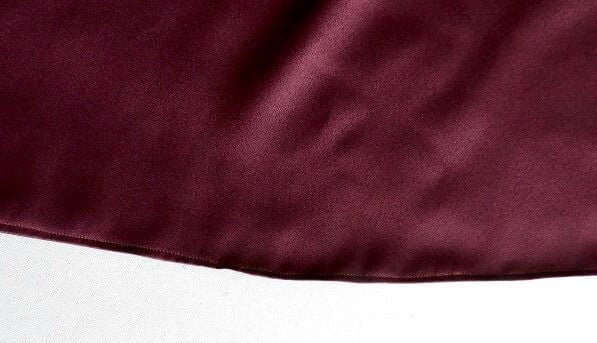
Finish the hem of the both bodices. You can make a narrow hem along the bottom edge.
To make this narrow hem I folded the bottom edge once some 1/4 inches to the inside, stitched along the fold line. Then using the scissors cut the extra seam allowance close to the stitching line. After that fold the hem again 1/4 inch and stitch along the edge and finish the hem.This extra step ( instead of just folding twice and stitching in one go) is needed because you have a slightly curved hem.
Step 4
Join the two fabric pieces by the shoulders. Keep them right sides together and join the shoulder seams

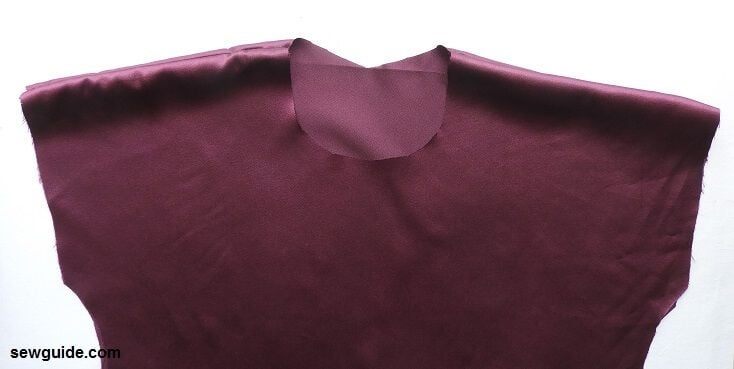
Step 5
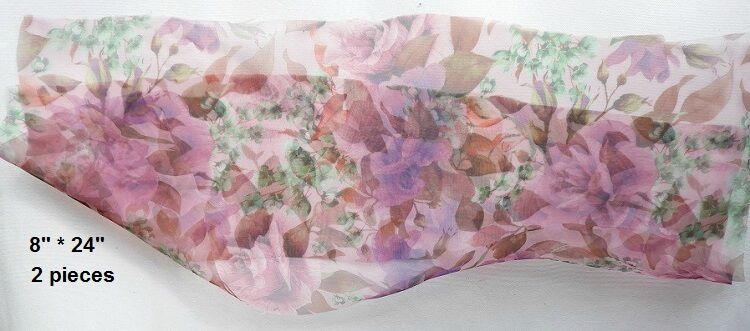
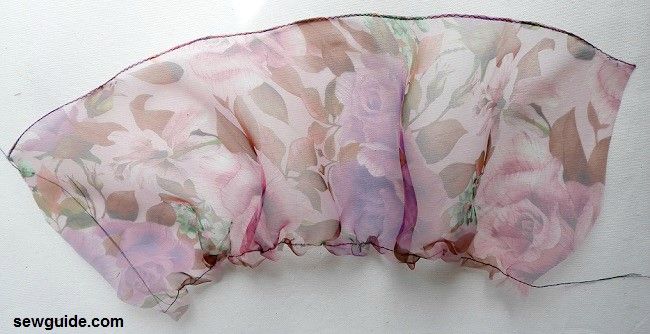
Cut out the frill sleeve fabric pieces. You need to cut out two pieces with the dimension 8 inches (This is the length of the sleeves )by 24 inches. You can increase or decrease the length of the frill as you wish.
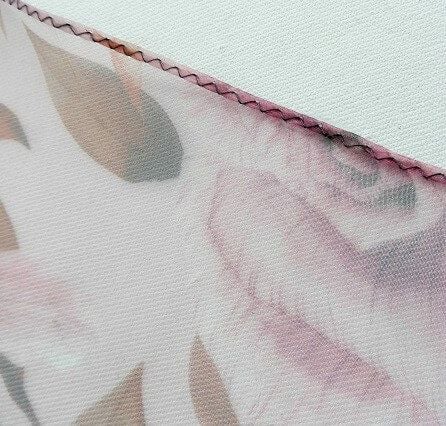
Finish one of the long edges with a rolled hem
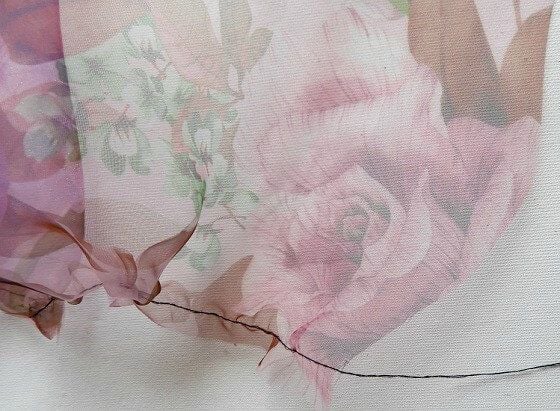
Make long gathering stitches along the other long edge – you need to gather this edge to fit the sleeve edge of your bodice. Check out the post on gathering fabric here.
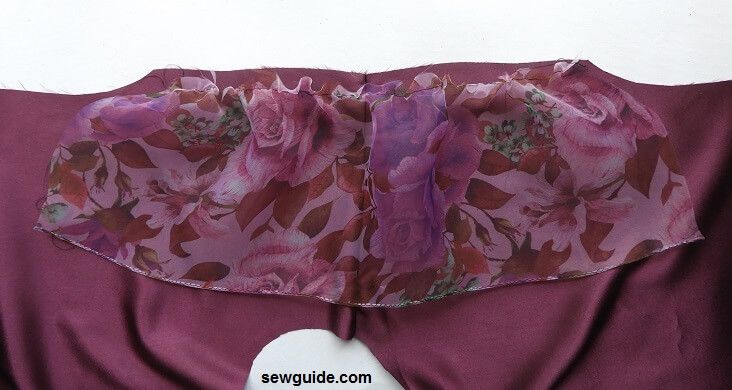
Step 6
Keep this gathered frill good side down on the sleeve edge (good side up) of your bodice.
Pin in place and then stitch in place – make sure the gathers are evenly distributed.
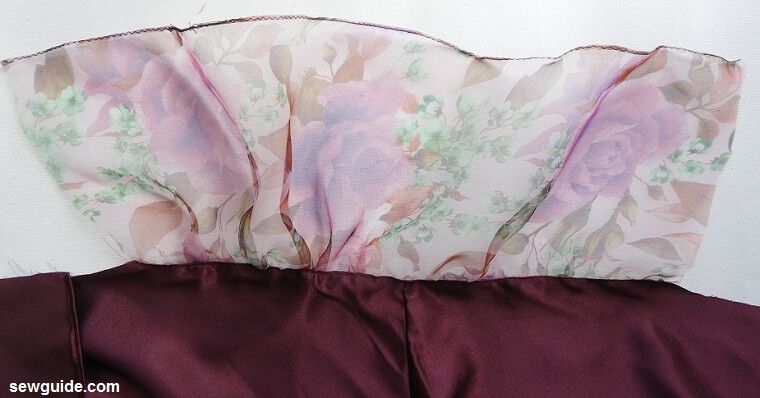
Straighten the frill. Top stitch the edge keeping the seam allowance of the edge to the inside.
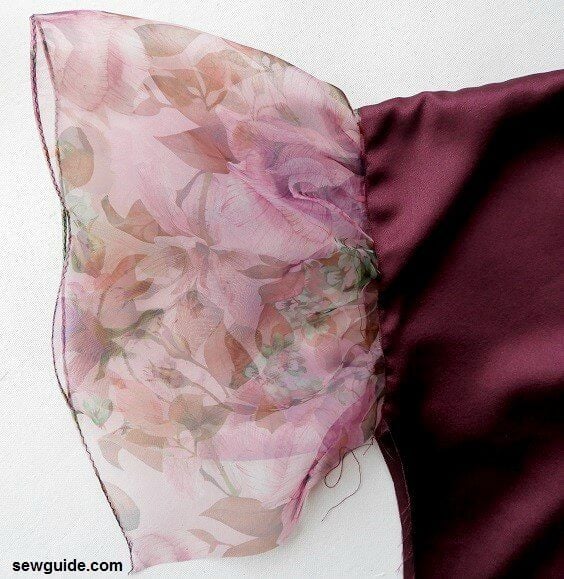
Step 7
Sew the side seams of the bodices.Keep the top wrong side out and just sew the side seams from the sleeve edge to the hem in one go- do this for both sides.
Step 8
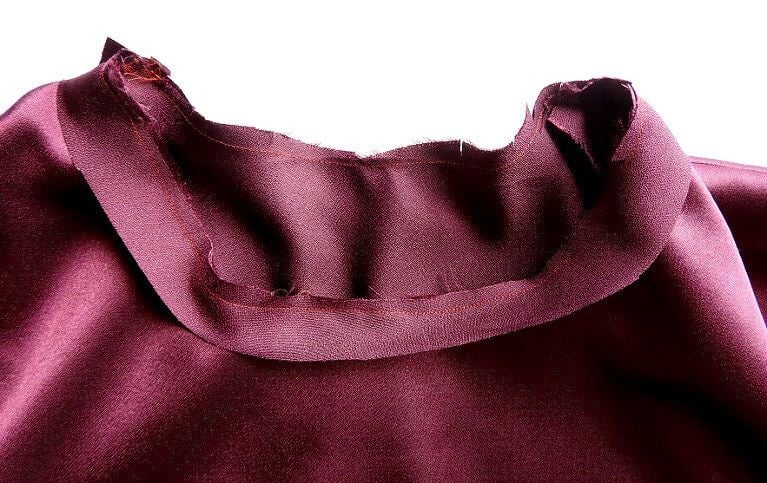
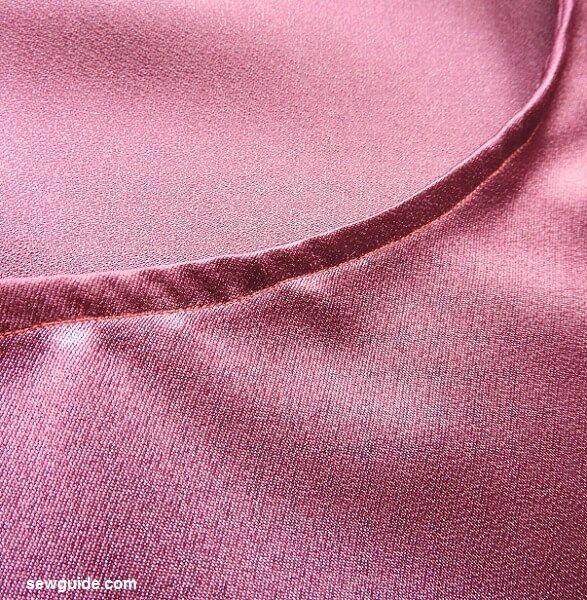
Finish the neckline by binding it with a bias tape. Cut out a 1 inch piece of bias cut fabric and then bind the neckline with this
Remember to fold the short edge of bias binding strip as you start and to clip the seam allowance and trim it where necessary.
Related posts: Bias binding neckline edge; How to sew a puffed sleeve top; How to sew clothes- free clothing patterns
Please give the measurement for D-E as it is not mentioned. Thank you.
it is interesting to sew. well guided the the procedure to make the pattern thanks Sarina
,,
Thanks for the help I was desperate for dis
Thanks Sarina. I’ll try it out
This is perfect! Exactly what I was looking for.
Thanks Sam
I would like to save this and all the tutorials but all I get is the first page. I have not seen a Print button.