
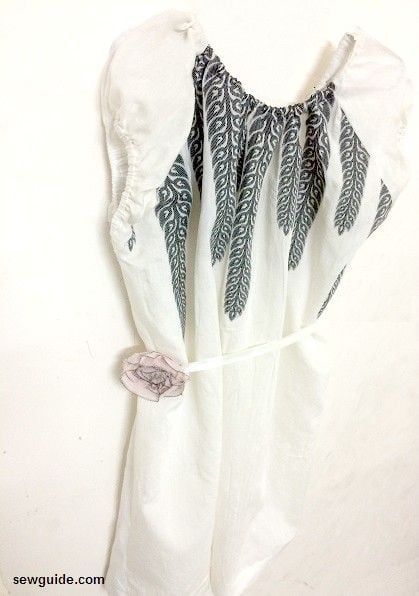
Love a peasant dress totally – not only because it is so easy to sew but also because it so easy to wear – The peasant dress says summer sun and carefree like no other garment on earth after shorts .
It is a suits-everywhere-dress if you know how to pair it rightly. Agreed that the bohemian shape of the peasant dress may not appeal to girls who like fitted, shaped clothes. But those of us who like more casual loose clothes will find this pattern fitting into their wardrobe just right.
You can make this dress in pretty printed cotton for a girly look, or in solid colors reminding you of the Japanese patterns (without the waist band) Tuck it inside a fitting pencil skirt or wear on its own with boots and long chains for a Boho look, or wear it as a tunic with leggings – so many possibilities. Use a belt to give it shape or make an elastic waistband like the one in the Kaftan tutorial. This dress can replace all your night dresses (Checkout the tutorial for another night dress )
But if you are the kind who donot like a loose fitting dress or absolutely abhor wearing a belt donot sew this dress. It is loose fitting and needs a belt to get you some shape.
How to sew a Peasant Dress
I have detailed here two ways to make it – with elastic gathered neckline and a keyhole neckline with a band. For both the pattern is the same – just the sewing is different
Take a cloth which is double the length you want the top to be + 4″. If you want long sleeves you will need to get that much more cloth.
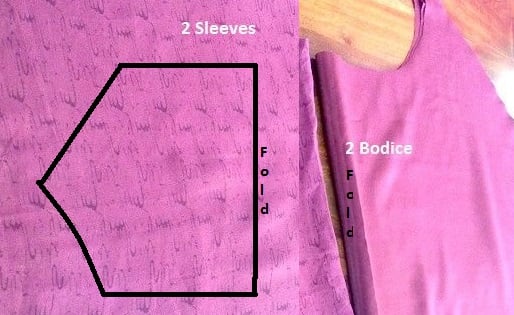
Peasant Dress pattern
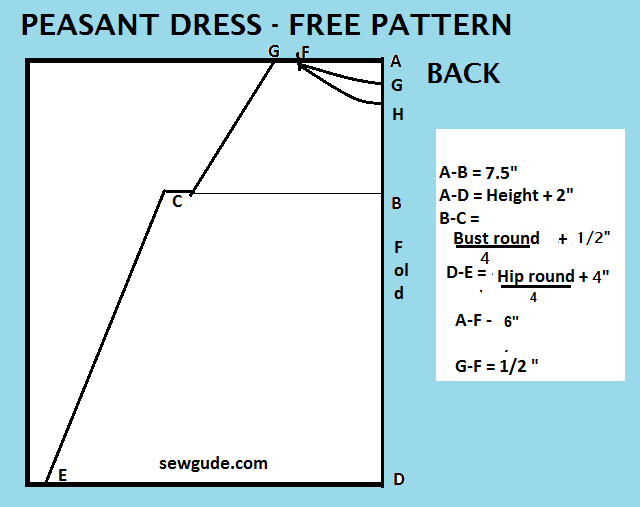
The pattern for the front Bodice – Peasant dress

Mark A- D tentatively as height needed for the dress + 2 inch. There will be a slight increase in the height after adding sleeves. You can adjust in the hem later.
Mark A- B on the folded cloth B should be 7.5 inches down from A
B- C is Bust round divided by 3 and then add 1/2 inche.
Mark F from A – 6 ”
From A mark 2 inches down to point G for back neckline
From F mark to H for front neckline as much neck depth as you want in a soft curved line ( I have taken 5″)
Mark G 1/2 inch from F. Join G- C in a soft curved line
E-D is Hip round divided by 4 plus 7 inches
The pattern for the Back bodice -Peasant dress
The bodice pattern is ready – you can cut out the back and front bodices seperately on folded fabric – summer cotton fabric is best.
Peasant dress -Sleeve Pattern
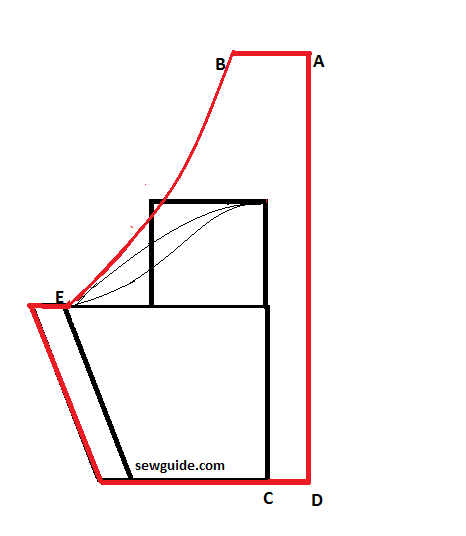
Make the regular sleeve pattern as per instruction for drafting sleeve patterns here.
Keep it on a piece of paper. Mark A-D the length you want for the sleeve 3 inches from the normal sleeve folded edge ( from C); less if you want less gathers.
3 inches will make about 6 inches total which can be gathered and reduced by half but if you donot want puffy sleeves reduce this to 1 inch;
Mark B – E such that it is the same as G-C in the bodice pattern. Join the line from B-E in a softly curved line. Join B-A
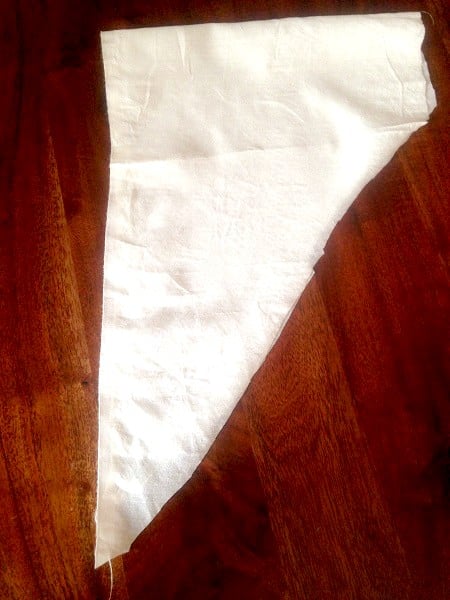
Cut away whatever remains out of the line B-E. Cut out the sleeve . Open up to get the peasant sleeve pattern
Method 1. Peasant dress with Gathered neckline
Step 1
Cut out the patterns
For the bodice
And the sleeves
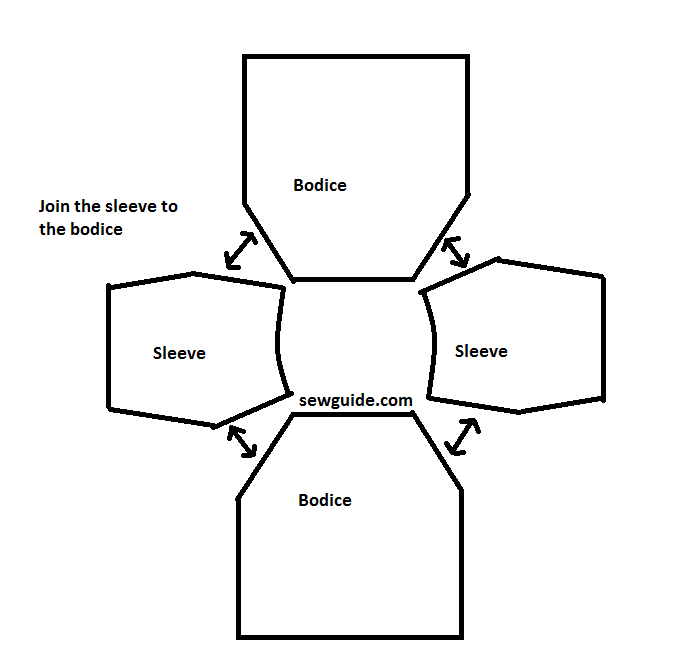
Step 3
Join the sleeves to the bodice pieces
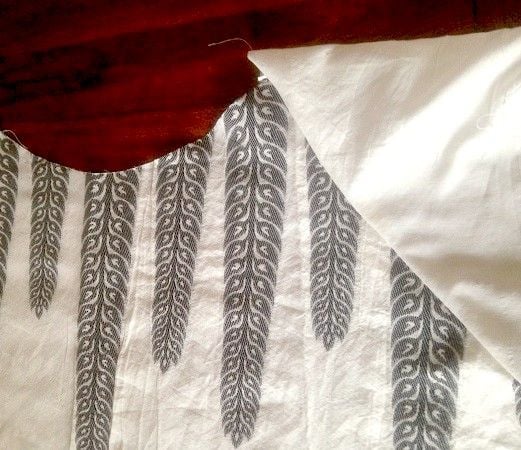
Step 4
Make a turned under band on the neckline and the sleeve hem for elastic insertion. Remember to leave 1″ opening to insert elastic.
Step 5
Insert the elastic with a safety pin.For the neckline I took the measure around my neck and down to about 2 inches. This is the length I cut the elastic for the neckline.

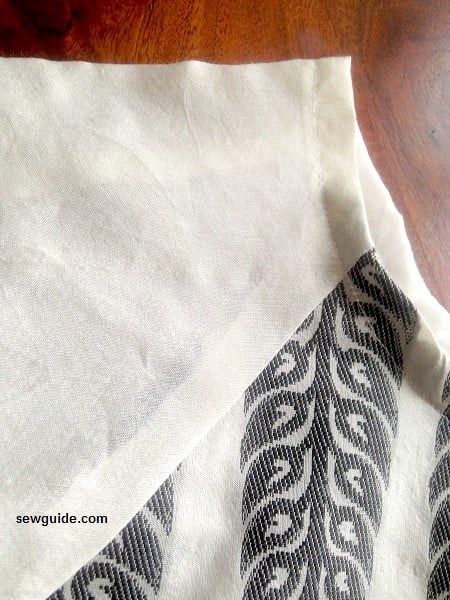
Step 6
Sew the side seams and the hem. Because the fabric I chose was very thin, I interfaced the hem with a 1/2 inch interfacing before turning under the hem and stitching it. The hem lies nicely down because of it.
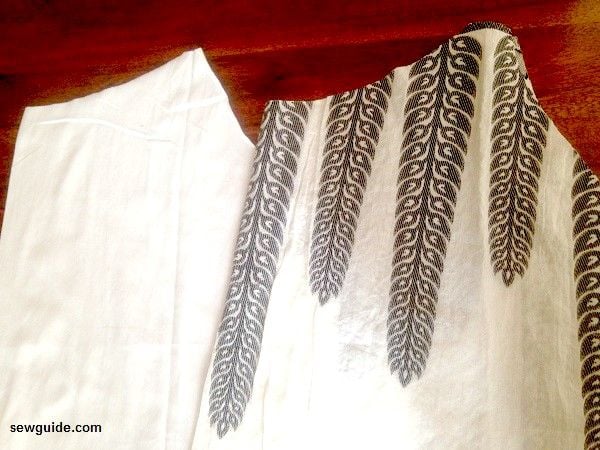
Method 2. To make the peasant dress with the keyhole and band.

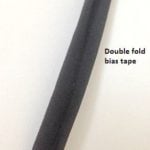
Cut out the pattern pieces – you will get 2 bodice pieces and 2 sleeve pieces. You will also need a double fold bias tape of length about 40 inches. You will need one inch bias tape to get a 1/4 inch edge. Checkout the tutorial for making bias tape and on bias binding for details on how to make bias tape for binding
Step 2
Join the sleeves to the bodice pieces
Step 3
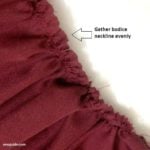
Make 2 rows of basting stitches along the neckline edge about 1/4 inches from the edge.This is for gathering the neckline.
Step 4
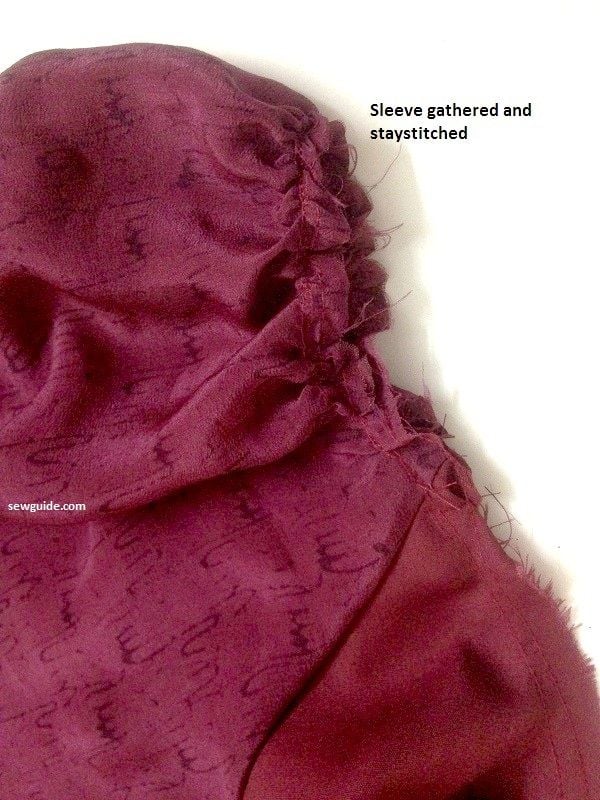
First gather the sleeve’s neckline edge – you will have to measure the top of the sleeve cap and adjust the gathering to this measurement.
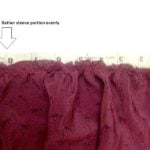
After both the sleeves matches the measurement stay stitch the gathering in place. Make a stitch on top of the gathered thread.I made a wide sleeve head.
Step 5
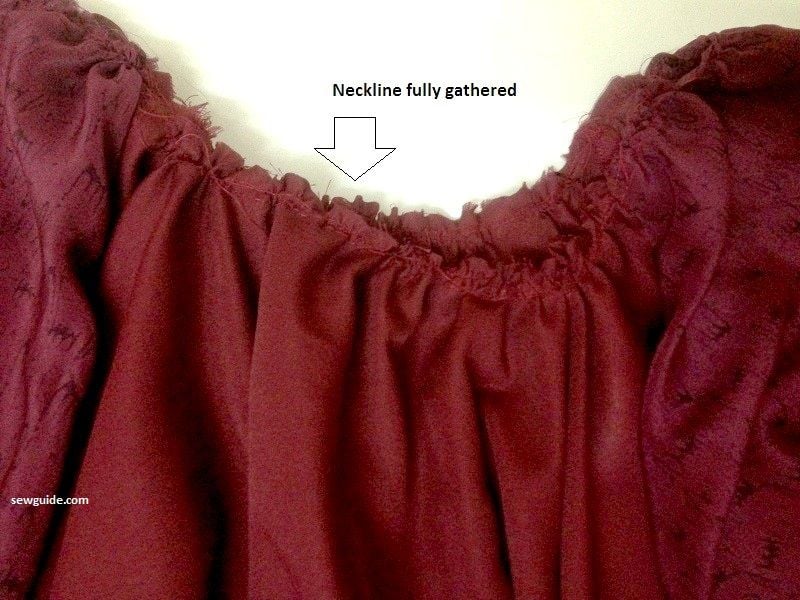
Gather the neckline of bodice pieces. Stay stitch in place. The total neckline gathers should together measure what it will measure around the neckline of a normal top.On a folded normal bodice pattern take the measure of Front neckline depth * 2+ Back neckline depth * 2
Step 6
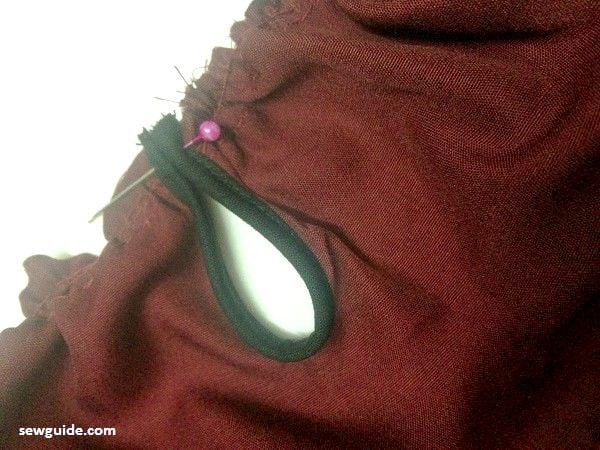
Make a small slash on the top at the neckline edge about 1.5 inches long . This is for the keyhole.
Take a 4 inch long double fold bias tape and bind the slash with the tape. You will have to stretch the slash open and pin the binding on the edge. At the middle in my picture there is a fold. You should not be having it; Ensure that only a small edge is inside the binding at the middle, by stretching the slash really straight and pinning the binding straight. Process is the same as we do when making a continuous placket.
Pin the opening together
Step 7
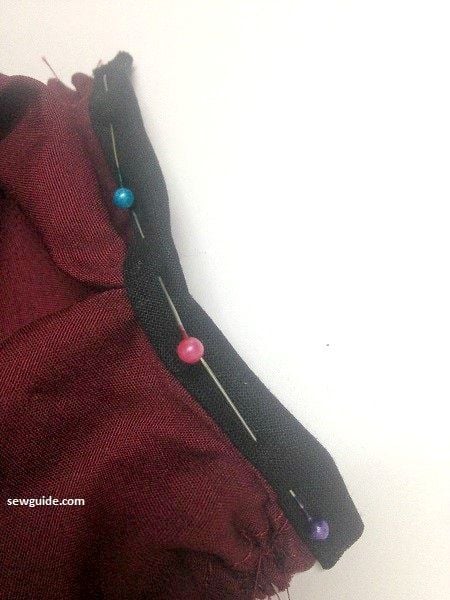
Bias bind the neckline with the bias strip. Start from the back bodice. Start stitching the bias tape on the bodice neckline right sides together. After this is fully stitched, fold the bias tape to the wrong side and stitch from the top so that the bias tape on the back is caught .
Step 8
Gather the sleeve hem as well.Bind the sleeve hem the same way you have done for the neckline.
Step 9
Stitch up the side seam
Step 10
Stitch the hem. I did a turned under hem ( 1/4 inch first and then 1/4 inch again)
Related posts : How to sew an aline dress