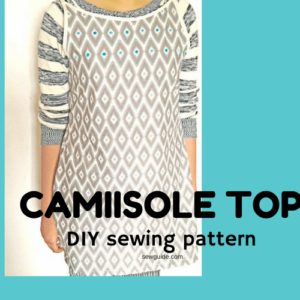
Easy to sew Night Dress Pattern
Loose! hanging! Casual – these adjectives describing the nighty makes it the ideal dress for girls to wear at home in the summer. Once you have stitched one, you will want to make one for every night of the week. It’s easy and beautiful.
How much cloth is needed to sew the nightdress
Decide on how much length you need for the nighty. Double that and add 3 inches. This is how much cloth you need for sewing this nightie pattern.
Some tips on selecting the fabric for a nighty
Try to choose lightweight 100% soft cotton – your body will thank you. You can use cotton batiste, poplin, or lawn for making this nighty.
Before starting the stitching, wash/rinse the cloth at least once. Prewashing will remove the sizing in new fabrics – resulting in better fitting and no chemicals.
Lawn cotton, good quality voile, or soft printed cotton in pastel colors would be ideal fabric choices for this pattern, but that is not to say you cannot make this in satin rayon or silk.
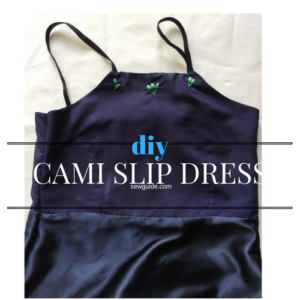
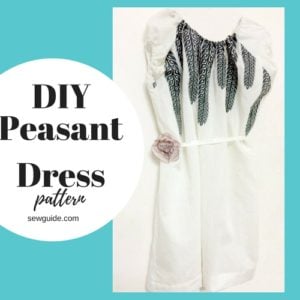
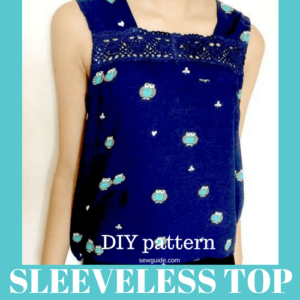
If you are interested in a chemise sewing pattern; or peasant style night dress checkout the tutorial or a simple cami slip dress pattern and tutorial or a Sleeveless Pajama top or a simple strappy camisole check them out.
Measurements for sewing the simple nighty pattern
You need the following measurements for sewing a nighty
Shoulder width – From one tip of the shoulder to the other. Halve this measurement for this pattern..
Bust round – Divide this measure by 4
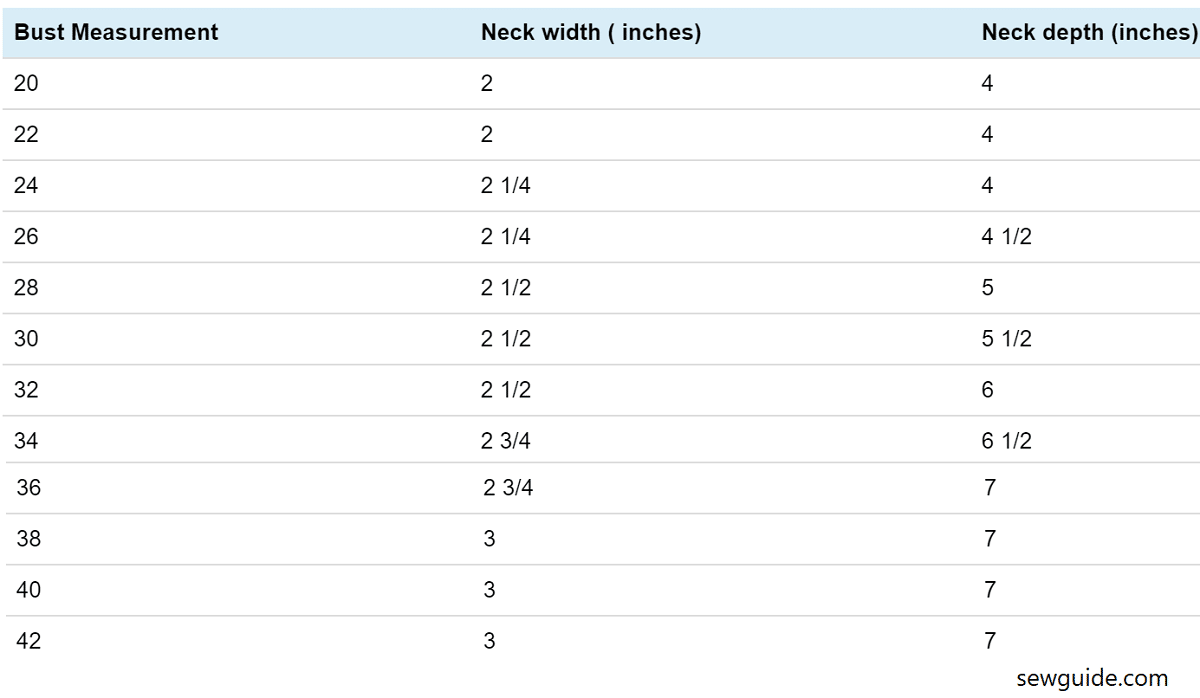
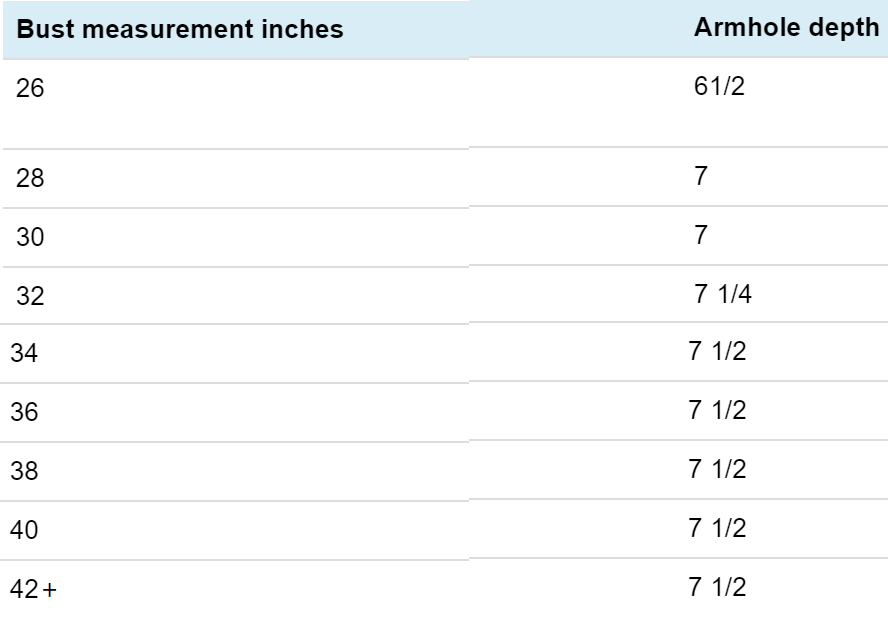
Neck depth and neck width – as per the table given below as per the bust round or your own measurement
Height – Decide on the height you need (Anywhere from knee to ankle) Add 3 inches to this, for seam allowance and hem.
Pattern marking
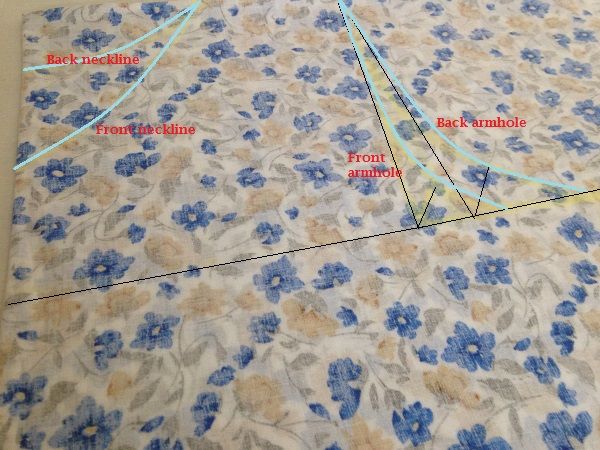
You can either make the pattern on a paper, or draw directly on the cloth with chalk. If you are directly marking on the cloth, take the front and back pieces, fold them in half, take the folded side as AB in the diagram, and start marking.
As shown in the diagram below, you will be marking on the top (out of the two pieces together).
Mark everything on this piece. Then cut the back armhole and the sides (and the back neckline if you are binding it instead of using facing to finish).
Remove one-half portion and keep it aside – this is the back pattern.
On the remaining half portion, cut the front armhole and sides (and front neckline if you are binding the edges instead of facing for finish).
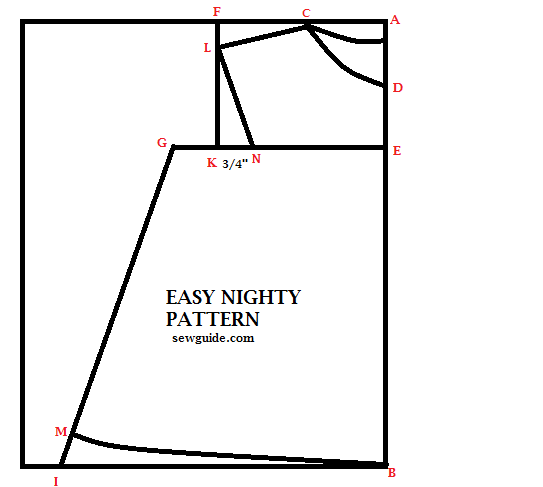
The main marking points are
- A-F – Shoulder width
- A-E – Armhole depth
- G-E – Bust width
- B- I – Flare
Let us start marking
Step 1.
First, we will mark the flare of the nighty. Mark Points I- B = 1/2 of hip round ( this is the flair of the nighty)
Step 2.
Mark the neck width A-C;Neck width can be taken as per this table. This is a slightly closed neck width. Please add 1/2 inch for a relaxed neck or take the measure from an existing fitting garment.
Step 3.
Mark neck depth C-D ( this is how deep you want the neck to be – Mark the front neck depth and back neck depth); Front neck depth can be taken as per the above table, and Back depth depends on your preference; If you decide to take front and back neck depth same, lessen the depth by 1/2 inch on both sides to adjust.
Step 4.
Mark A- F = (Distance between the shoulder tips divided by two ) + 1/4 inch
A-E = Mark E on line A-B as per the table
Step 5.
Mark G as a straight line from E as per the measurement below
E-G = Divide bust round measurement by 4 ; Add 2 inches to this.
Step 6.
Join G to I in a straight line. From point I mark up 1 inch to point M. From B draw a soft curving line to M to form the bottom edge of the night gown.
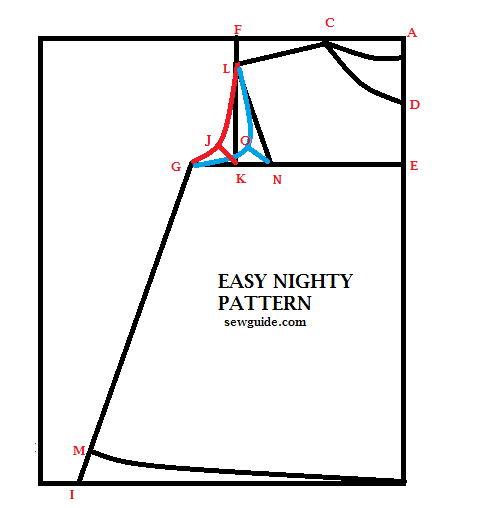
Draw straight line down from F so that it intersects with line G-E .
Step 7.
Mark the back neck. You can take back neck as anywhere between one to three inches. Give a curved shape.
Step 8.
From point F on the shoulder tip, mark down 3/4 inch to point L ( please make this 1/2 inch for kids). Give the shoulder slope by joining the line C-L.
Step 9.
Mark BACK SLEEVE LINE
Where the lines from F & G intersect (name it K ) go outside (measure the distance between G& K and divide by two). Mark the point as J . Make a curved armhole shape from L-J-G – this is the back sleeve line.
Step 10.
FRONT SLEEVE LINE
To mark the front sleeve line Mark Point N from K to the inside 3/4 inch for adults and 1/2 inch for kids. Mark this point as N .
Draw up a straight line to L. From N, Go outside 3/4 inches diagonally, as shown in the diagram, to point O. Draw a soft curved line touching O from L -G – This is the front sleeve line.
Step 11.
Draw a soft curving neckline from C -D; For accuracy, mark up 1 inch from the intersecting straight lines from C & D; now join the points C & D through this to get a soft U neckline. If you want different necklines, refer the page for drafting necklines
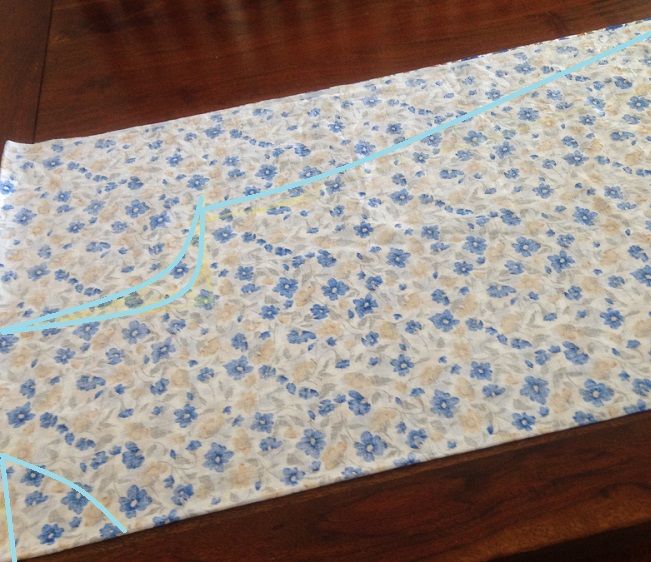
When cutting the pieces, first cut on the back sleeve line and back neck piece; Keep aside that piece; then cut the front sleeve line and neckline on the remaining piece (which has all the markings you have made).
If you want to make sleeves use the instructions in the post to draft and sew sleeves here . Or opt for an angel wing sleeve or flutter sleeve or checkout the post on the 3 easy DIY sleeves for sleeveless dresses which you can add after you have made the nighty ( or any other top/dress which is sleeveless)
If you want to make a sleeveless nightgown, you may want to reduce the armhole depth by about 1/2 inch; otherwise, it will hang loose. The shoulder also may be reduced by 1/2 inch if you like..
Stitch this pattern in a fabric of your choice
Sewing instructions for this easy nighty pattern
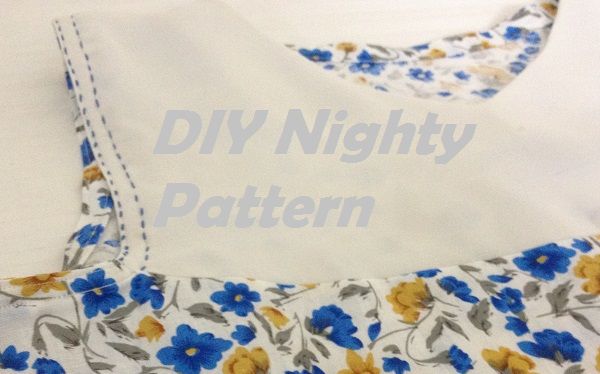
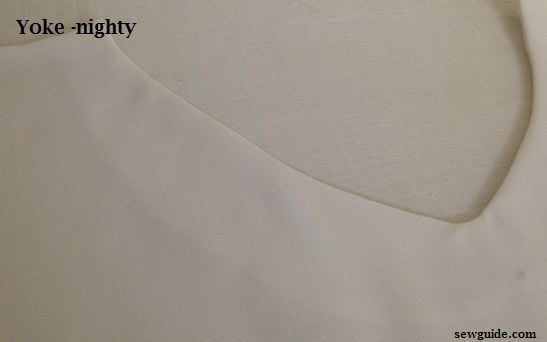
I have decided to sew a Nighty pattern with a yoke . To draft different types of yokes for your night dress please read this post on drafting yokes. You can stitch the simple nighty without yoke following the same direction.
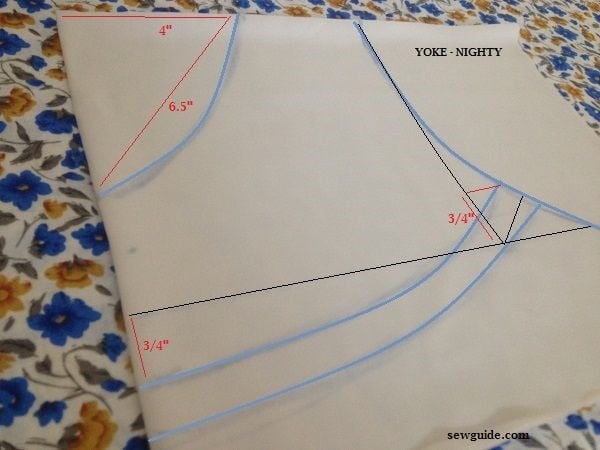
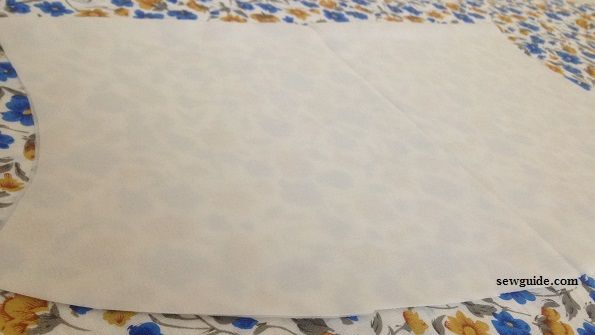
You will get a yoke piece like this
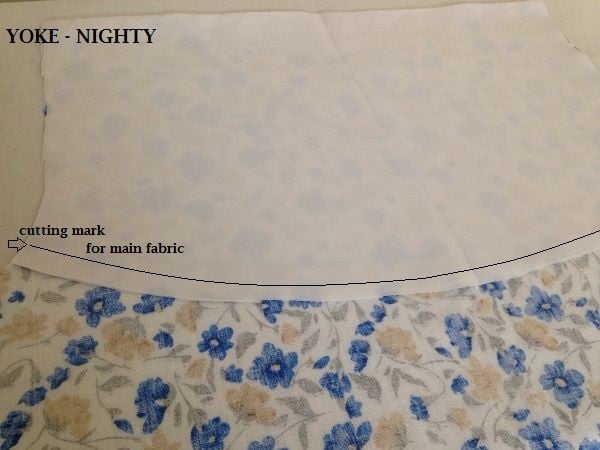
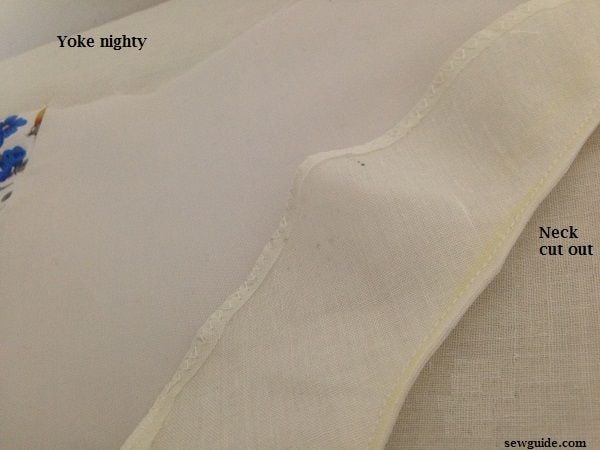
How to cut out the front bodice for the yoked nighty– I cut out the front by keeping the yoke piece on top and marking the main fabric with a carbon sheet. I go up 1/2 inch from the yoke bottom edge to add the seam allowance. Then cut it out. It is a waste of some fabric, I know. But I do not know a better way.
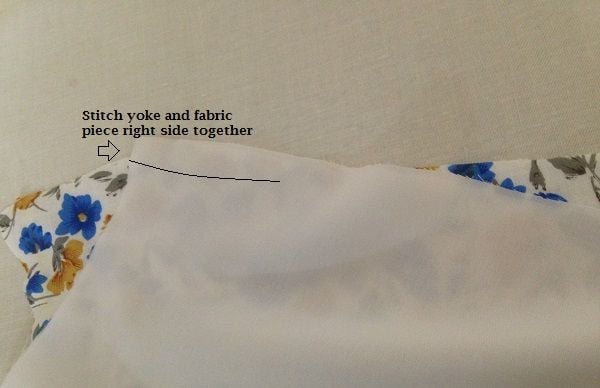
Join this yoke piece to the nighty front bodice ( Which is already cut out minus the yoke area -plus seam allowance of 1/2 inch) right sides together

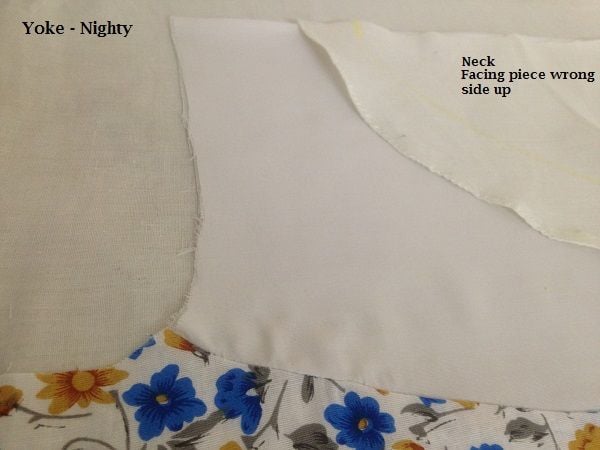
Make a neck facing piece. Mark the neckline on it. Finish the edges (For more details checkout the post on facing.)
Keep it on top of the right side of the front bodice. The facing piece should be wrong side up .Stitch through the neckline.
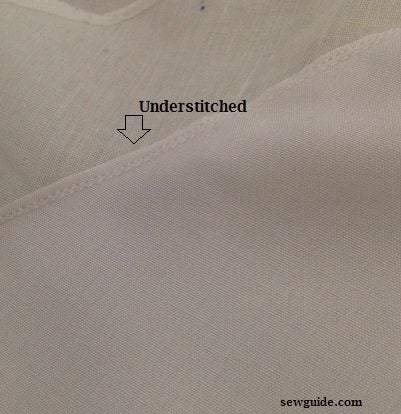
Cut the neck out with a very small seam allowance.
Understitch the facing and the seam allowance of neckline together (This is so that the facing will roll to the wrong side smoothly)
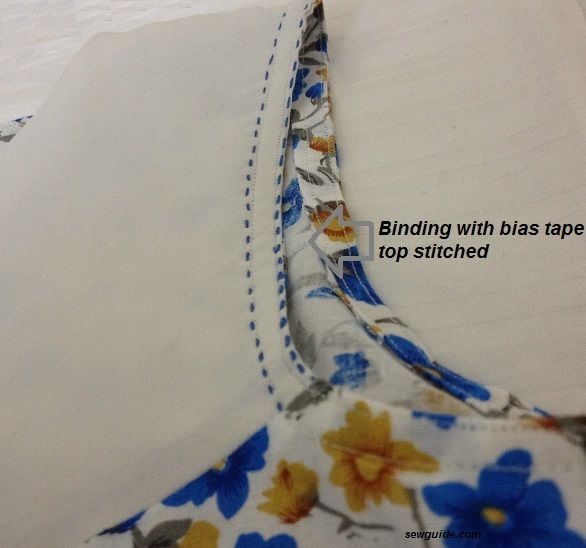
Finish the back neck by sewing a neck binding with a bias strip.
Stitch the shoulder together.
Finish the armholes with bias strip binding.Checkout the detailed tutorial on making bias tape and to do the bias binding in different ways (I did a simple Sashiko embroidery on top of the topstitching line )
Stitch the sides
Finish the hem. Your nighty is ready.Easy Peasy, right ?
If you would like to add a Placket opening in the front of your nighty checkout the post on sewing plackets for a tutorial. Also checkout the 5 types of sleeve plackets you could sew on sleeves.
How to stitch a gathered nighty
The above yoked nightwear can also be stitched with gathers in the front. For that, you need a pattern with fabric in the middle for gathers.
For drafting the pattern, you need to make the pattern as below and add 3 inches to the fold side as given below.
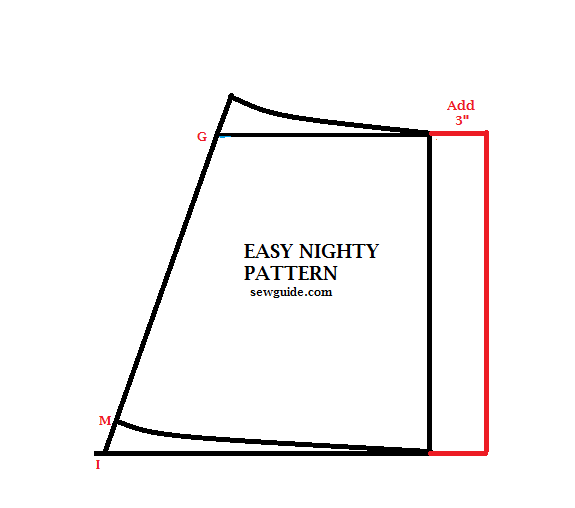
Arrange the gathers evenly near the center fold line when sewing the yoke to the main bodice. For details checkout the post on How to gather
Embellish your nighty with some cute embroidery. Check out the post on embroidery stitches you can use on the nighty. I would think a bullion rose or french knots or some lazy daisy flowers would be ideal to decorate your nighty.
A simple tunic dress also can serve as a cute little nightdress . Checkout the tutorial to make a tunic dress/ top.
Checkout this pattern for a tank top for another way to finish the neckline with a yoke which is embroidered.

Another great sleepwear you can sew by yourself is Pajama pants. Make one with slash pockets and a comfortable elastic waistband following the tutorial to draft pajama pants pattern and sewing instructions.

Could you post a picture of the finished garment please?
Informative / Guiding / Empowering…