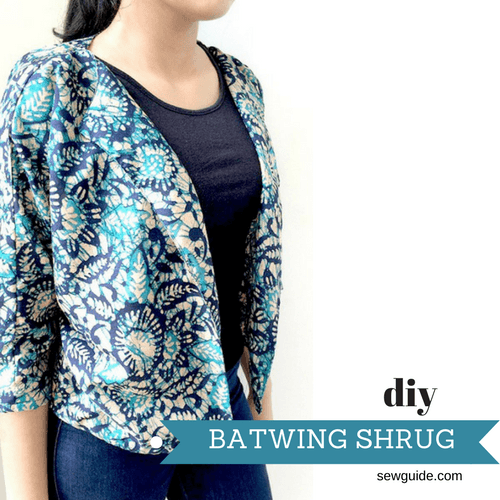
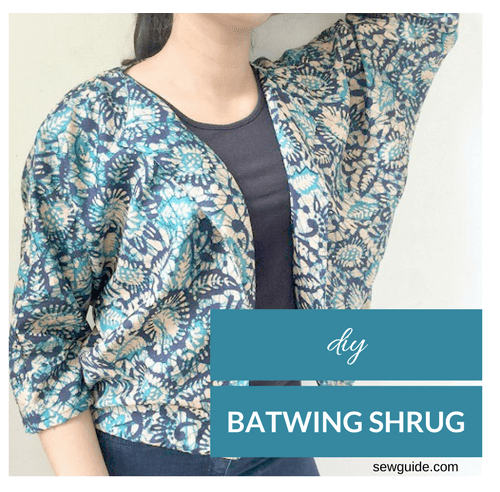
A batwing sleeve is a long loose sleeve which is cut one with the bodice and has a deep armhole tapering to a tighter sleeve hem.
This is a shrug with that beautiful and comfortable sleeve and an open draping front.
How to make the Batwing Shrug
Step 1 – Cut out pattern pieces
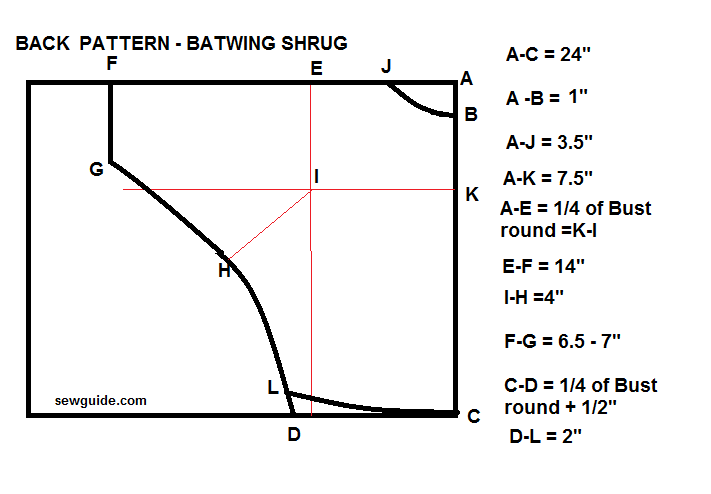
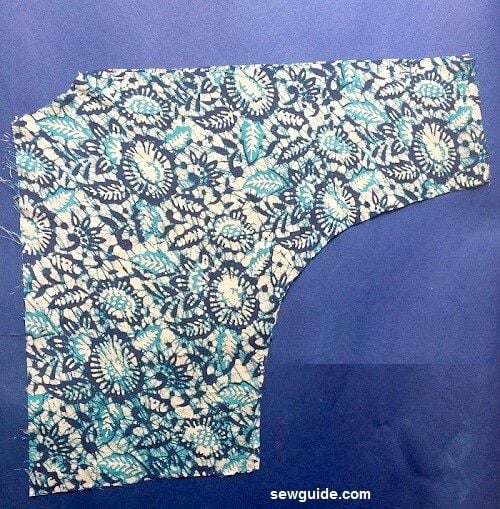
Take two fabric pieces 48 ” wide and 24 ” long . Fold the first one by the center and mark the back pattern as follows
Mark a line parallel to the top edge 7.5 inch down. (A-K)
Mark 1/4 of bust round on this line (K-I) Mark this on the top edge as well (A-E) intersecting at I.
Mark 4 inch diagonally from I-H as in the picture
Mark Sleeve length E -F = 14″
Sleeve width F-G = 6.5 inch or 7 inch
Mark 3.5 inch from the corner (A-J) This is the neckwidth.
Mark 1 inch down from A -B This is the neck depth. Draw a curve from J – B
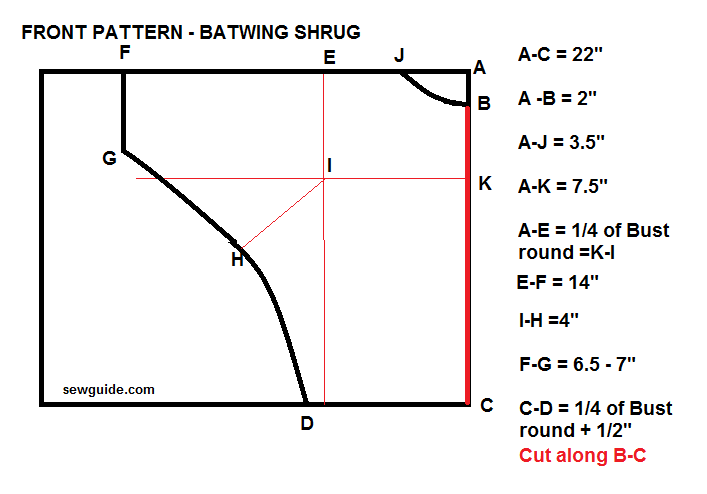
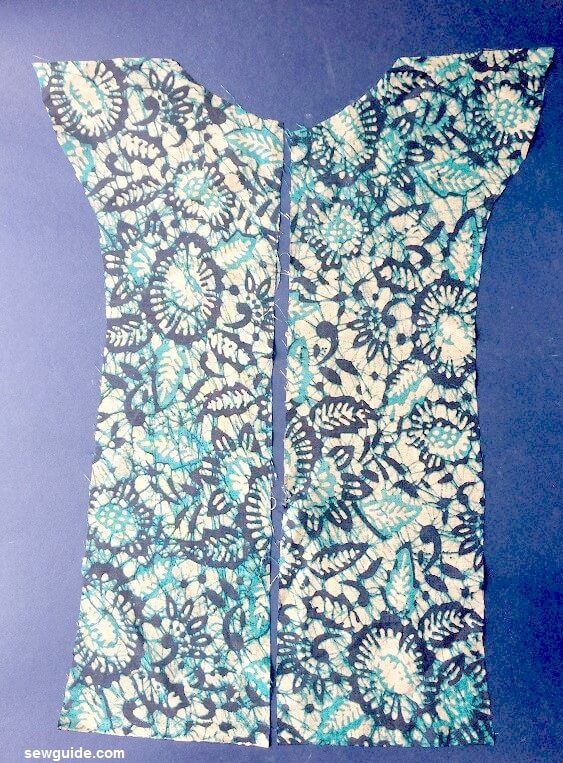
On the next fabric piece, which is also folded by the center, mark the front pattern. This is the same as the back pattern, except for the neck depth which is 2 inch here, and the length; the back pattern is longer. The front pattern is cut down the center fold line as in the following picture
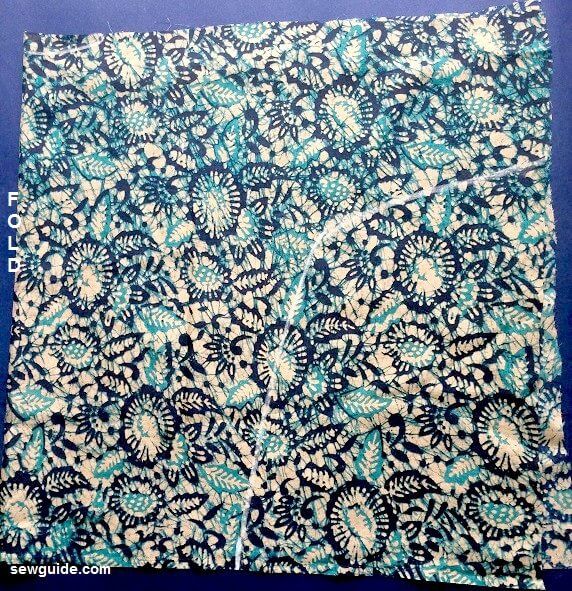
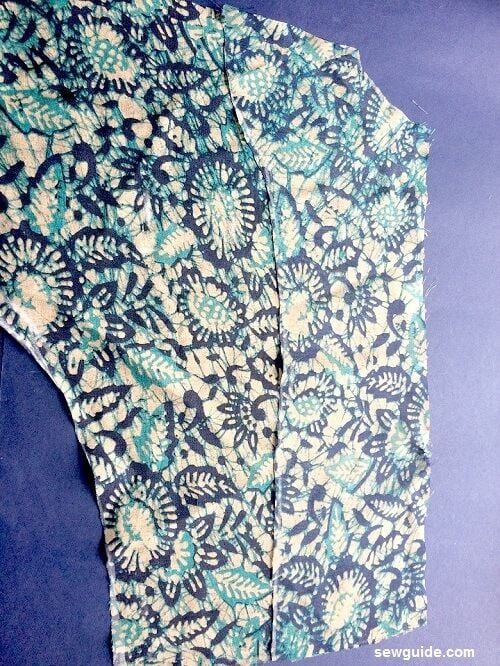
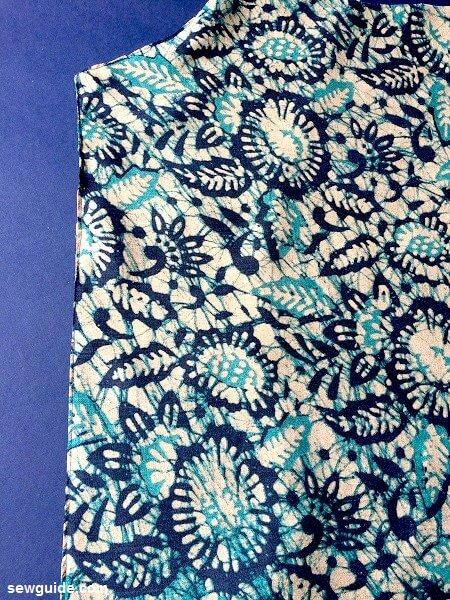
The pattern is marked and cut
Step 2 – facing
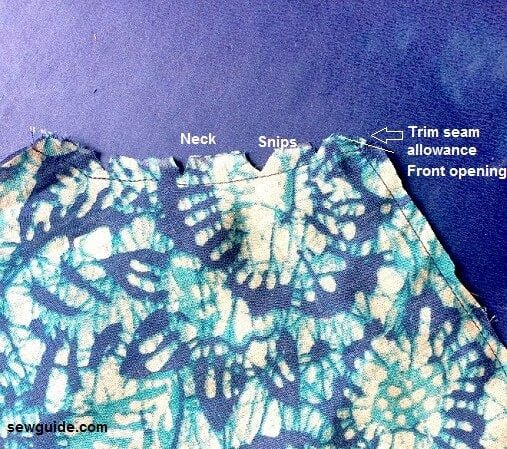
A facing pattern of 6″ width is made mirroring the front opening and neckline.Checkout the post on facing for more details. Finish the outer edges of the facing pieces with a zig zag stitch or serging
Keep the facing on the front opening and neck of the front pattern pieces right sides together and stitch in place.
You will have to clip the seam allowance at the corner and along the neckline so that the facing will turn smoothly to the backside
Turn the facing to wrong side of the pattern pieces and top stitch in place. Press before stitching so that everything is in place.
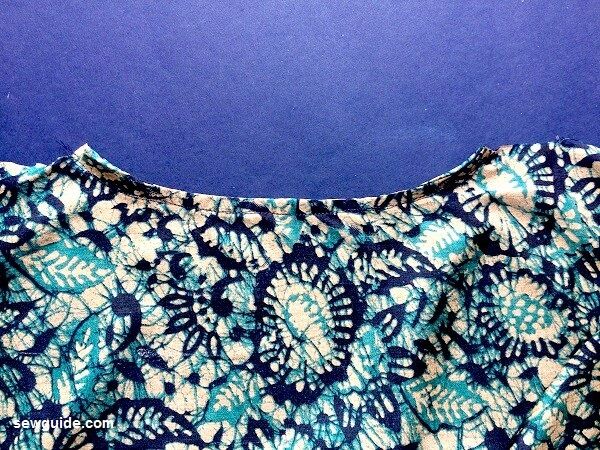
Step 3 – Bind back neckline
Bind the back neckline with a bias fabric tape.
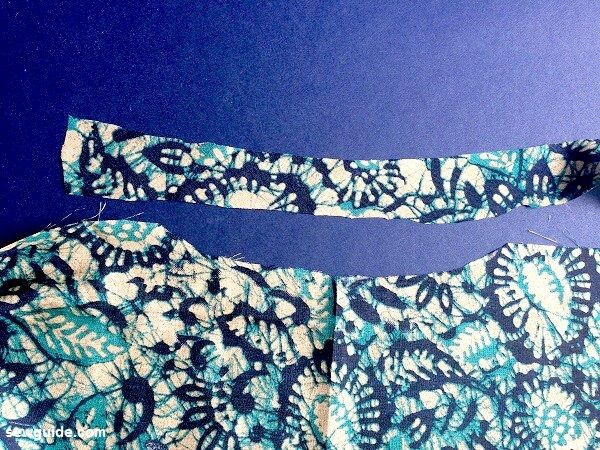
Stitch the binding in place
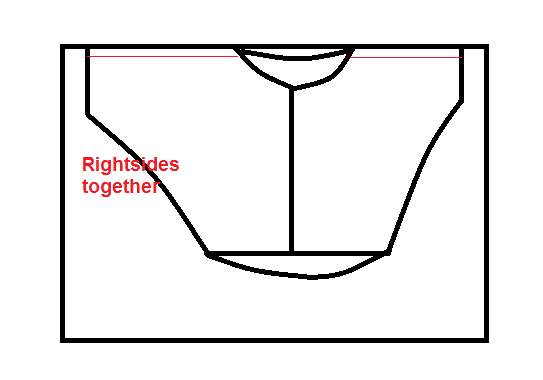
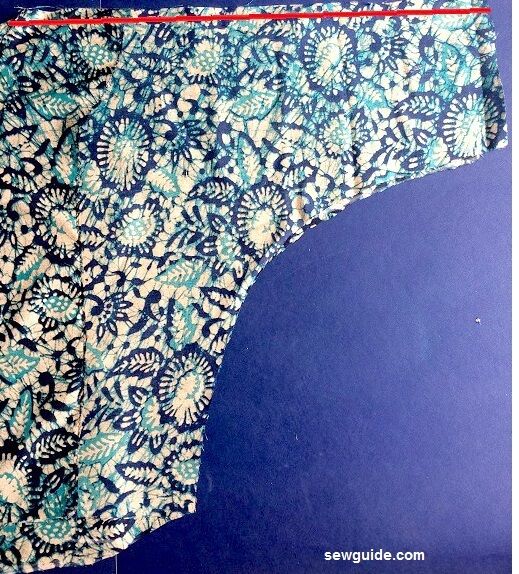
Step 4 – Join the shoulder seams
Keep the front pattern pieces and back pattern piece aligned one by one rightsides together. stitch along the shoulder seams ( red line)
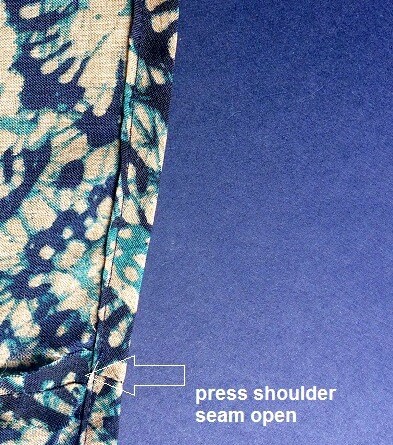
Step 5 – Hem sleeves
Hem the sleeve edge. Turn under the edge twice and stitch. Remember to press the shoulder seams open before stitching the hem
Step 6 – join sides of front and back pieces
Stitch the side seams.
Stitch the hem of the shrug. I used a bias tape to bind the hem. Checkout the post on making a bias tape here.
Related posts : What is a shrug; Make a lace vest; Make front tie chiffon shrug
Thank you for sharing.Encouraged to sew.
🙂
Thank you for this lesson and pattern! I used the drafting pattern lesson for the drapey jacket to teach our daughter for her homeschooling lesson in sewing. That was her very first pattern drafting lesson. She finished it in a short time and was encouraged that she could do it so fast.
Your lessons are easy to follow, you make pattern drafting easier for beginners to understand. Thank you!
Thanks for the kind words 🙂 so happy to be of help to your girl . It’s nice to hear of young ones sewing .
You make sewing and patter-making so effortless. I don’t have to be intimidated anymore. Thanks for sharing. Be blessed.
Thank you so much for the encouraging words. Nothing to be intimidated about – fabric is flexible . Choose a beautiful one and you can rarely go wrong 🙂